



The complete guide
How To Choose A Garden Tool Organiser For Your Shed Or Garage
The pile in the corner
Nearly every shed has one. A rake, two spades, a hoe, a broom and something with a broken handle you have been meaning to fix, all leaning into the same corner. The pile works fine until the day you need the thing at the back. Then four tools come down at once, one of them lands tine-side up, and you spend the next minute sorting it out before you can start the job you came in for.
The problem is not that you own too many tools. It is that leaning is not storage. A leaning tool has no fixed position, so it drifts, and anything that drifts ends up in a heap. A wall mounted garden tool organiser solves this by giving every long handled tool a slot it goes back into. You stop thinking about where things live because the wall already decided.
How a wall rack actually works
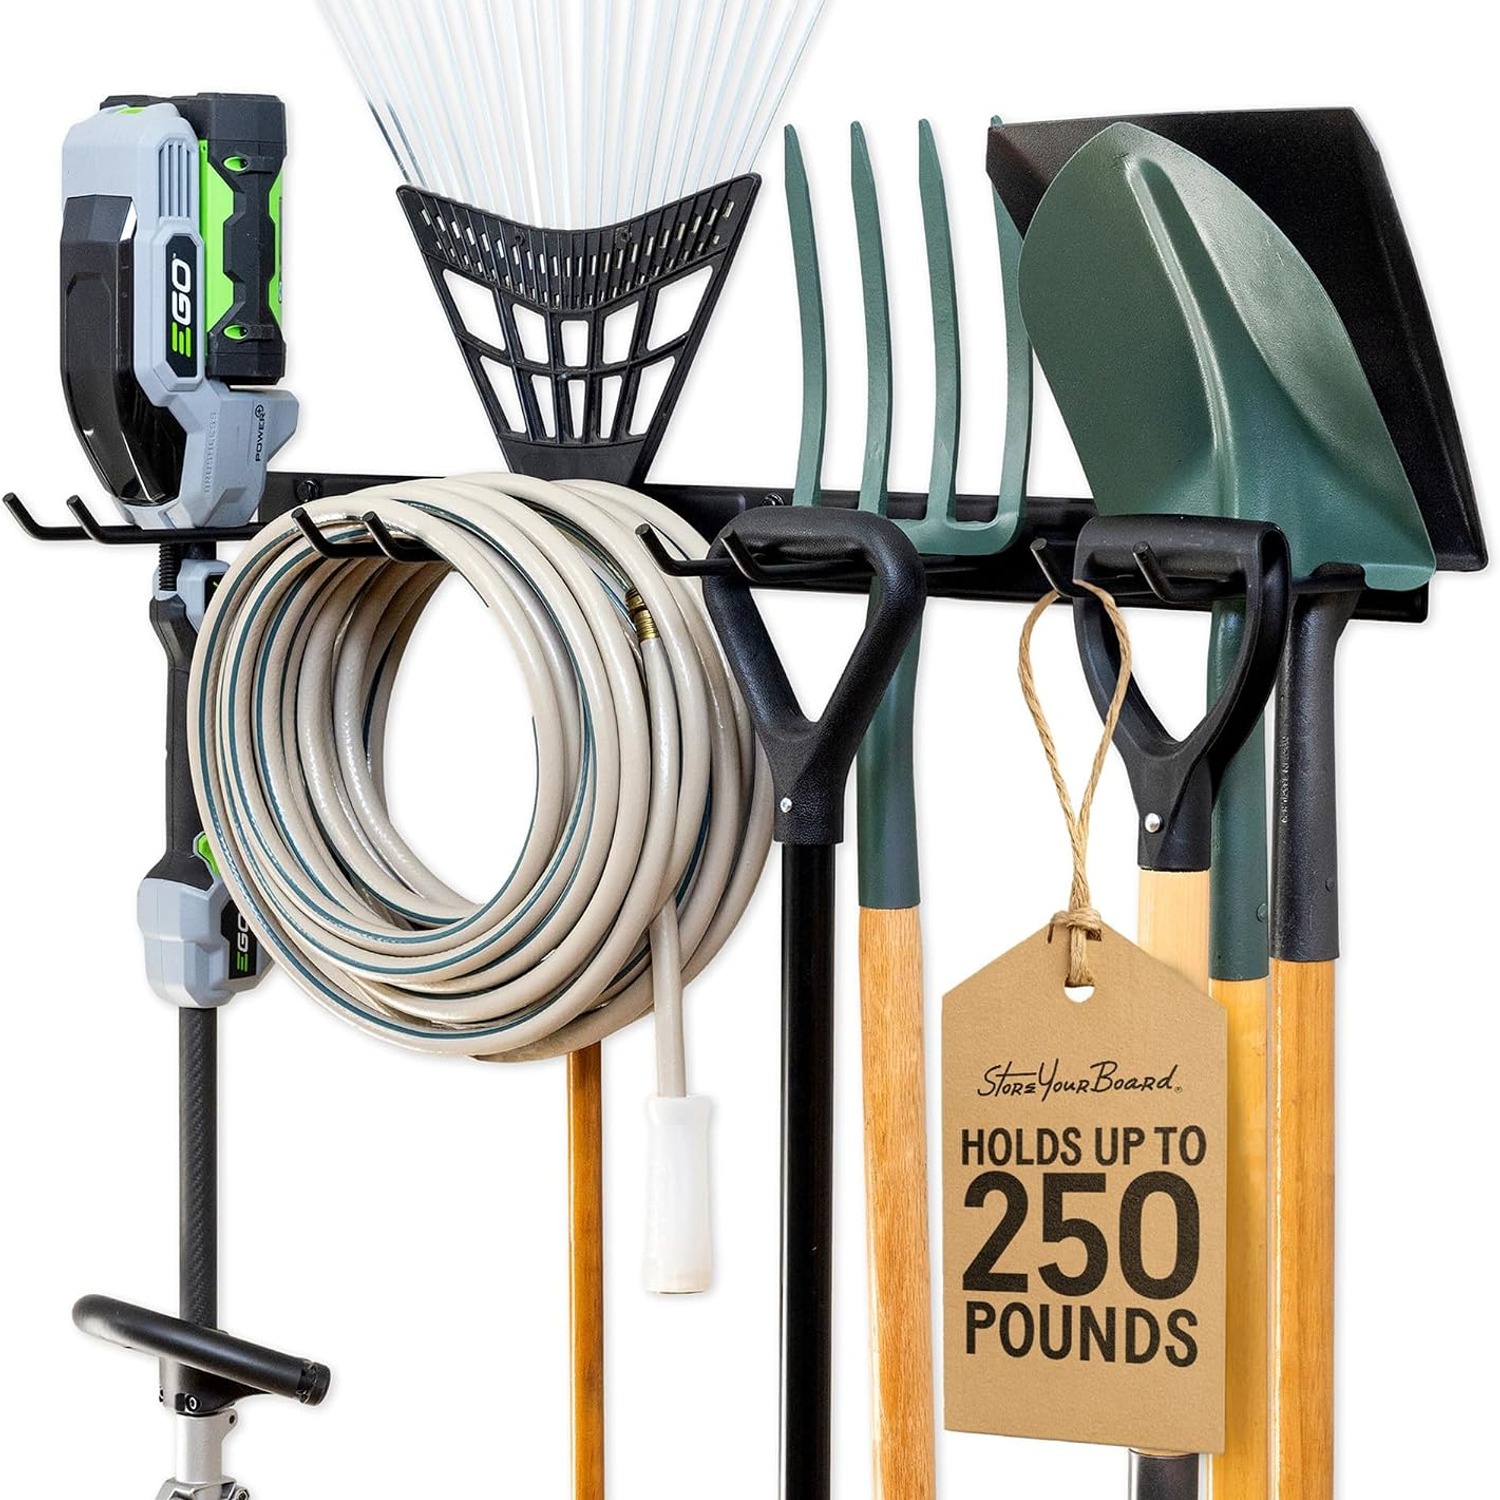
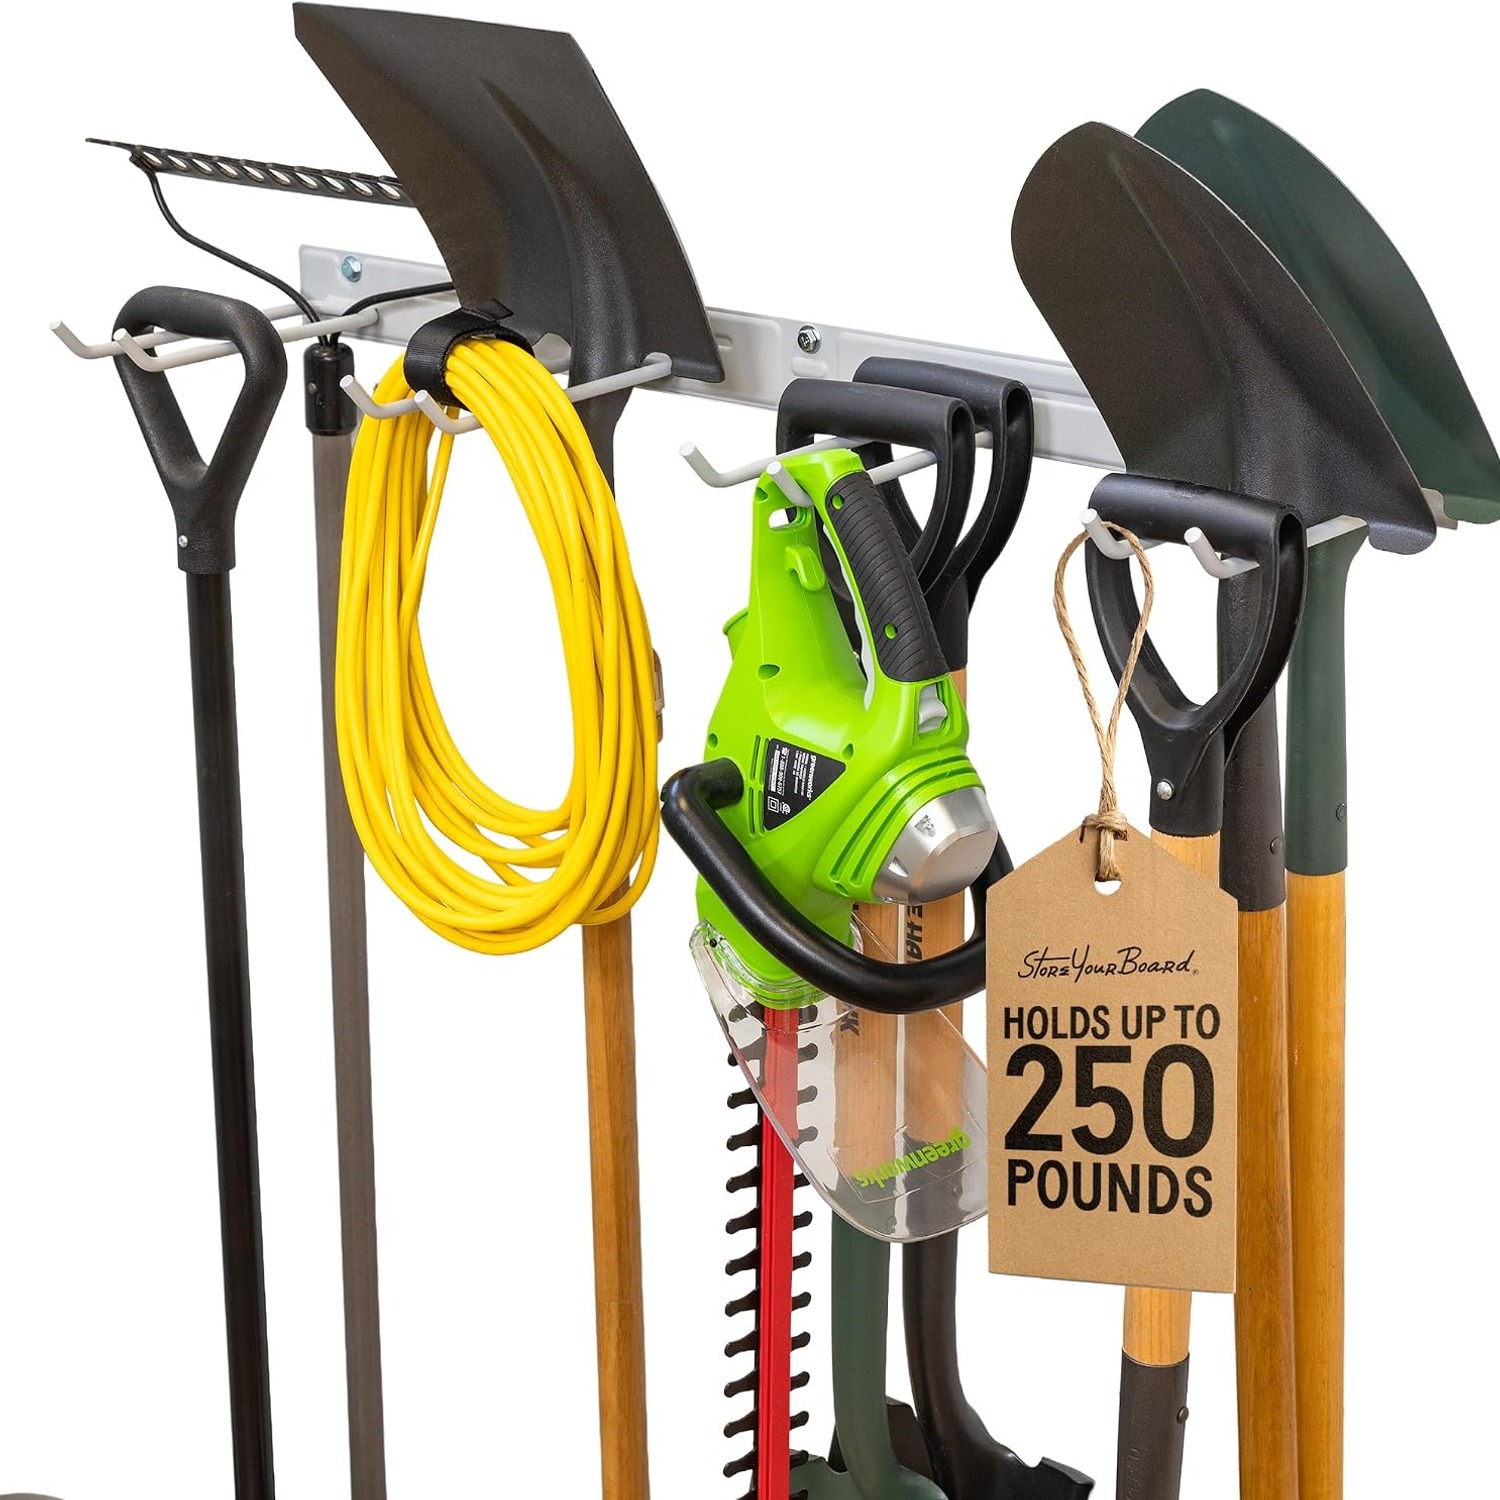
The idea is simple. A steel bar fixes to the wall, hooks stick out from it, and each tool hangs by its handle or head. What separates a rack that lasts from one that sags is how it is built and how it is fixed.
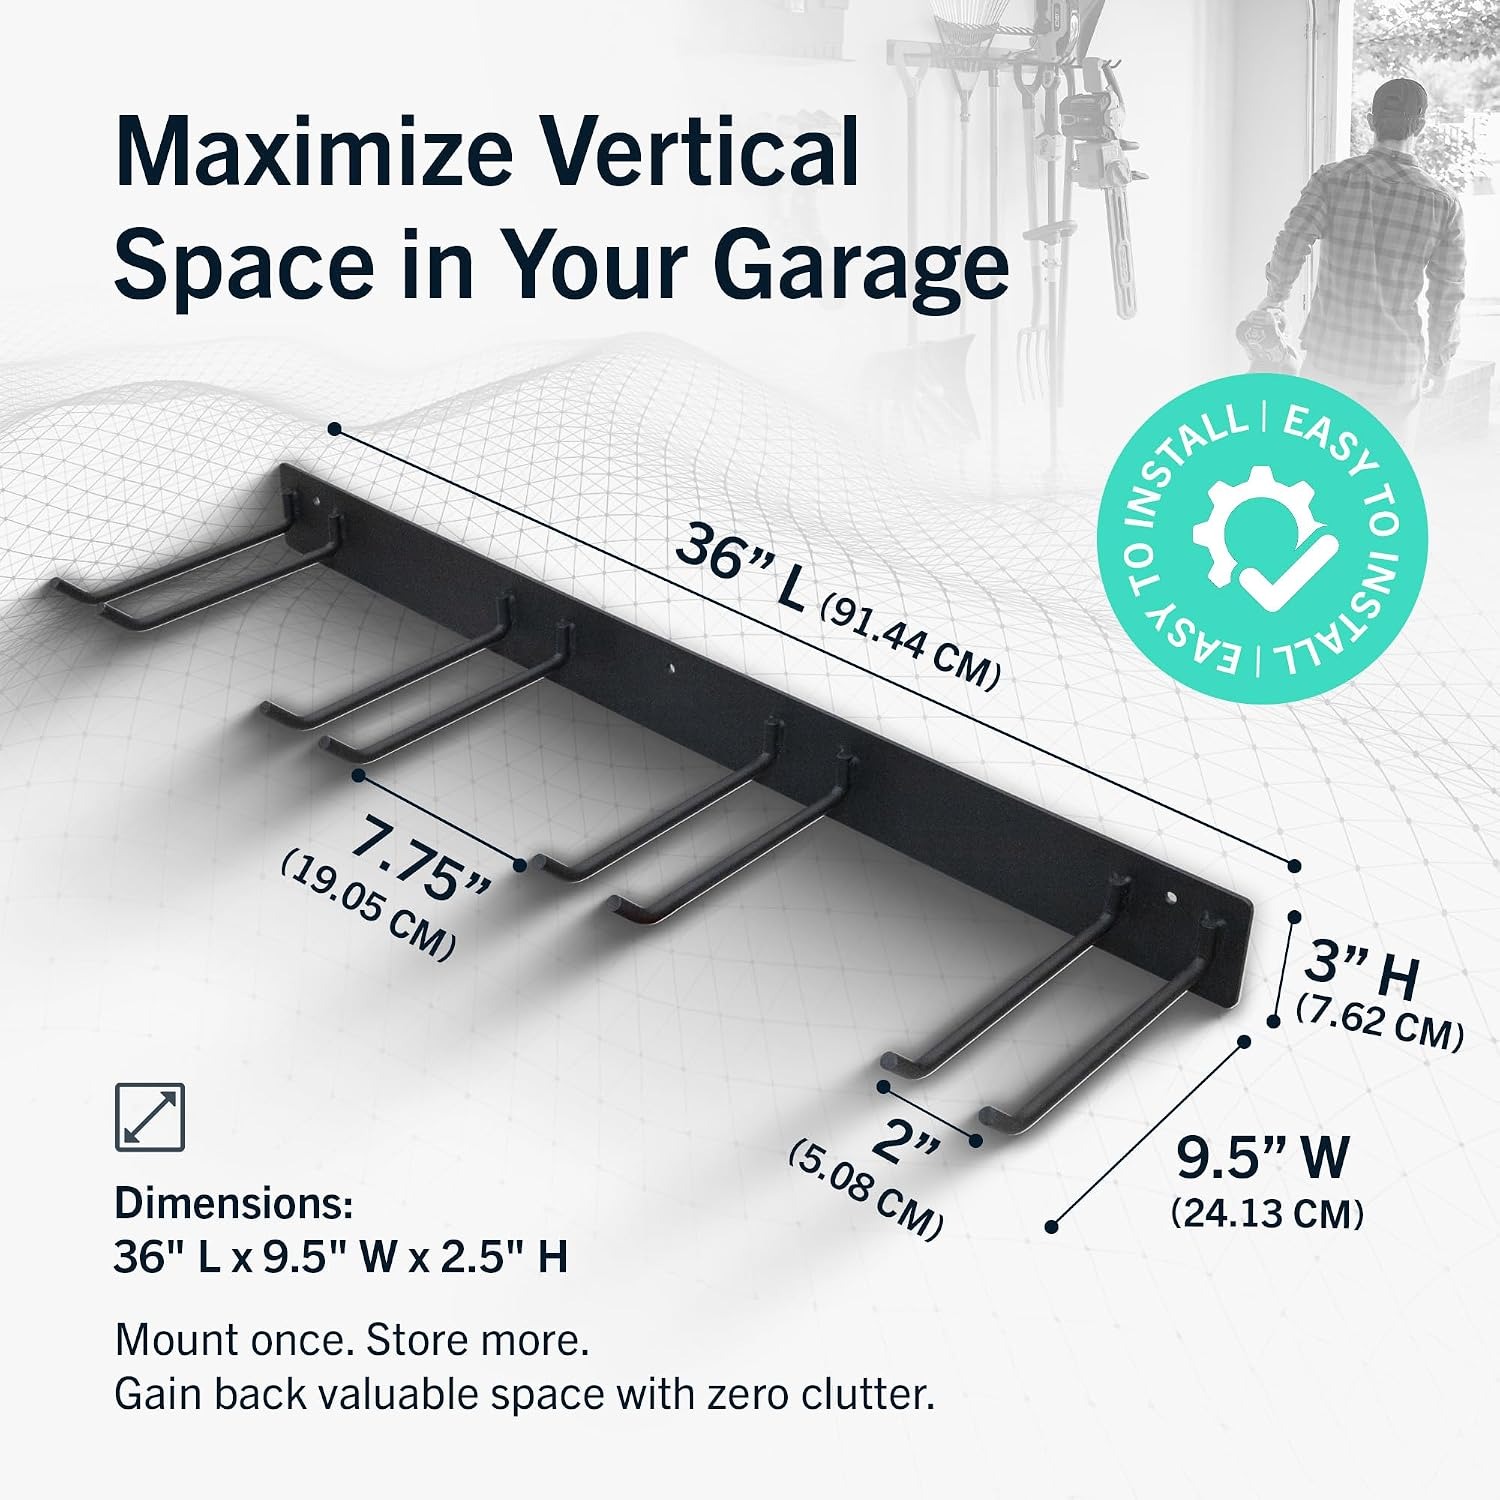
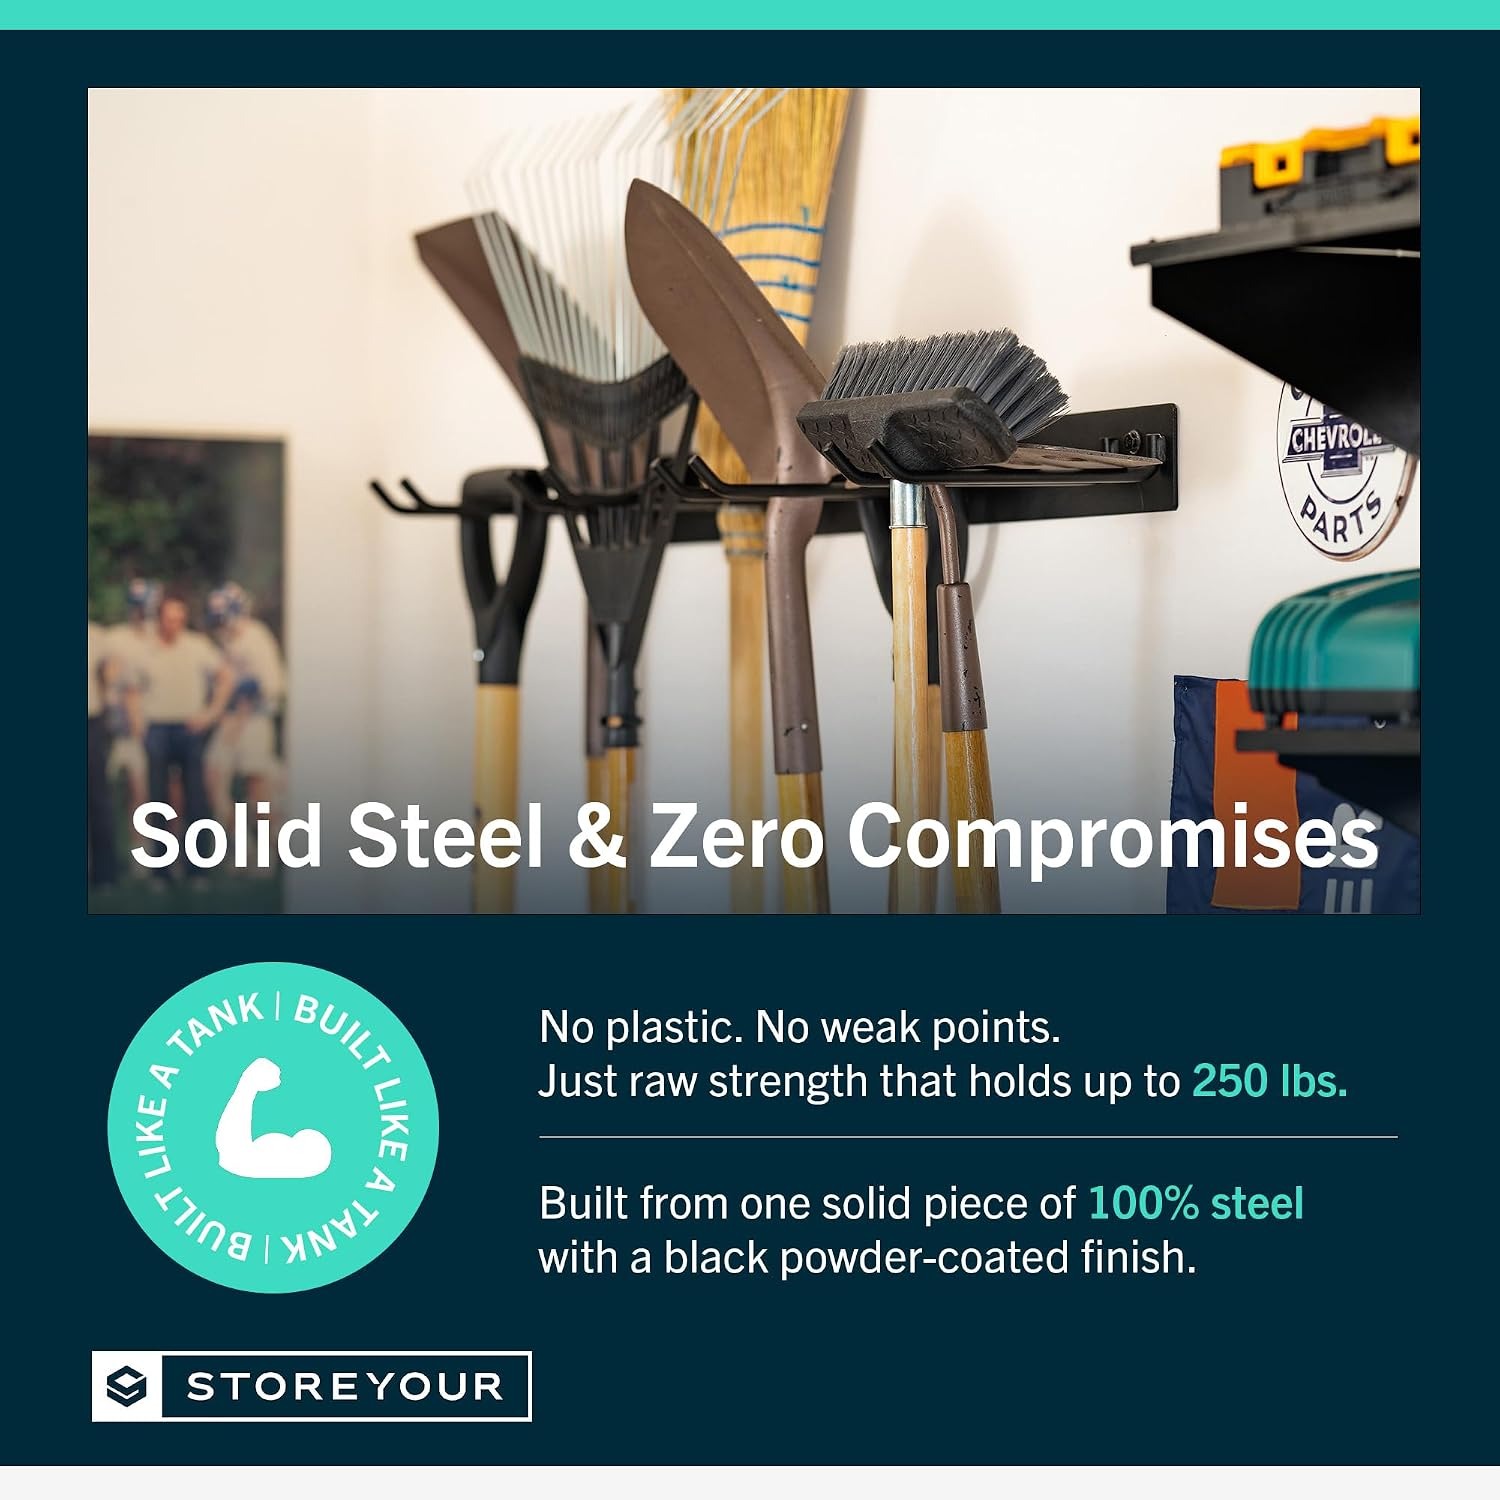
This one is a single welded piece of solid steel rather than an assembly of separate brackets. That matters under load. Bolted-together racks have joints, and joints are where flex starts. A one-piece rack spreads the weight across its whole length and transfers it into the wall fixings instead of working against itself. The stated shelf weight capacity is 22.68 kg, which is a realistic figure for a shed wall full of yard tools.
The four hooks are steel with a PVC coating. That coating does two jobs. It stops the metal biting into wooden handles, and it adds a little grip so a tool stays put rather than sliding sideways when you lift the one next to it. Anyone who has used bare hooks knows the difference, because bare steel polishes the varnish off a spade handle within a season.
The whole rack is 91.4 cm tall and 40.6 cm wide, but the number that matters most in a cramped shed is the depth. At 7.6 cm it sits almost flat to the wall. In a shed where you already turn sideways to get past the mower, those few centimetres decide whether a wall rack is usable at all.
Who this suits
If you garden at all seriously, you own long handled tools, and long handled tools are the worst things to store. They are too tall for shelves, too awkward for bins, and too heavy to hang on a nail. This kind of steel tool rack is built for exactly that shape of problem.
It also earns its place in a garage. Brooms, leaf rakes, snow shovels and extendable dusters all end up in the same corner otherwise. A garage wall organiser gives them a home that is not the floor next to the car door.
Workshops are the third common use. Not for hand tools, which belong on a pegboard or in a chest, but for the long stuff: shop brooms, clamps on hooks, a dust pan on a handle. And indoors, a laundry or utility cupboard is a quietly good fit, because hanging mops head-up lets them dry instead of sitting damp on tile.
Who it does not suit: anyone with no solid wall to fix to. A thin plastic shed panel or a loose fence board will not hold a loaded rack no matter how good the rack is. If that is your situation, you need a free standing solution instead.
Working out where to put it
Start with your longest tool, not with the wall. Stand the tallest rake or pole pruner against the wall and mark where the handle top sits. Your rack needs to hang high enough that this tool clears the floor, but low enough that you can lift it off without standing on something.
For most adults that puts the top of the rack somewhere between chest and shoulder height. Go too high and the top hook becomes the place where things never get put back. Go too low and the longest handles drag on the ground, which defeats the point.
Next, think about what else uses that wall. Leave room for tool heads to swing. A fork and a spade hanging side by side need a bit of clearance so their heads do not clash when you take one down. Running two racks along a wall works well, but space them so each tool has its own air.
Finally, watch your door swing and your shelf edges. A rack is easy to mount in the wrong place and awkward to move once the holes are drilled. Hold it up, step back, and live with the chalk marks for a day before you commit.
Fixing it properly
This is the part people rush, and it is the part that decides whether the rack is still on the wall in five years.
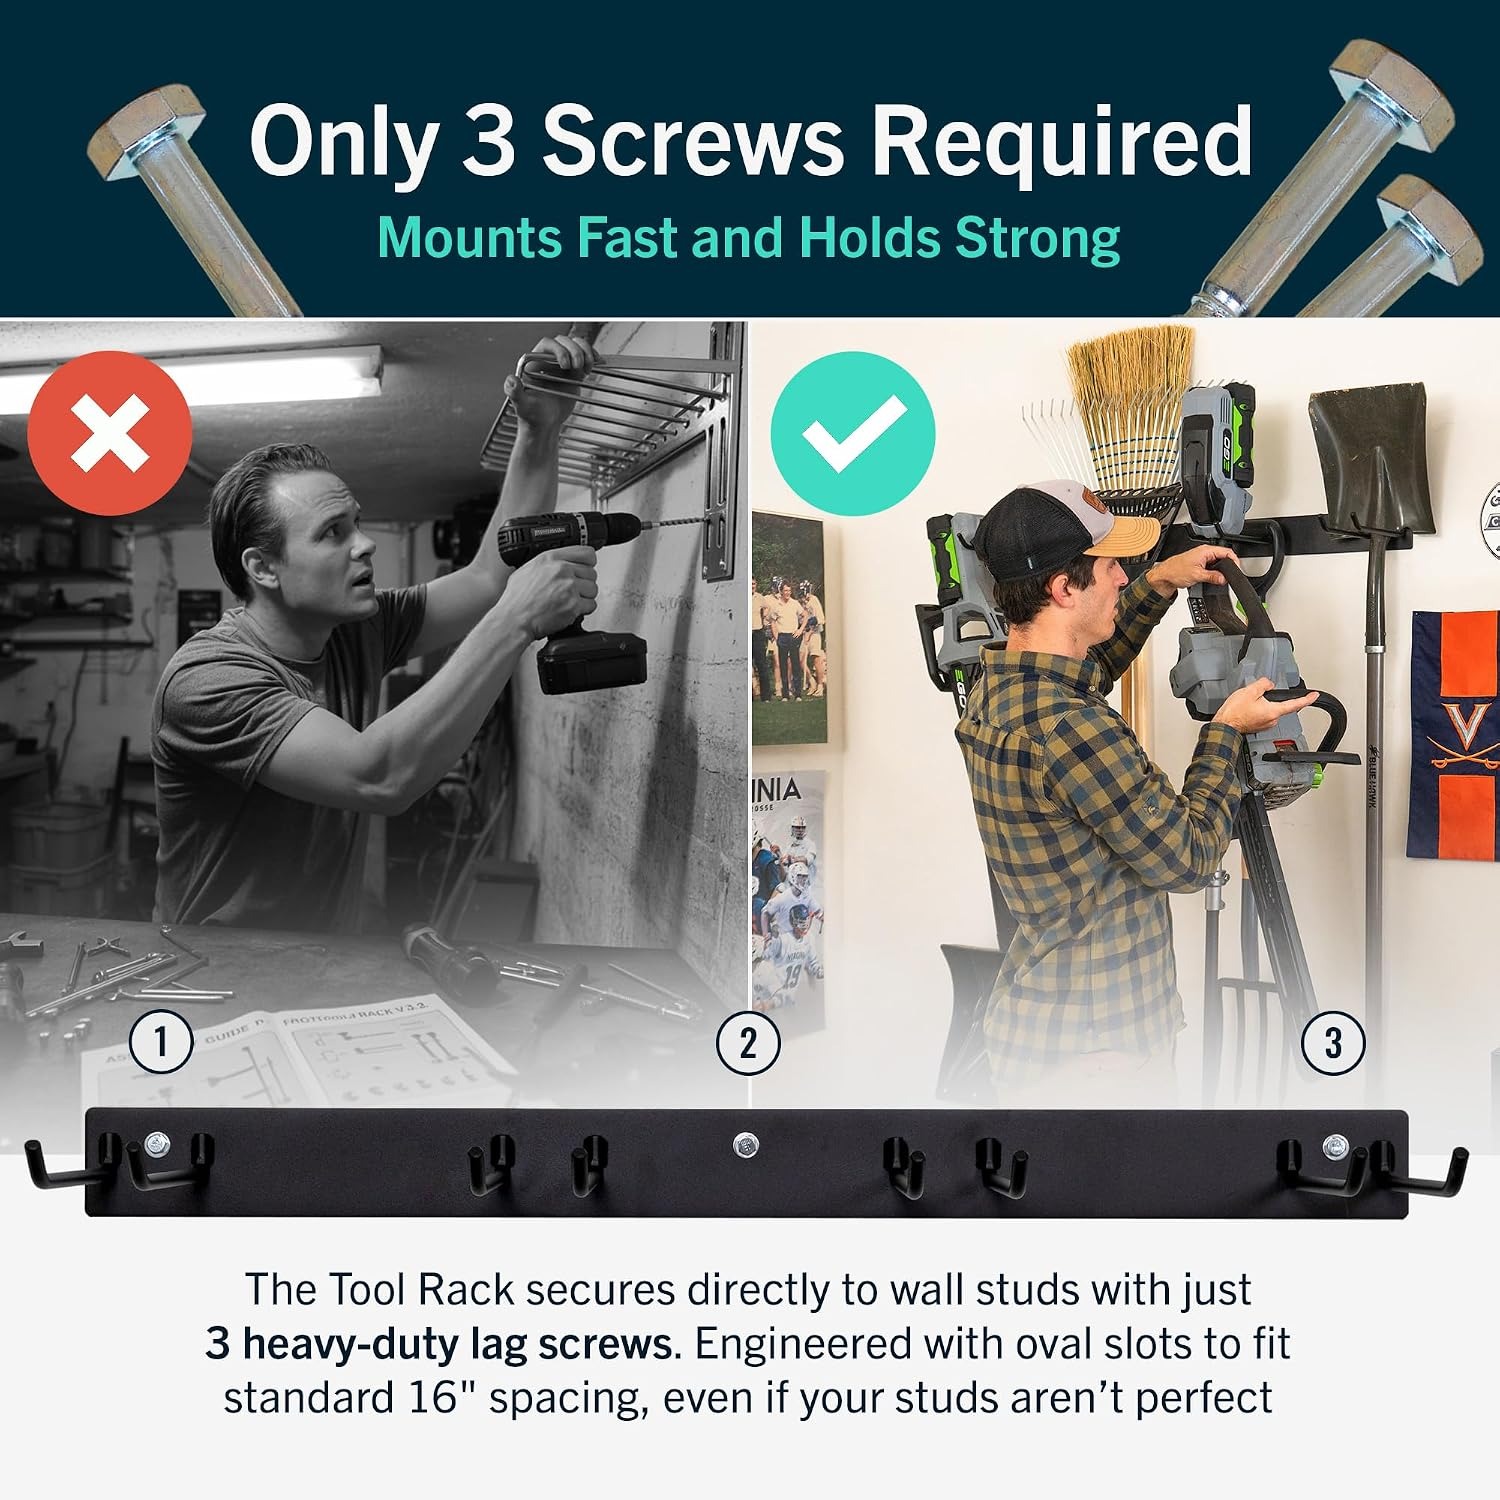
Timber studs are the gold standard. The rack comes with three heavy duty lag screws, and those are made for driving into solid framing. Find your studs with a stud finder or by tapping, mark them, and line the rack up so at least one screw lands in solid wood.
If you are fixing into plasterboard without a stud behind it, you need proper heavy duty anchors rated for the weight you intend to hang. Standard plastic plugs are not enough for a loaded tool rack. On brick, block or concrete, use masonry anchors and drill the pilot hole the anchor instructions specify, not the one that seems close enough.
Use a spirit level. A rack that is slightly off level will let round handles roll toward the low end, and you will notice it every single time you use it.
Once it is up, load it gradually. Hang the heaviest tools first and near the fixings, then fill in around them. Give the rack a firm tug before you walk away.
Outdoors and weather
The specifications list this rack for indoor and outdoor use, and the powder coated finish is there for corrosion resistance. A powder coat is tougher than paint because it is baked on, so it resists chips and moisture better.
That said, nothing lasts forever in weather. A sheltered position does most of the work. Under a carport roof, on a porch wall, or on the inside of a shed wall, the finish has an easy life. Fully exposed to driving rain and sun, it will age faster.
Two small habits help. Wipe mud off before it dries on, and touch up deep scratches that go through to bare steel. That is the whole maintenance routine.
Looking after it
Cleaning is a damp cloth and a dry-off. Skip the wire brush and the strong solvents, because both will dull the powder coating and give moisture somewhere to start.
Check the screws a couple of times a year. Walls move slightly with temperature and humidity, and a screw that has backed out a turn is easy to fix and annoying to ignore. Half a minute with a spanner is the whole job.
Stay inside the weight rating. The 22.68 kg figure is a stated capacity, not a challenge, and overloading a wall rack strains the fixings long before it strains the steel.
The short version
Leaning tools against a wall is not storage, it is just delayed mess. A wall mounted garden tool organiser gives each long handled tool a fixed place, clears the floor, and makes the thing at the back as easy to reach as the thing at the front.
This rack is one welded piece of solid steel with a black powder coated finish, four PVC coated hooks, and a stated 22.68 kg shelf weight capacity. It measures 7.6 cm deep, 40.6 cm wide and 91.4 cm high, weighs 454 g, and ships fully assembled with three lag screws, hardware and an installation guide. It is rated for indoor and outdoor use.
Measure your longest tool, find your studs, mount it level, and the corner pile stops coming back.