


The complete guide
Tile Stickers Buyer's Guide, How To Pick And Fit Peel And Stick Tiles
The wall problem nobody wants to deal with
There is a particular kind of tired wall that sits behind every kitchen sink. The paint has gone slightly yellow from cooking. There is a faint grease halo near the hob. Maybe the original tiles are fine structurally but the colour belongs to a decade you would rather not revisit. Nothing is broken, so nothing is urgent, and so it stays like that for years.
The reason it stays is simple. Real retiling is a proper job. You need to strip the old surface, handle the dust, mix adhesive, set spacers, wait for it to cure, then grout and clean up. That is a weekend minimum, often with a trip to hire a tile cutter, and it is genuinely intimidating if you have never done it.
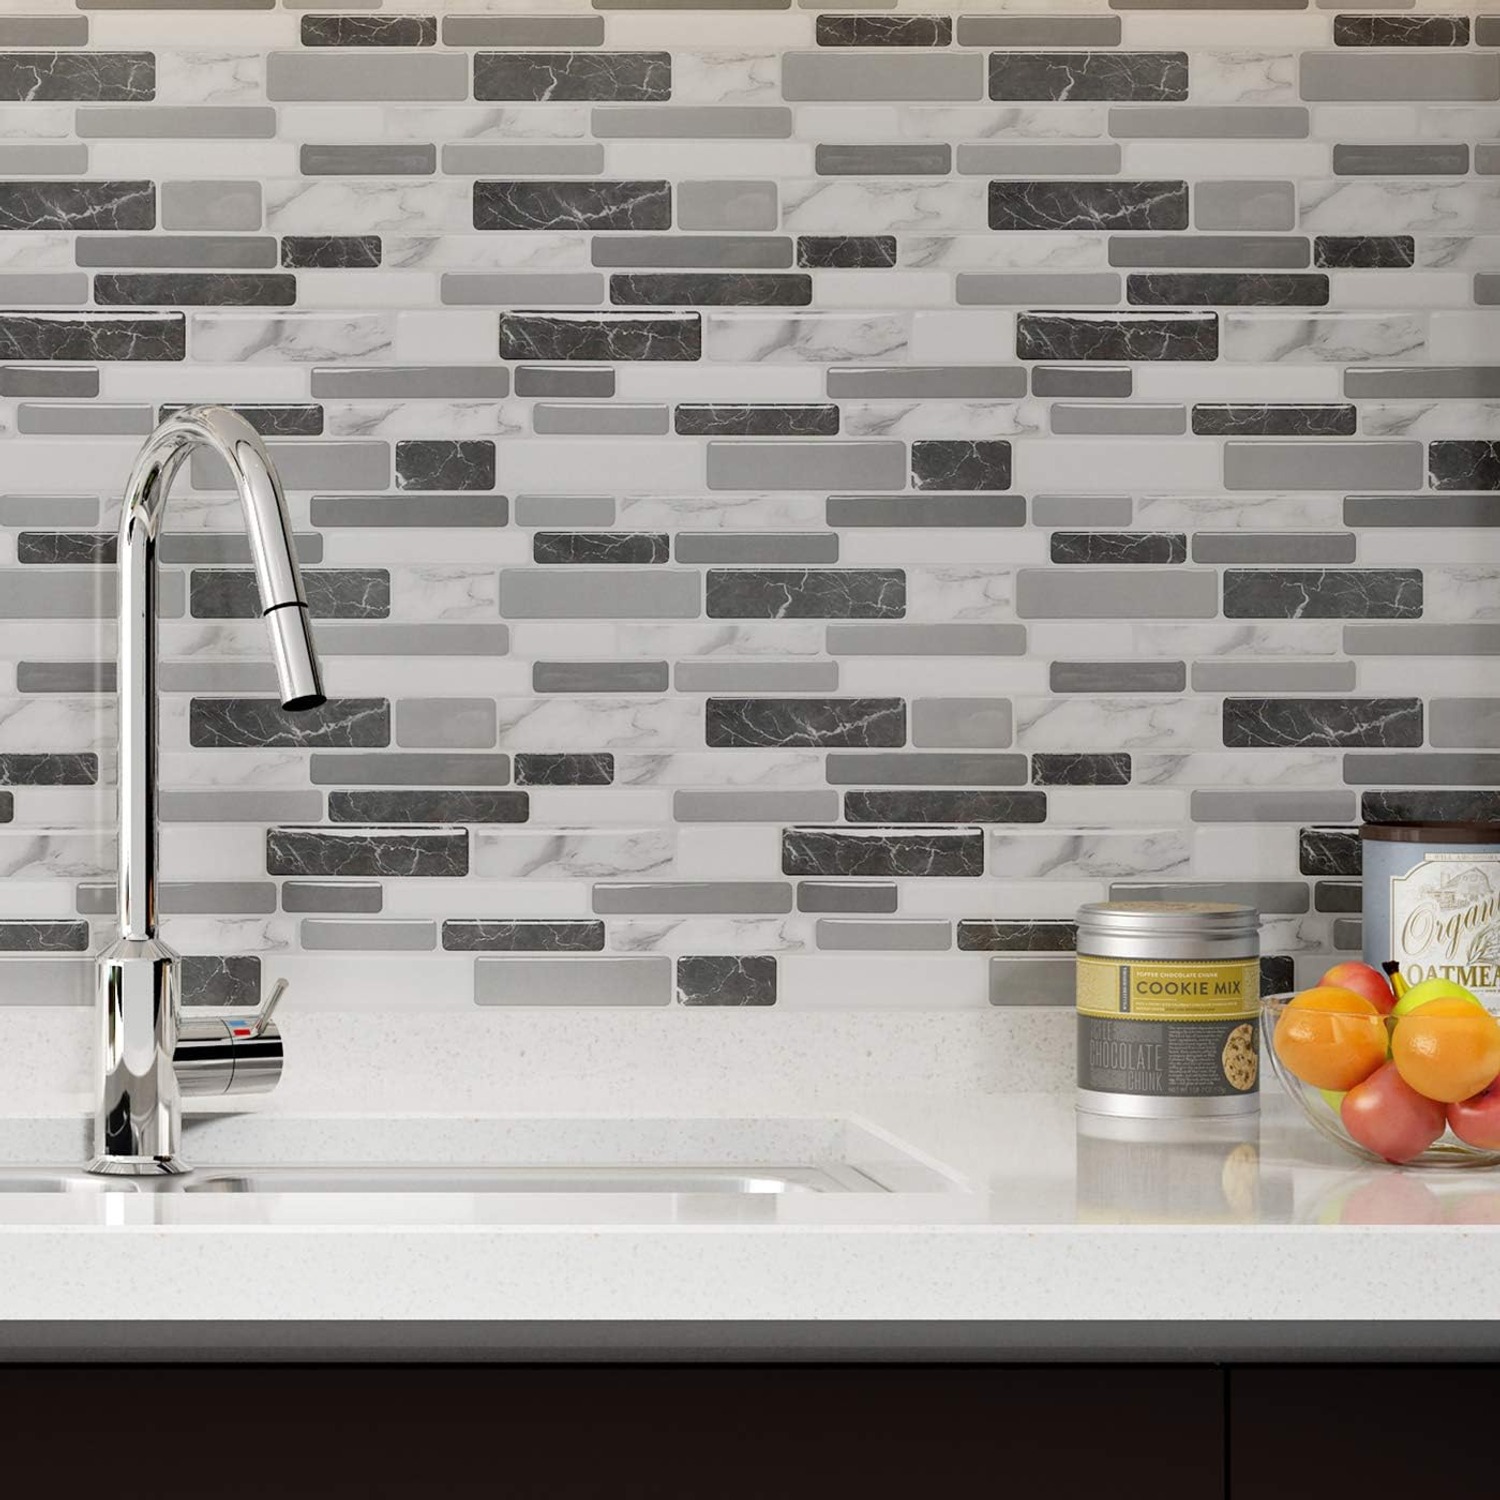
Tile stickers exist to break that stalemate. They give you the look of a tiled wall with none of the wet trades. Ten sheets, a clean surface and some patience with a tape measure is the entire kit list.
How peel and stick tiles work
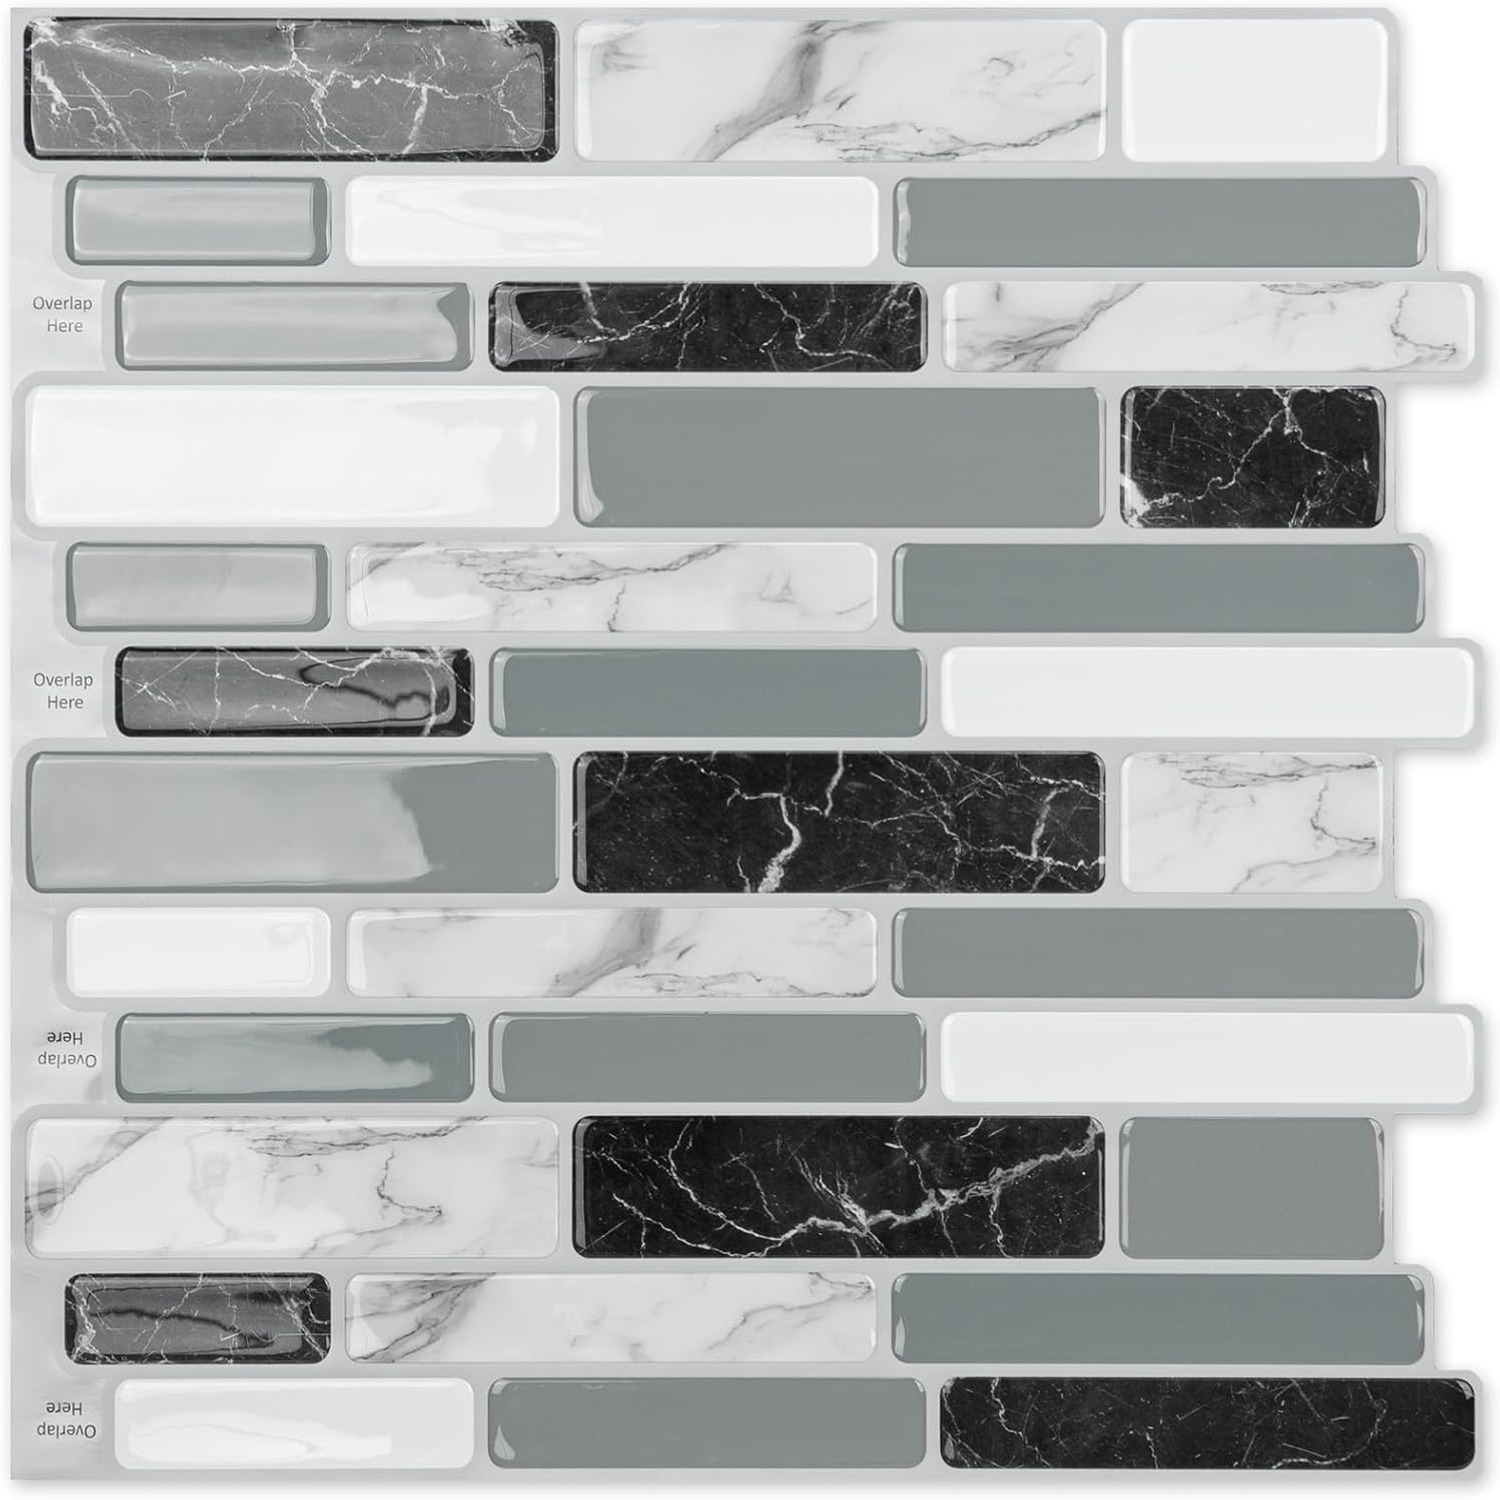
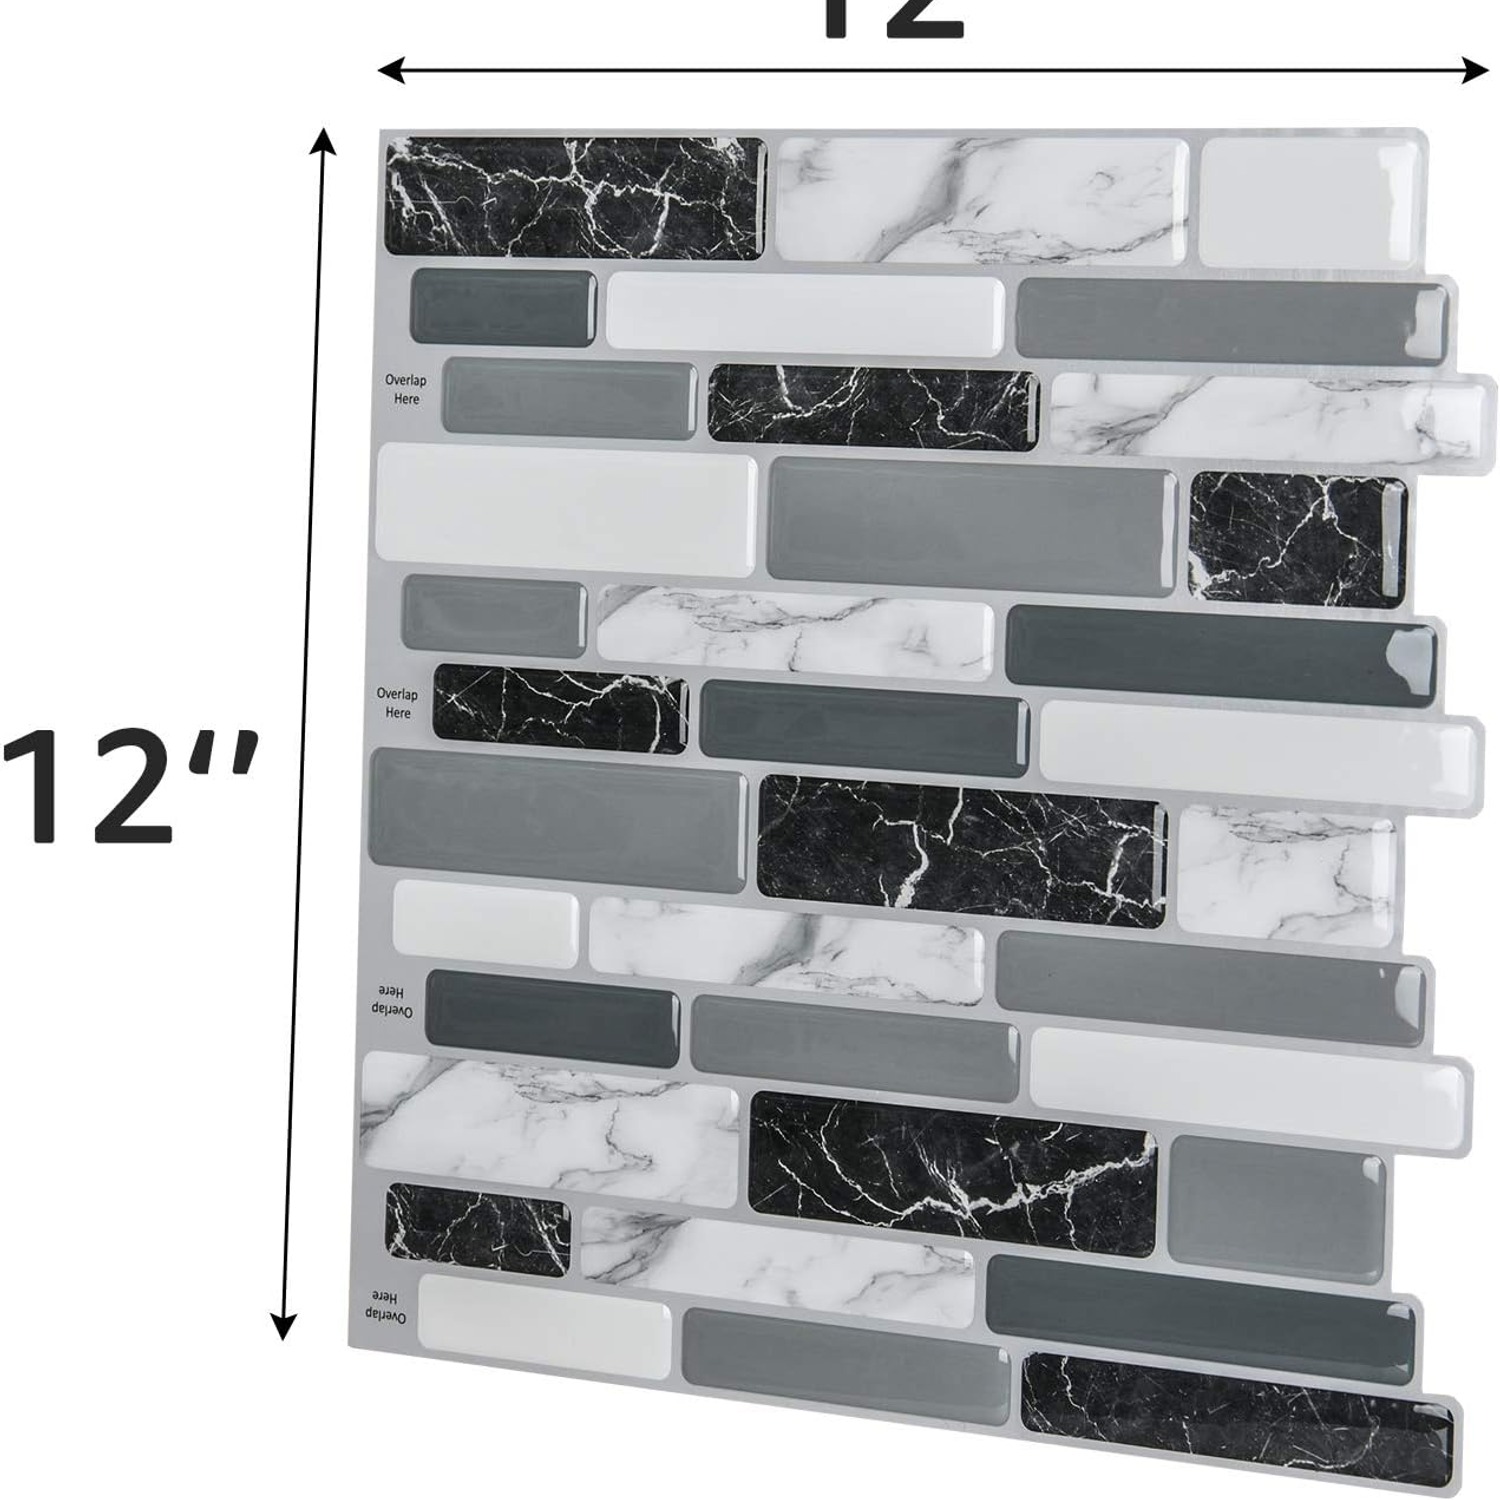
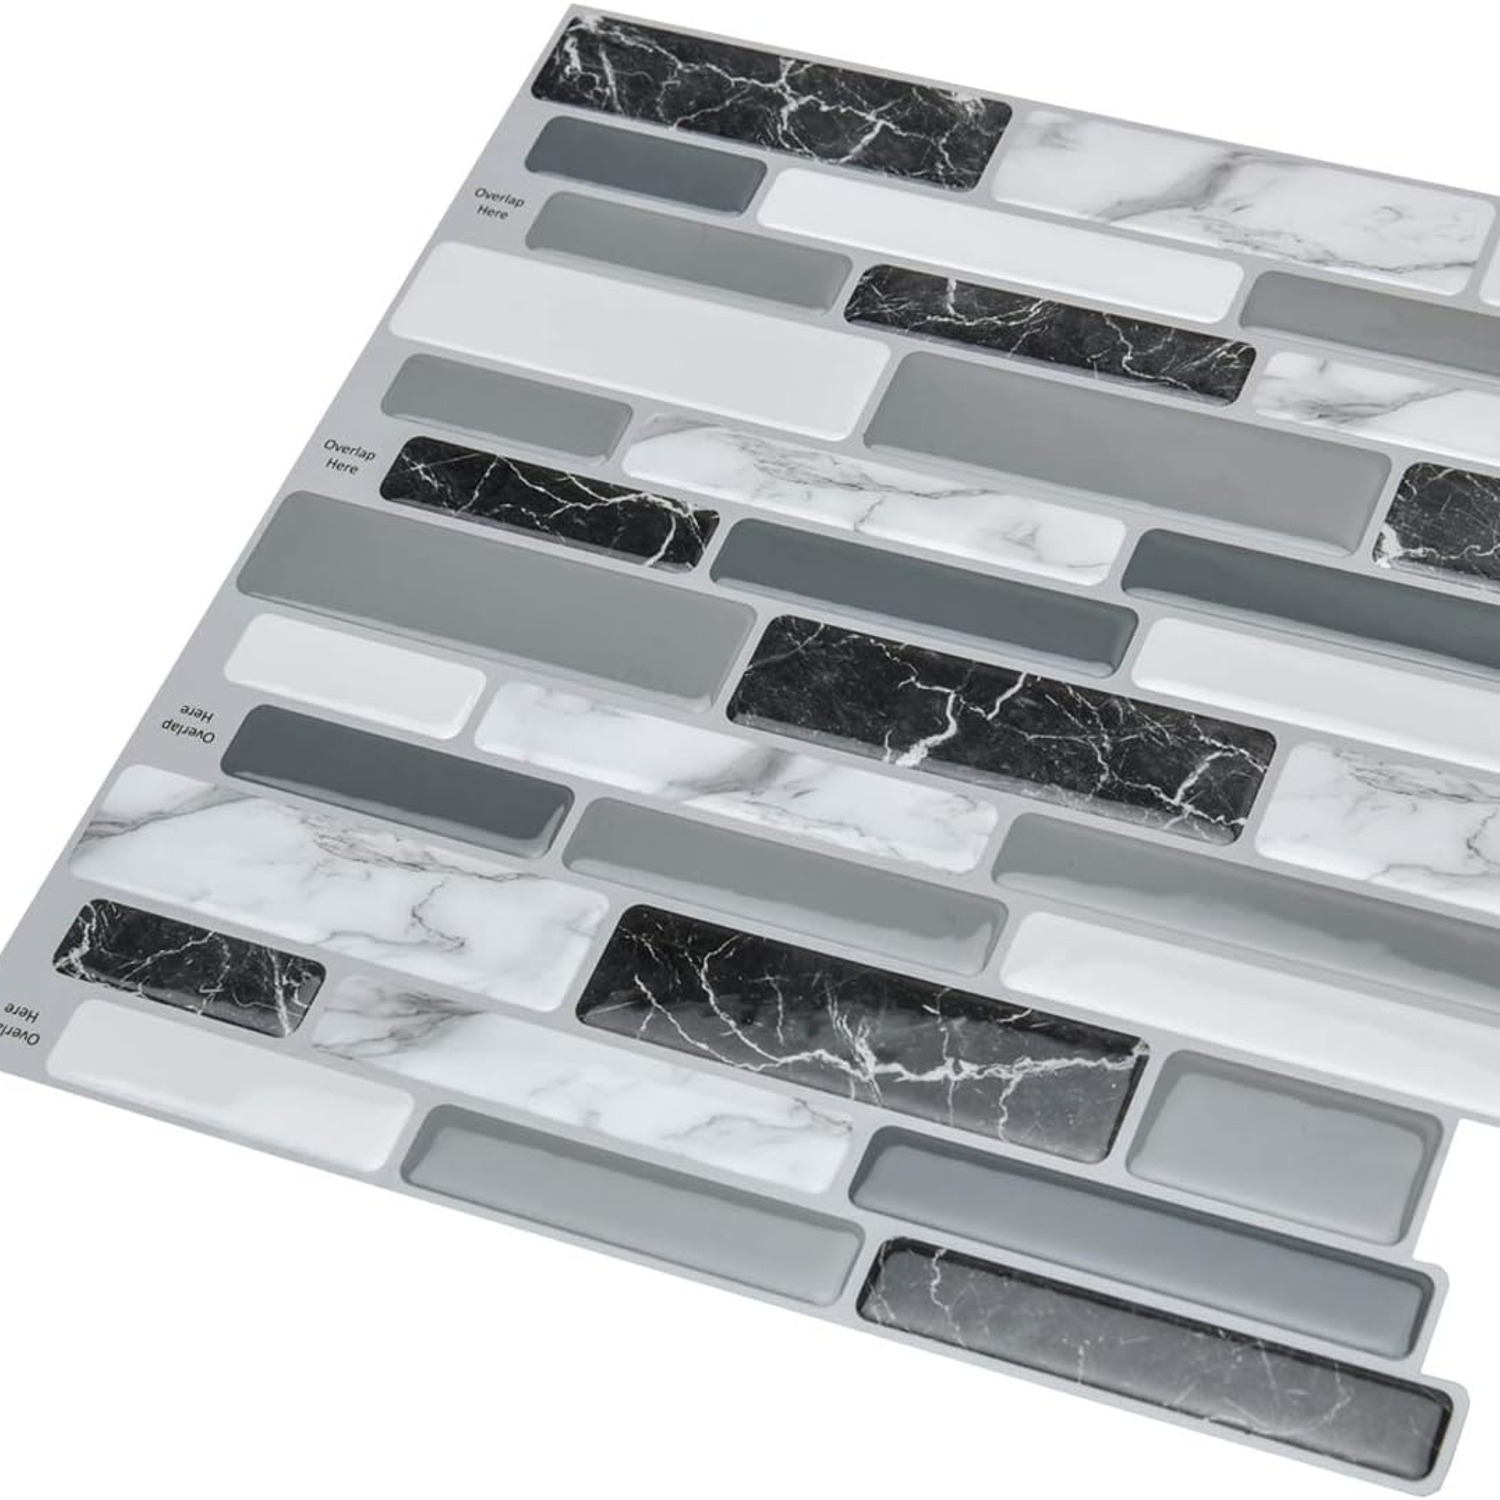
Each sheet in this set is 30 x 30 cm, which the listing also gives as 12 inches square. The sheets are 0.1 cm thick, so they sit tight against the wall rather than standing proud of it. On the back is a layer of adhesive, protected by a liner you peel off just before you press the sheet into place.
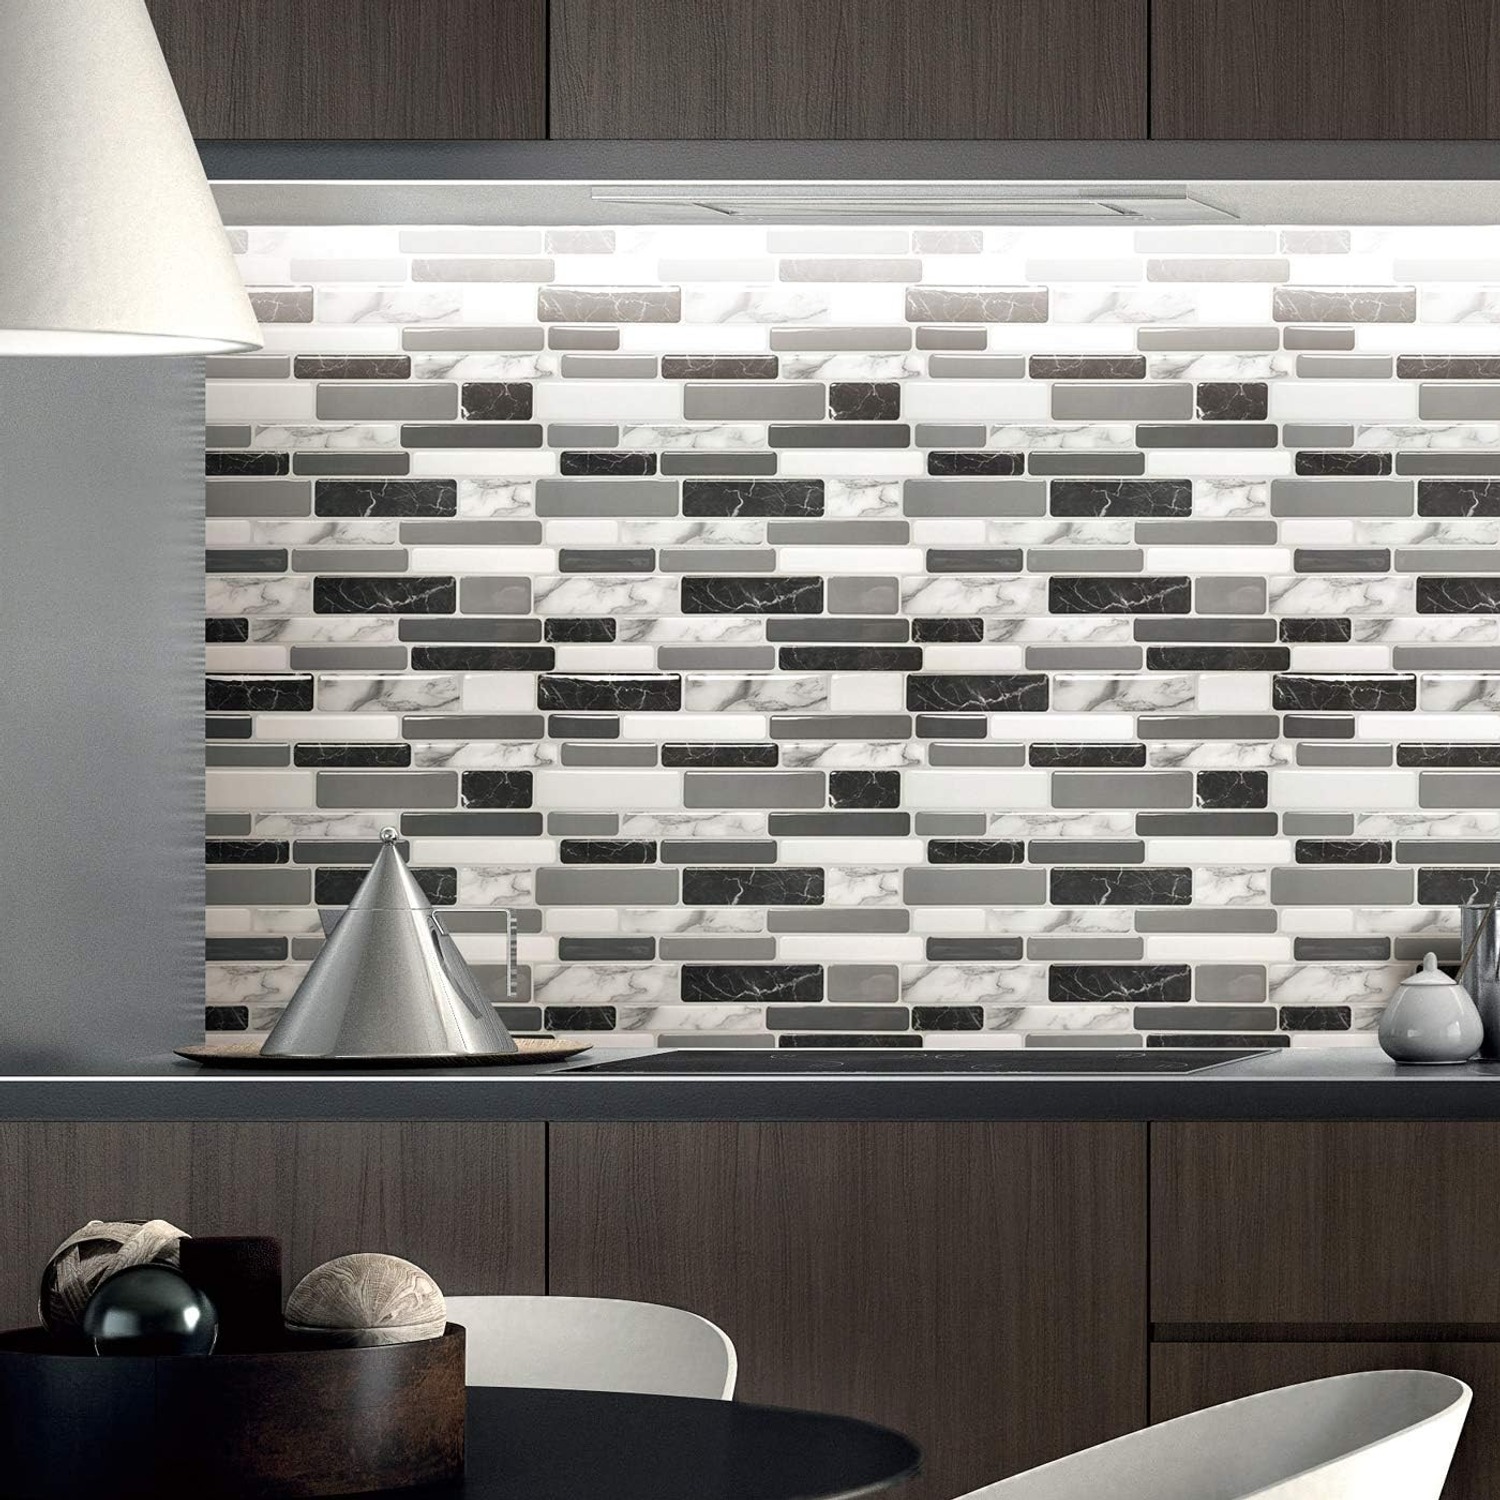
That is the whole mechanism. No grout, no tile adhesive, no mixing bucket. The listing is clear that the product needs no glue, no special tools and no previous experience. The surface is textured with a grey marble pattern, so light falls across it the way it would on a tiled wall instead of hitting a flat sheen.
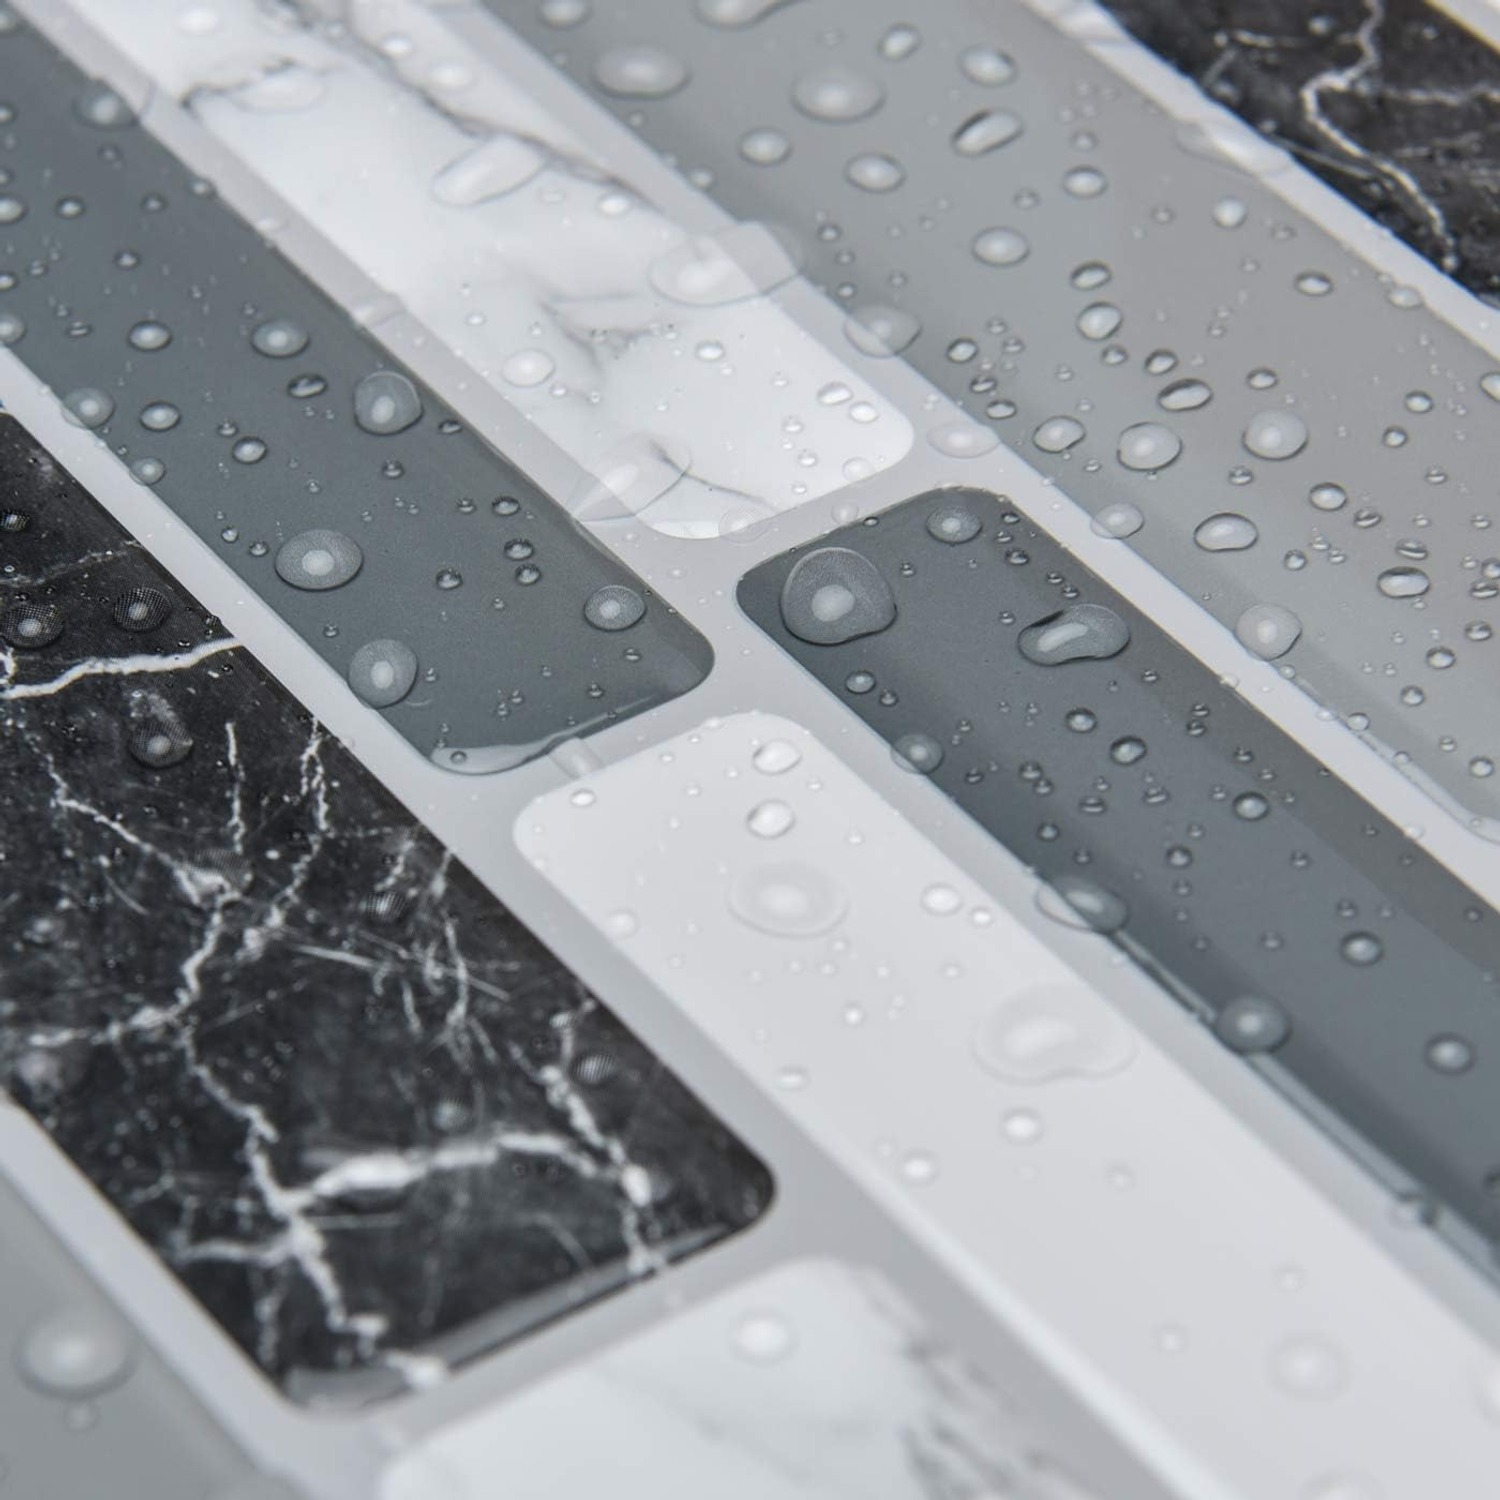
The set is described as water resistant and stain resistant, which is why kitchens and bathrooms are the recommended rooms. Splashes wipe off. Everyday cooking spatter comes away with a damp cloth. That is a very different claim from waterproof, though, and it is worth holding onto that distinction. These are for vertical splash zones, not for shower trays, countertops or anything that sits in standing water.
One more practical detail: the sheets are flexible enough to wrap a rounded corner. If you have a curved kitchen island edge or a softened external corner beside a doorway, that flexibility is what makes the difference between a tidy finish and a visible gap.
Who these suit
Renters are the obvious group. A peel and stick backsplash does not count as construction, which means no contractor, no dust sheets and no permanent change to the fabric of the room. Check your tenancy agreement first, since some leases treat any adhesive on a wall as an alteration, but in practice this is one of the lowest-commitment upgrades available.
First-time DIYers are the second group. If you have never tiled and the thought of a notched trowel makes you nervous, this is a gentle way in. The worst outcome of a bad cut is a wasted sheet, not a ruined wall.
Then there are the small awkward spaces nobody wants to hire a tiler for. A laundry room wall behind the machine. The short run beside a bathroom basin. A bedroom feature panel behind a headboard. These are all listed as recommended uses, and they are exactly the sort of jobs where getting a trade in feels out of proportion to the work.
Working out how many sheets you need
This is the step people rush and then regret. Measure the height and the width of the area you want to cover, in centimetres, and multiply them. Each sheet gives you 900 square centimetres of coverage, so divide your total by 900.
Then add to that number. Trimming eats material. Cutting around a socket wastes the offcut. You will almost certainly ruin one sheet learning how the adhesive behaves. One or two spare sheets is cheap insurance against stopping the job halfway through and waiting on another delivery.
For a typical run behind a single kitchen sink, one set often does it. For a full backsplash across a counter run, plan on several sets. Buying them together also means the sheets come from the same batch, which matters with any patterned product.
Fitting them properly
Preparation does more for the finished result than anything else. The wall needs to be clean, dry and free of grease and dust. In a kitchen that means degreasing properly, not just a quick wipe, because cooking residue is the number one reason adhesive lets go later. Let the wall dry fully before you start.
Dry-fit before you commit. Lay the sheets out on the floor in the pattern you plan to use, or hold them against the wall with the liner still on, and work out where the cut pieces will land. Good practice is to centre the layout on the focal point, usually the sink or the hob, so the trimmed sheets end up at the outer edges where the eye does not go.
Draw a level pencil line as your starting reference. Walls are rarely square and worktops are rarely perfectly flat, so if you line your first sheet up with the counter you may find the whole run drifting by the far end. A level line fixes that before it becomes a problem.
When you apply, peel back only part of the liner, line the top edge up, then press down and work across, smoothing as you go. That stops air getting trapped underneath. Press firmly along the edges, since the edges are where lifting starts.
For cuts, mark on the back with a pencil and use sharp scissors or a craft knife against a straight edge. Cut slightly long and shave down rather than cutting short. Around electrical sockets, switch the power off at the breaker first, and if you are not comfortable removing a faceplate, cut neatly up to its edge instead.
A tip for the counter line: a thin bead of standard kitchen or bathroom silicone along the bottom edge is not required, but it stops water creeping behind the sheets where the wall meets the worktop or basin.
Looking after them
Cleaning is simple. A soft damp cloth and a mild household cleaner handles normal use. What you want to avoid is anything abrasive. Scouring pads and scrapers will wear at the textured finish, and strong solvents can attack the surface and the adhesive at the same time.
Deal with splashes reasonably promptly. Stain resistance helps, but no surface stays perfect if tomato sauce dries on it for a week. Wipe standing water from edges rather than letting it pool in the joint between sheets.
If a corner lifts at some point, gentle heat from a hairdryer softens the adhesive and lets you press it back down. Same technique applies in reverse when you eventually want them off: warm the sheet, peel slowly at a low angle, and go steadily. Removal results depend on your wall and your paint, so budget for a touch-up in places.
A few honest limits
They go on walls, indoors. Not floors, not outside, not countertops. The listing is specific about this and the reasons are structural, not cautious.
They want a smooth surface. A textured or sandy wall only gives the adhesive high points to grab, and that will show in a year. Over existing tile they often work, but deep grout lines can telegraph through, so test a single sheet in a hidden spot before you buy enough for the whole wall.
And give the colour a real-world look before you commit. Grey marble reads differently under a warm bulb than it does in daylight. One sheet up behind the kettle for a day tells you more than any photograph.
The short version
Ten sheets at 30 x 30 cm each, grey marble, textured, water resistant and stain resistant. You peel, you stick, you cut with scissors. No grout, no glue, no tiler.
Measure first, clean the wall properly, draw a level line and buy a spare sheet or two. Do those four things and a tired wall looks sorted in an afternoon, with nothing more dramatic than a pencil and a pair of scissors in your hand.