


The complete guide
The Buyer's Guide to Washing Machine Drain Pans
The leak you do not see coming
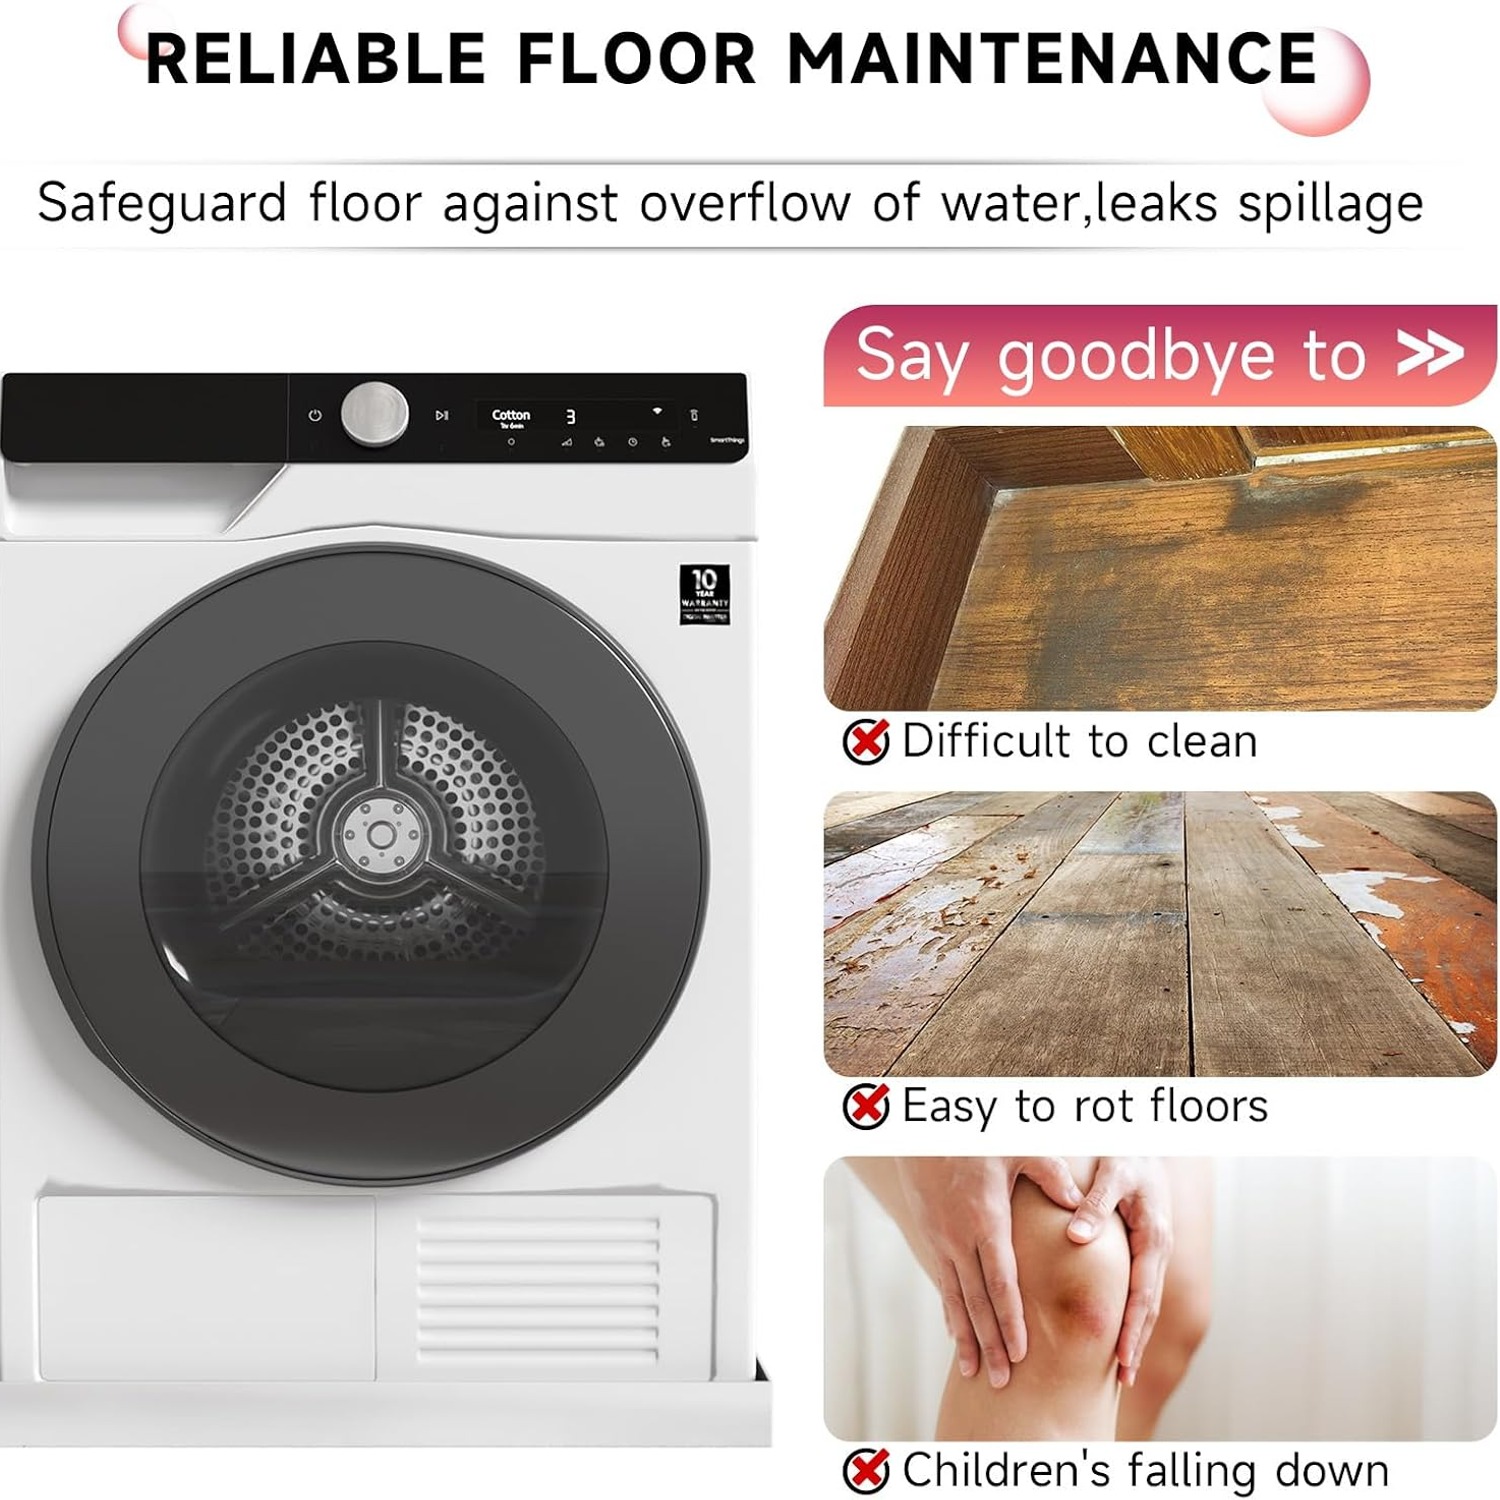
Ask anyone who has had to replace a laundry floor, and the story is rarely dramatic. There was no burst hose at three in the morning. There was a slightly worn door seal, or a drain hose that had worked loose by a few millimetres, and water that trickled out a little at a time. By the time it showed up as a dark patch on the skirting board or a soft spot in the floorboards, it had been happening for months.
That is the gap a drain pan fills. It is not a plumbing fix and it does not stop the leak. What it does is give the water somewhere to go that is not your floor, and it makes the problem visible. A puddle sitting in a bright steel tray is impossible to ignore the way a slow seep under a machine is easy to miss.
How a drain pan works
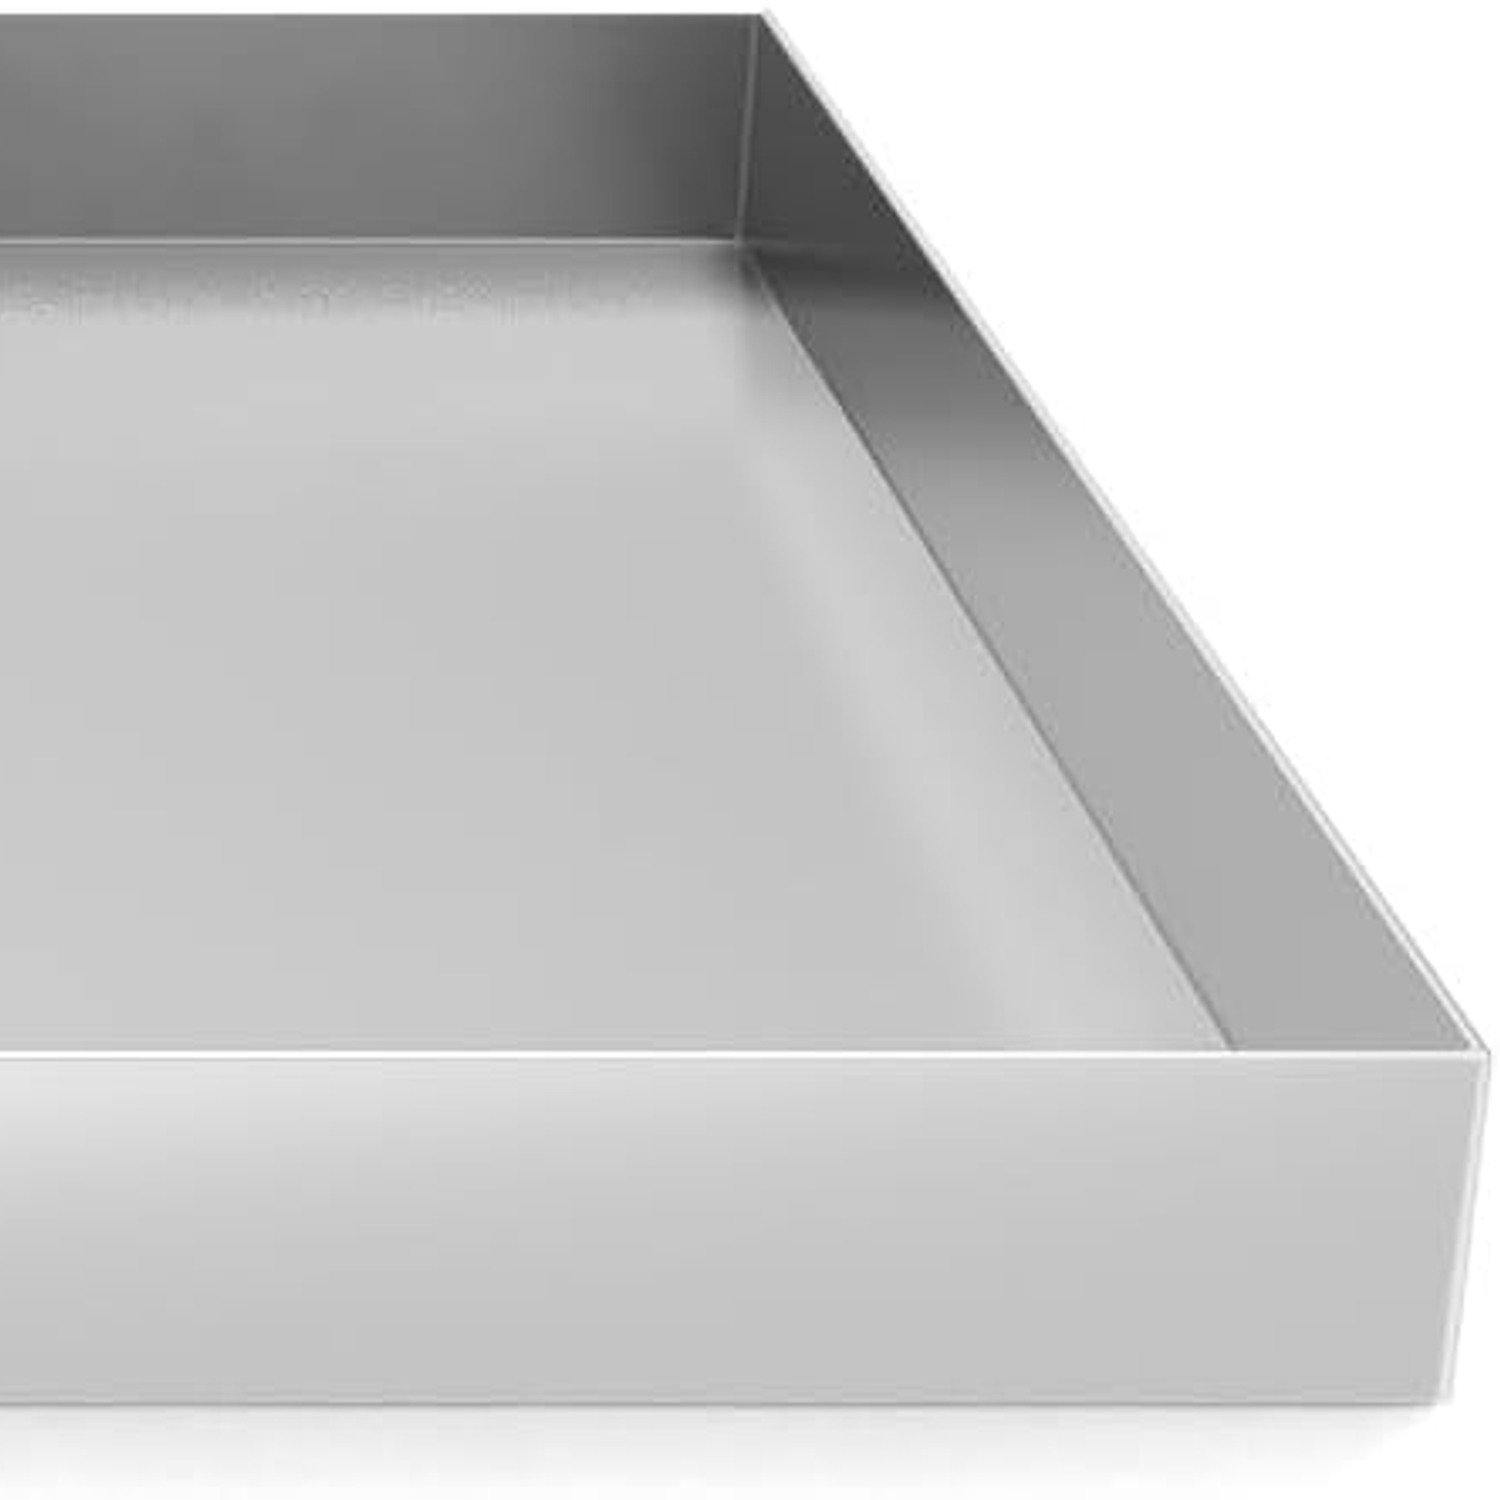
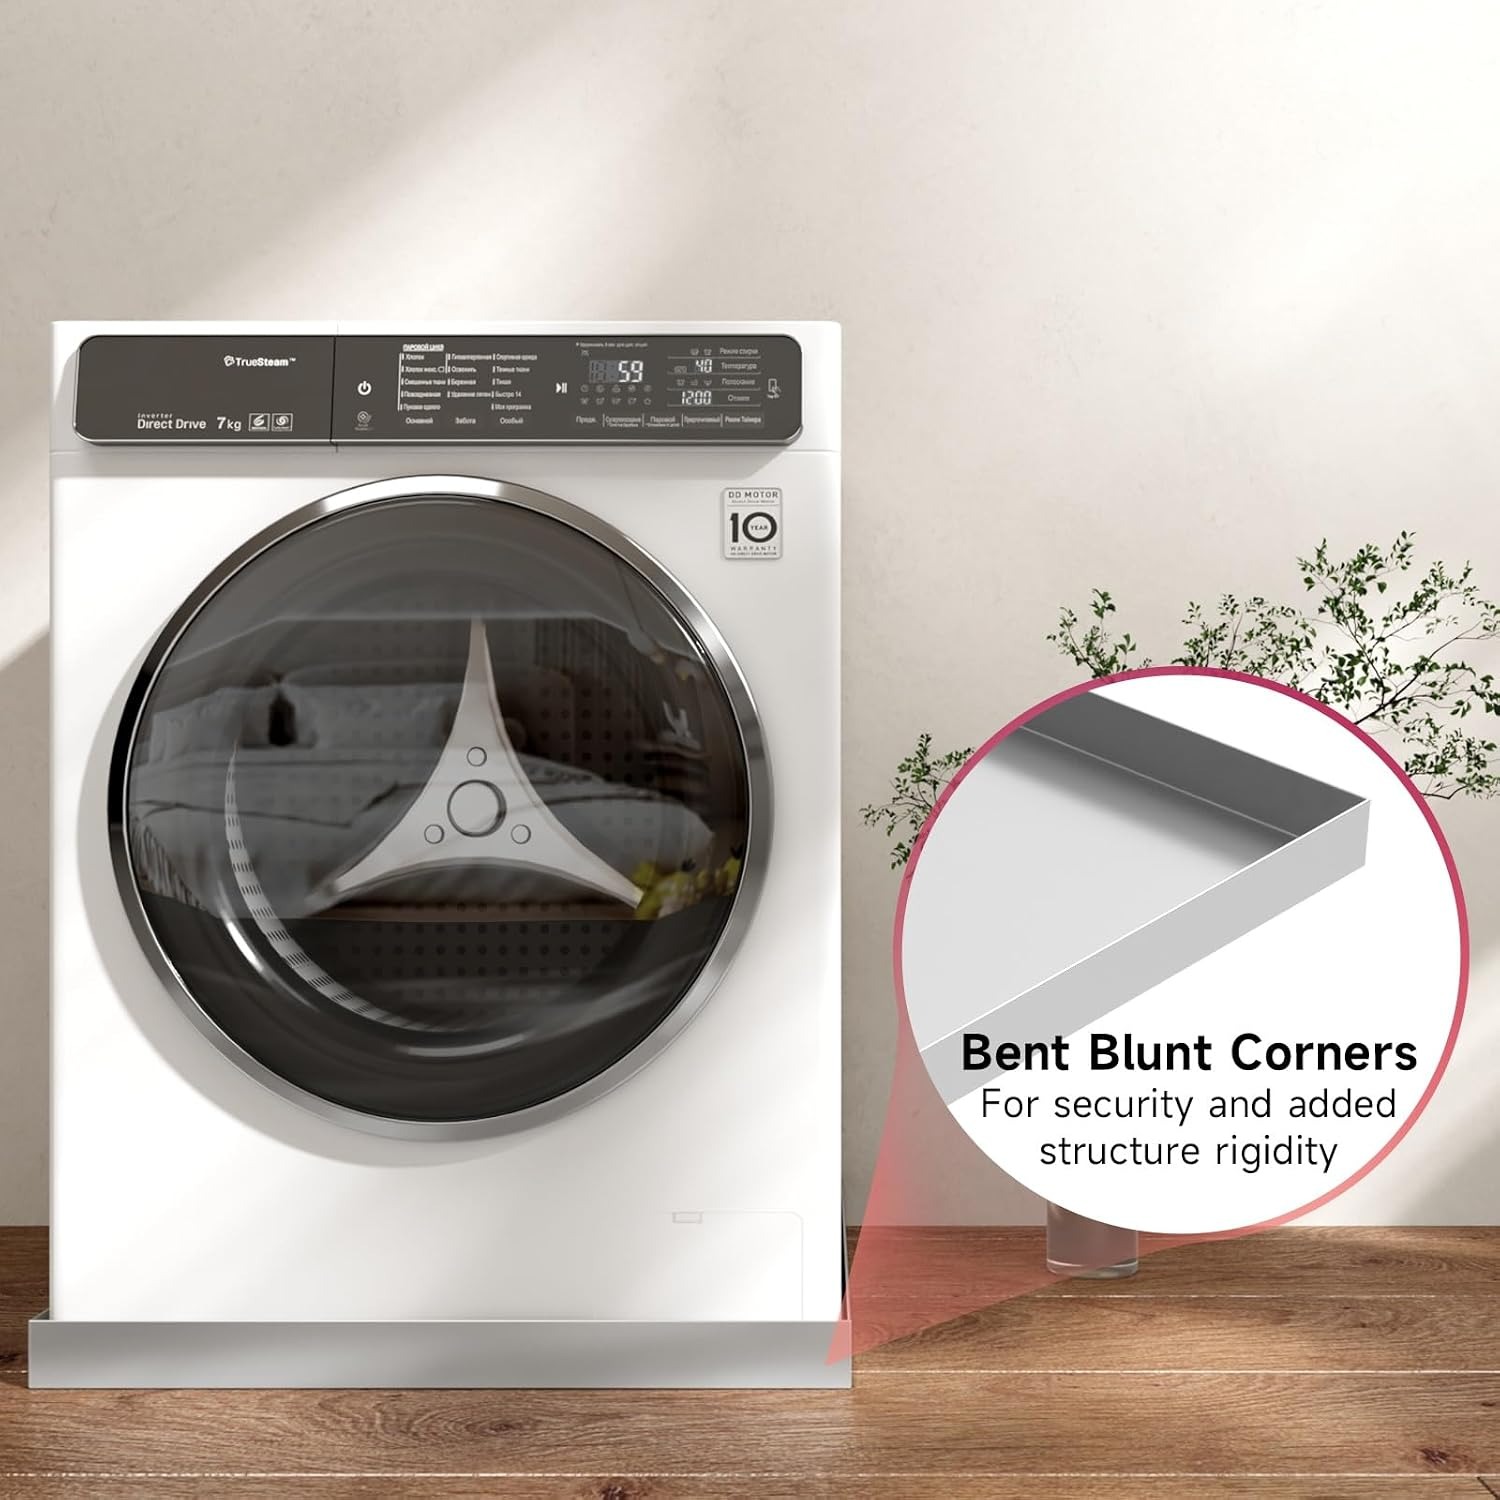
The idea is simple. A shallow tray with raised sides sits flat on the floor. The washing machine stands inside it. Anything that escapes from the appliance, whether that is a drip from the seal, a splash during a hose swap or an overflow from a jammed valve, lands in the tray instead of spreading across the room.
From there you have two options. The simplest is to wipe it out with a sponge or a dry cloth. That takes about a minute and has the side benefit of forcing you to look at the problem. The other option, common in purpose-built laundries, is to run a line from the pan to a floor drain so water carries away on its own. This pan has a reduced number of drain holes, a deliberate choice to cut down on protruding fittings that people catch their toes on in tight spaces. If you want it plumbed, have a look at what fittings your setup needs before you commit.
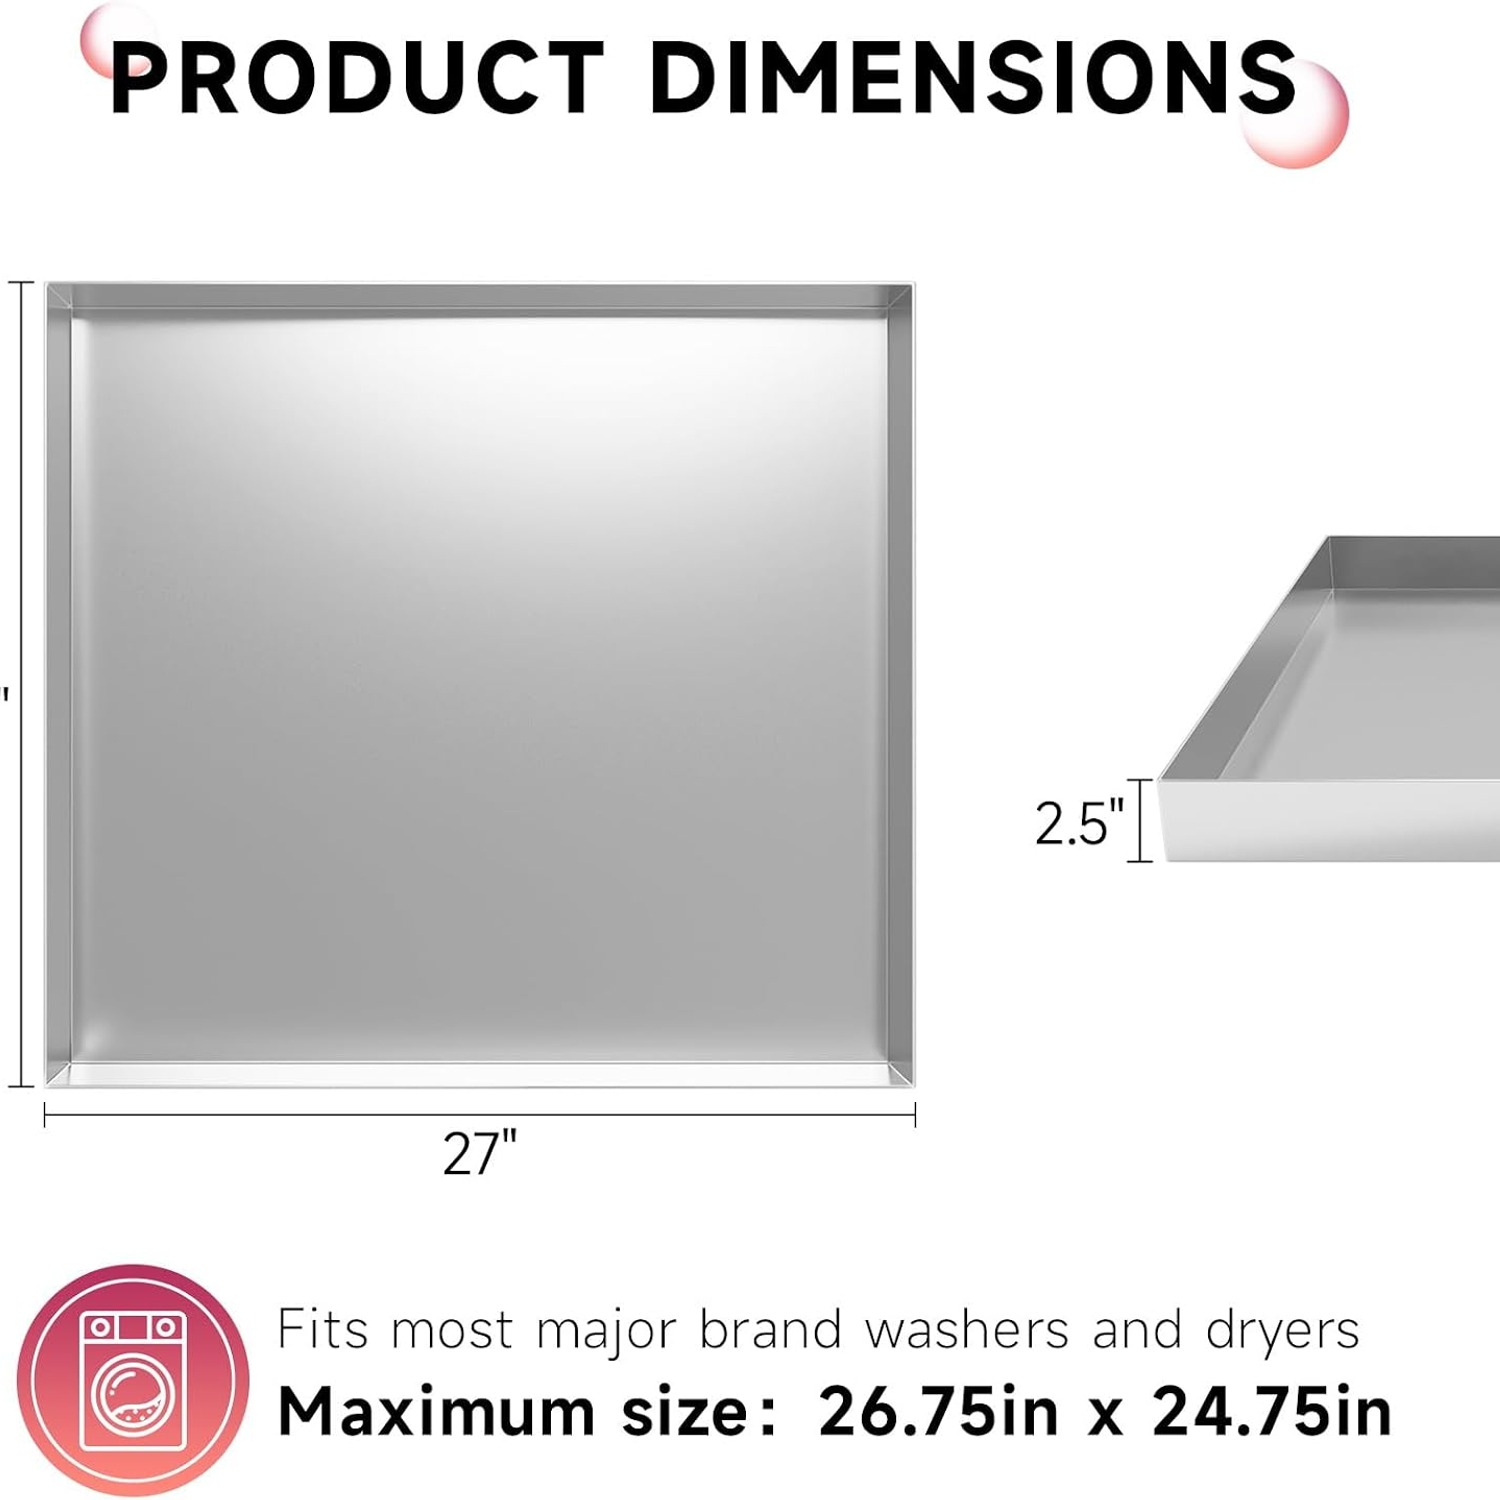
The lip on this one is 6.34 cm, listed as 2.5 inches. That is a sensible middle ground. Too shallow and a decent overflow runs straight over the edge. Too deep and you are lifting the machine awkwardly high, which can make the door and controls less comfortable and sometimes puts the top of the washer into the underside of a benchtop.
Why the material matters more than the price
Plastic drain pans are cheap and they are everywhere. They also have a known failure pattern. A washing machine full of water and wet laundry is a serious load, and it sits in one spot for years. Add heat from warm wash cycles, splashes of detergent and the natural ageing of the polymer, and plastic trays tend to go brittle. They crack along the base, often right under the machine feet where you cannot see it. A cracked pan is worse than no pan, because you believe you are protected when you are not.
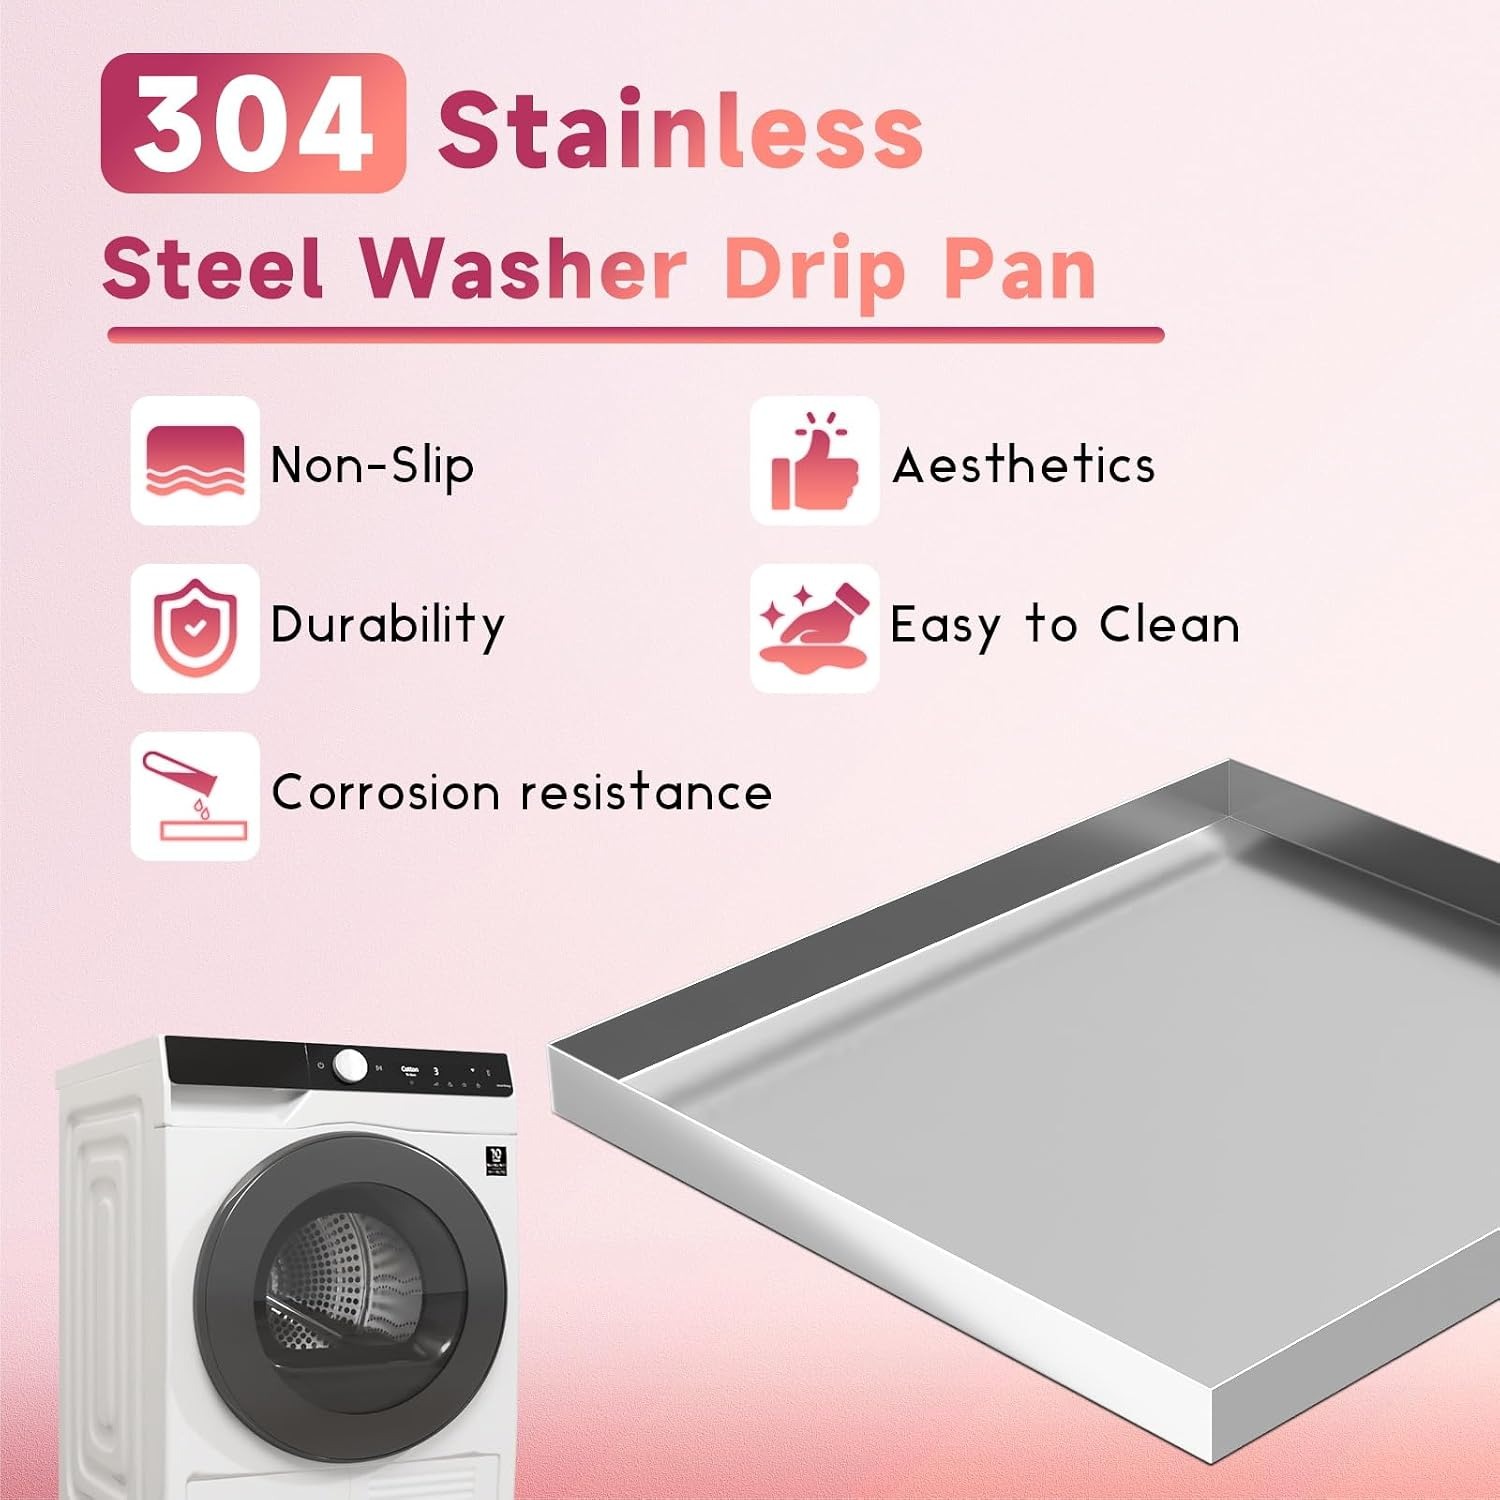
This one is 304 stainless steel. That grade turns up constantly in kitchens and laundries because it handles moisture and cleaning chemicals without pitting or staining. It keeps its shape under load. It also wipes clean rather than absorbing grime, which stops the pan becoming the dirtiest corner of the room. If you are weighing up the best stainless steel drip tray against a plastic alternative, the steel version is the one you install once and stop thinking about.
The construction details follow the same logic. All four sides are folded up rather than joined, the corners are precision welded so there is no open seam, and the edges are machined so you are not slicing a finger when you slide the pan into position. The finish is a galvanised polished steel that reads as part of the appliance set rather than something improvised.
Who actually needs one
Upstairs laundries are the obvious case. A leak on a second floor does not just ruin the laundry, it comes through the ceiling of whatever is underneath. Plenty of apartment buildings and strata schemes now require a pan under any machine above ground level, so check your building rules if you are in that situation.
Timber and engineered floors are the second case. Water and wood are a poor combination, and the damage is often permanent rather than something you can dry out. Even sealed floors have joins, and water finds them.
Older machines are the third. Seals harden, hoses stiffen, and the chance of a small leak climbs with age. If your washer has been going for eight or ten years, a pan is cheap insurance against the one failure that happens at an inconvenient time.
And then there is the general case, which is anyone who would rather not find out the hard way. At this price a pan costs a small fraction of what a floor repair runs to.
Getting the measurement right
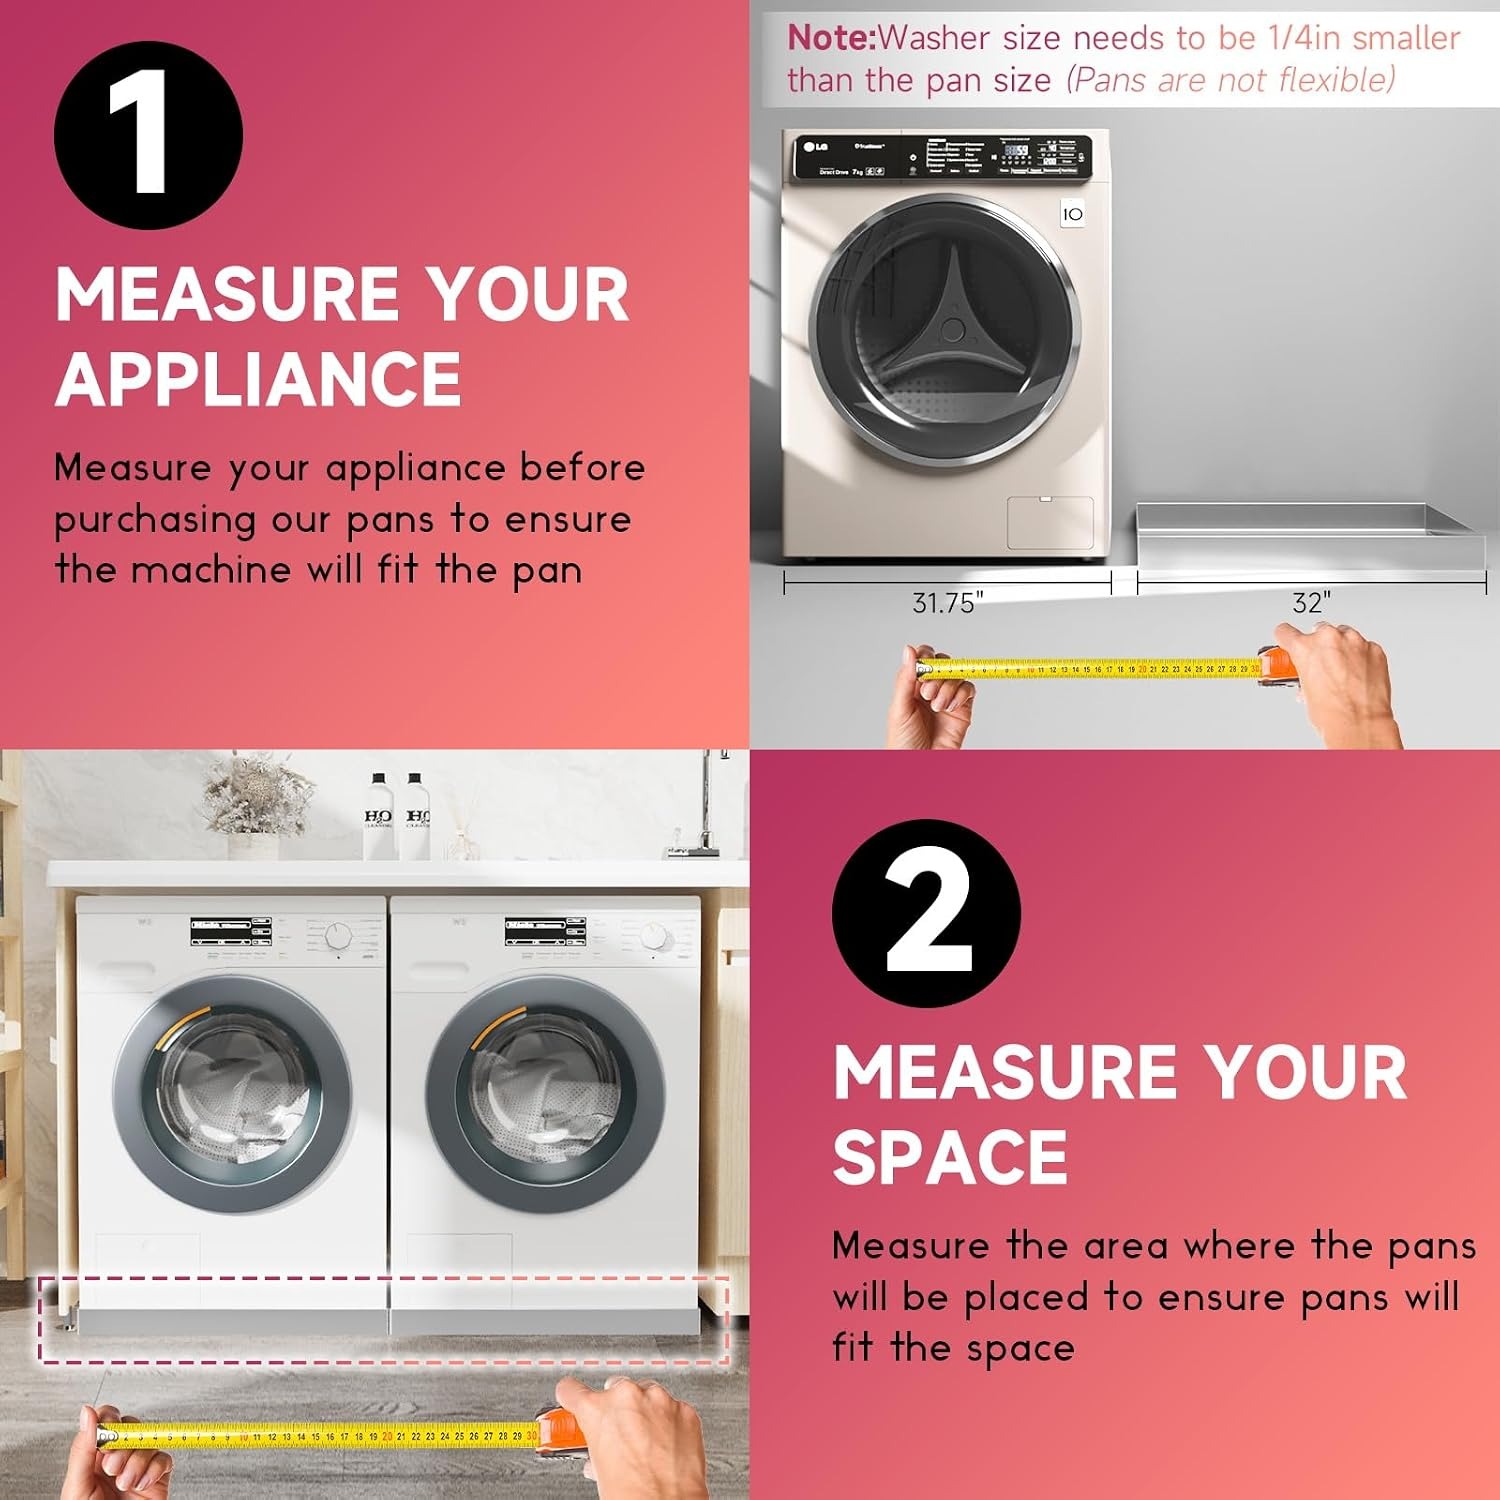
This is where most buying mistakes happen, so take an extra few minutes.
Measure the base footprint of your washing machine, not the widest point of the body and not the depth including the door handle. Appliance feet sit at the corners of the base, and that is what has to land inside the pan. This tray takes a base up to 26.75 x 24.75 inches, roughly 67.9 x 62.9 cm. Most standard front-loaders fit comfortably inside that.
Then check your vertical clearance. Adding 6.34 cm of height matters if your washer is under a benchtop or inside a cabinet. Open the door, look at the gap above the machine, and make sure you still have room.
Last, think about the floor itself. The pan wants a flat, clean surface. Sweep out the space before you install it, because a stray screw or a lump of dried detergent under the base will sit there for years.
Installing it without hurting your back
Washing machines are heavy, so this is a two-person job. The usual method is to tilt the machine back onto its rear edge, slide one side of the pan underneath, then tilt the other way and pull the pan fully into position. Appliance sliders or a couple of furniture gliders make this much easier than brute force.
Once the machine is in the pan, re-level it. Adjust the feet until the washer sits firm with no rock, and check it with a spirit level across the top. A machine that is slightly off level will walk and vibrate during a spin cycle, which is the single most common complaint after any appliance move. This has nothing to do with the pan and everything to do with the feet, but people often blame the pan because it was the last thing that changed.
Keeping it clean
There is not much to it. Wipe out any standing water with a sponge or cloth as soon as you notice it. Clean the pan with warm water and a mild detergent when it needs it, then dry the surface so you do not leave water marks on the polished finish. Avoid steel wool, abrasive scouring pads and heavy bleach cleaners, which will dull or scratch the steel.
Every few months, have a quick look around the drain holes for lint and dust. That is where anything that does collect will gather. A thirty-second check is enough.
Using it somewhere else
One of the quiet advantages of a steel pan is that it is not locked to the laundry. The listing mentions fridges, dryers and stoves as other places a drip tray earns its place. A fridge that sheds condensation, a dryer in a carpeted room, a stove in a rental where you would rather not scrub the floor underneath. All of these are reasonable uses for a flat steel tray with a lip, as long as the appliance footprint fits inside the 67.9 x 62.9 cm internal area and there is nothing in your appliance manual advising against it.
That flexibility is worth remembering if you ever move house or upgrade your washer. The pan does not become scrap just because the machine above it changed.
The short version
A washing machine drain pan is one of those purchases that does nothing visible for years and then saves you a floor. This one is 304 stainless steel rather than plastic, which means it will not crack under the weight of a loaded machine. It measures 68.57 x 63.49 x 6.34 cm and takes a washer base up to about 67.9 x 62.9 cm, covering most standard front-loaders. The sides are folded, the corners welded, the edges machined, and the drain holes kept to a minimum so there is less to trip on.
Measure your machine's base before you order, line up a second pair of hands for the install, and re-level the washer once it is in place. After that, the only maintenance is a wipe-out when something spills and a glance at the drain holes a few times a year.