

The complete guide
How To Choose And Use A Fabric Raised Garden Bed
The problem with growing where you live
Plenty of people want to grow a few vegetables and never get started. The reasons repeat themselves. The soil is clay that sets like concrete in July. The whole yard is paved. The only outdoor space is a balcony three floors up. Or the house is rented, and nobody wants to build a timber frame they will leave behind in eighteen months.
Traditional raised beds solve the soil problem but create new ones. They need building, they are heavy, and once they are in place they stay in place. If you put one in the wrong spot and discover by August that it only gets four hours of sun, you have made an expensive mistake.
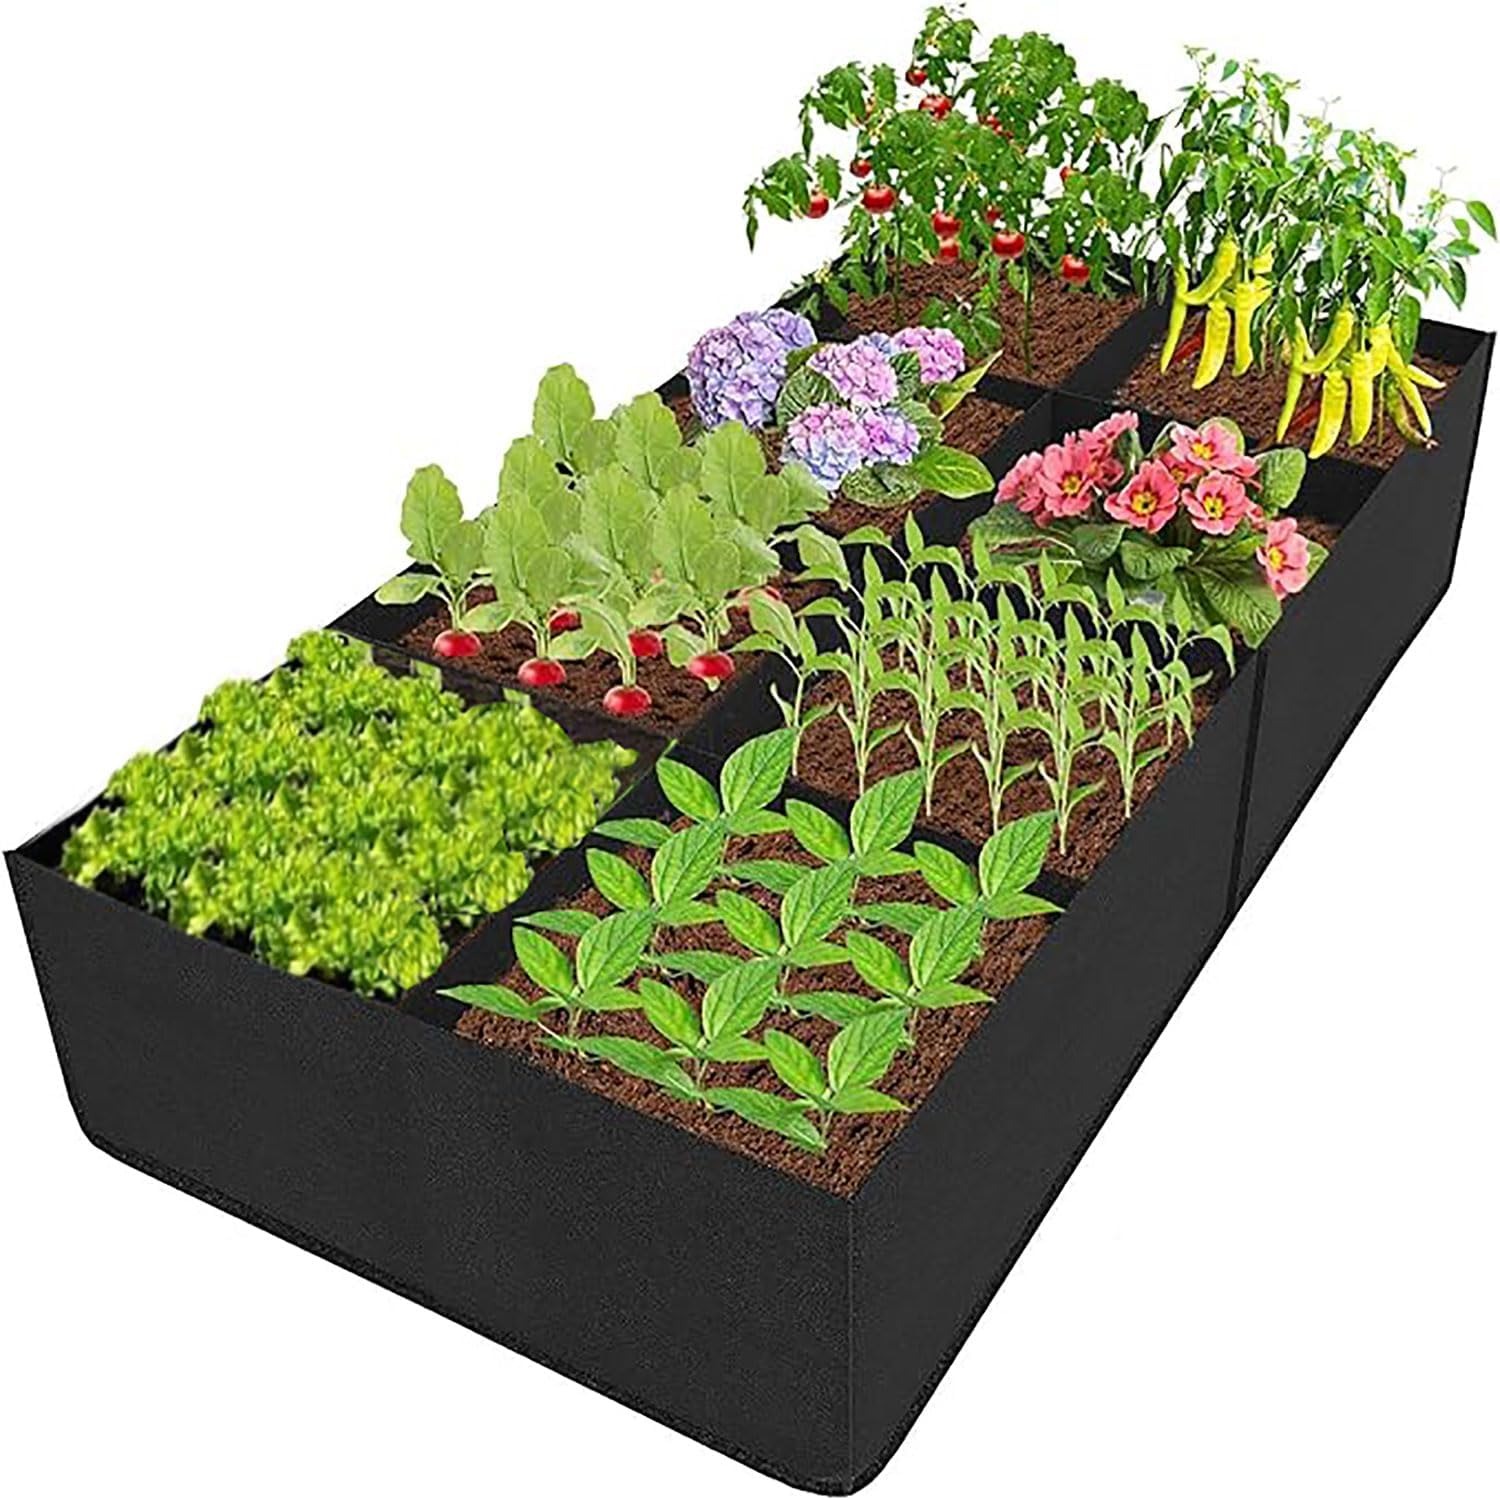
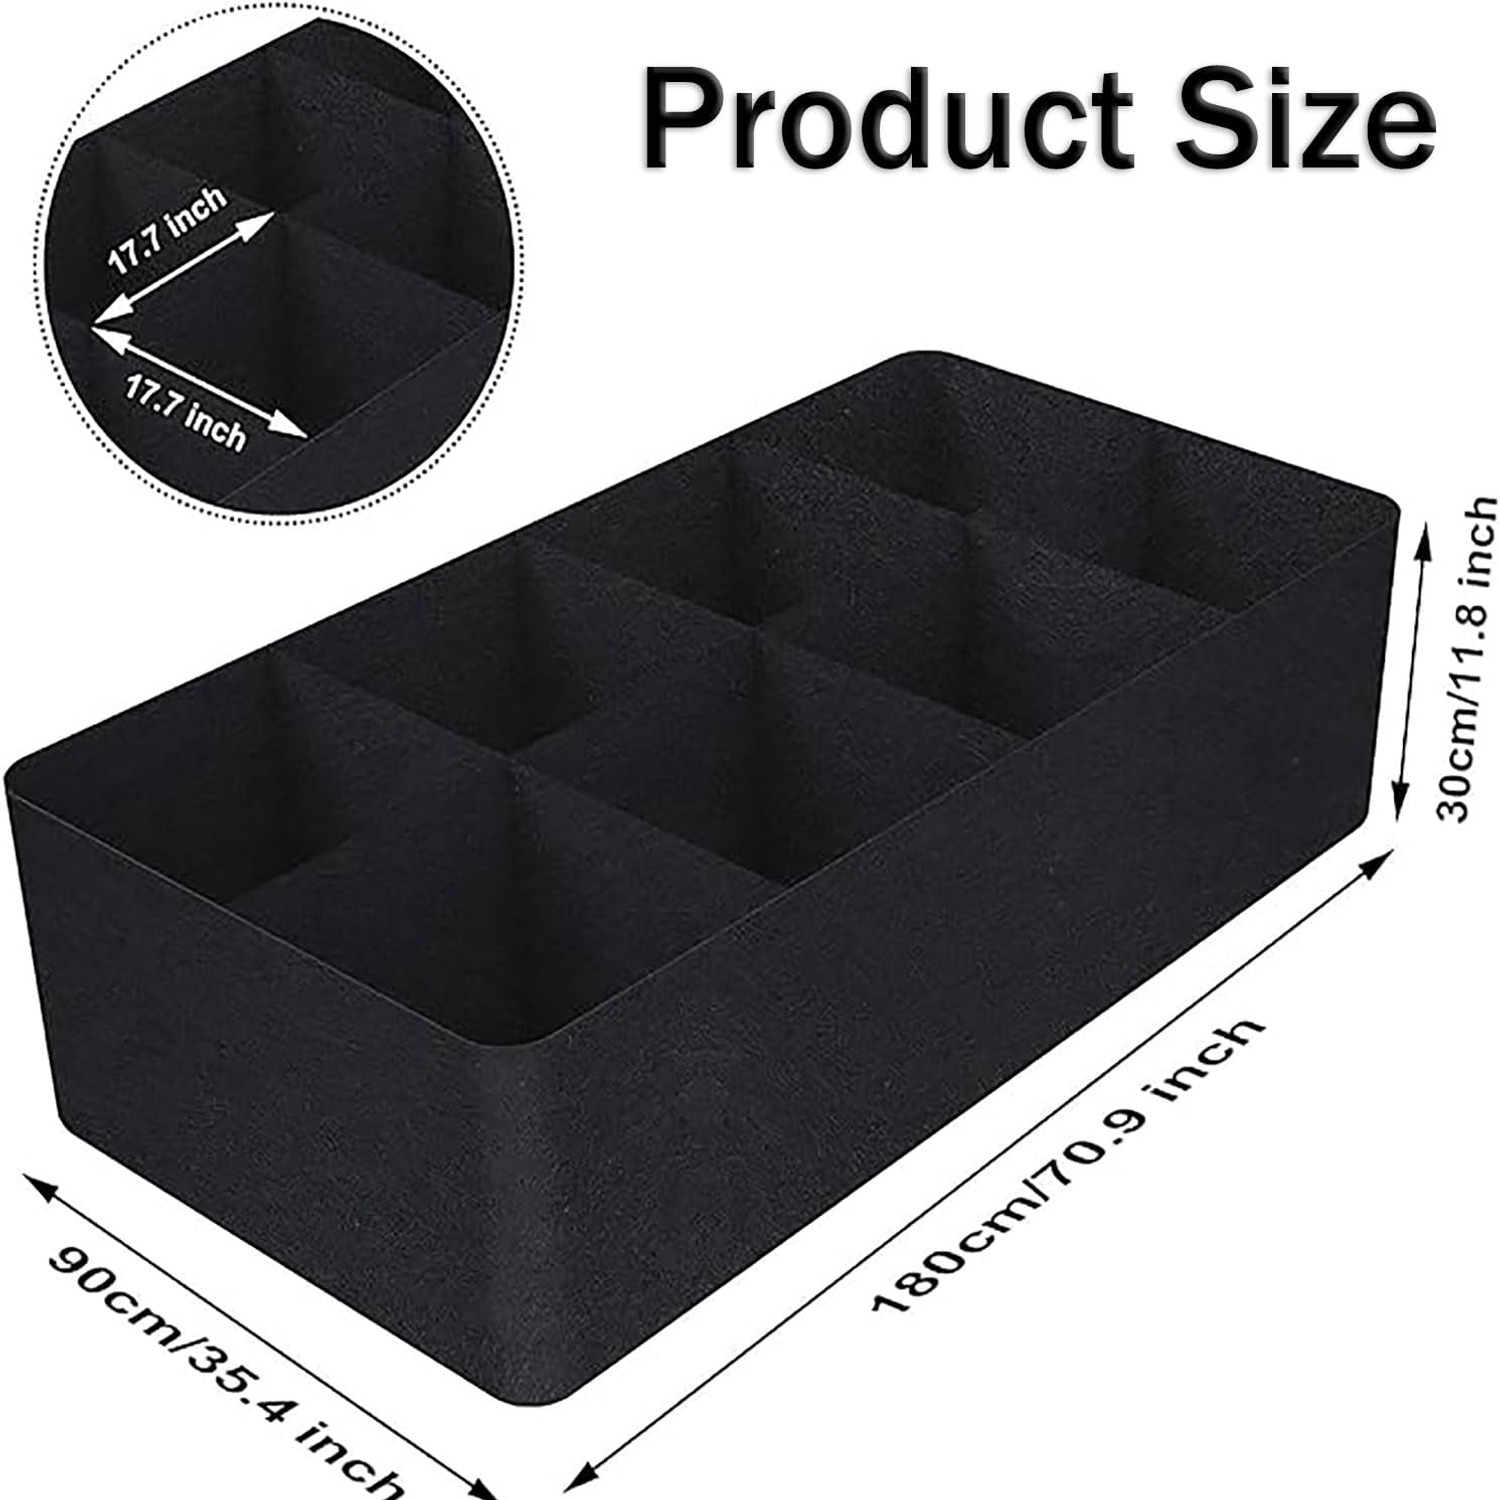
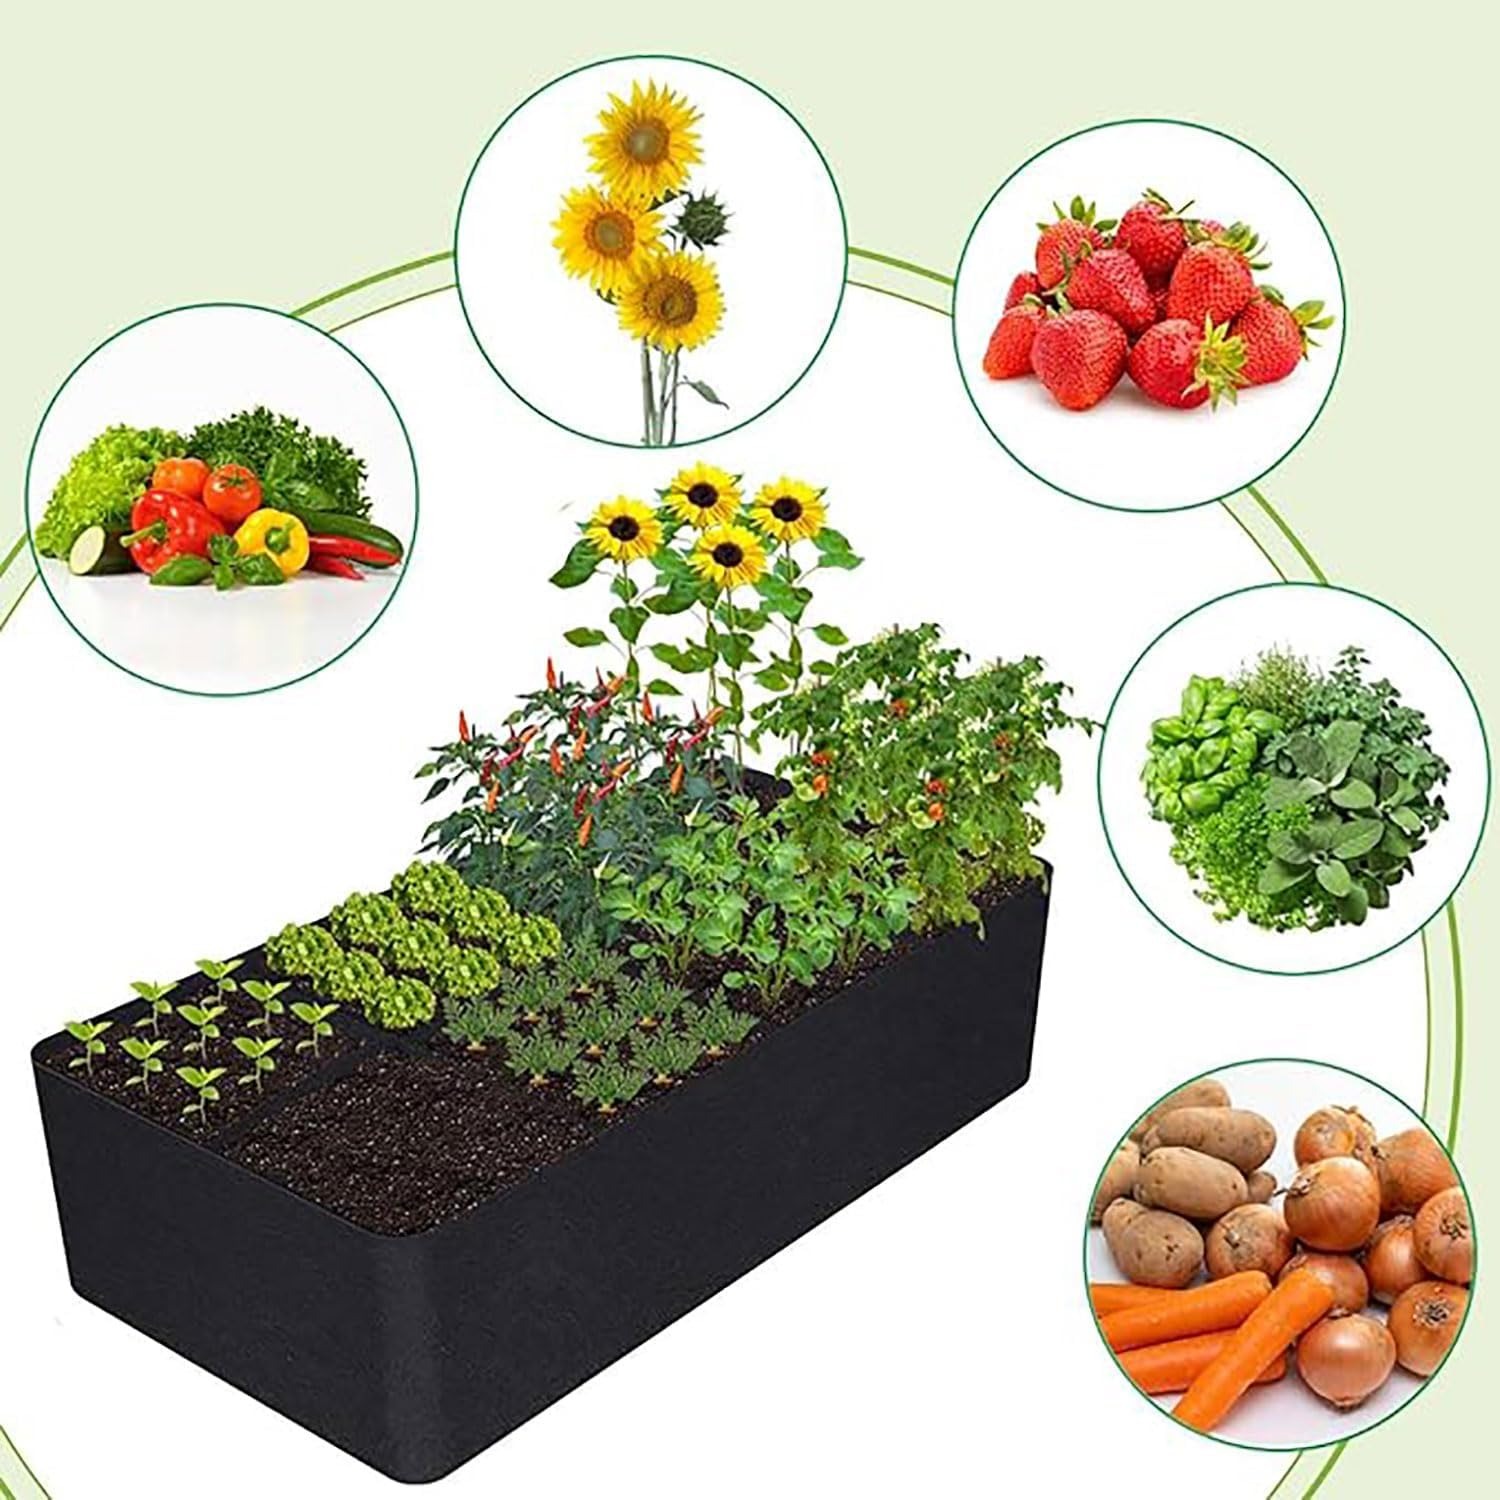
A fabric raised garden bed answers the same problem from a different angle. It is a large fabric container, 180cm long and 90cm wide, that sits on top of whatever surface you already have. Fill it with good soil and you have a proper growing area. No digging, no building, no permanent change to the property.
How a fabric bed actually works
The difference between fabric and a solid-walled container comes down to what happens at the edges.
In a plastic pot or a lined timber bed, a root that hits the wall has nowhere to go. It turns and follows the wall around, then keeps going. Over a season you get a dense spiral of roots pressed against the inside, and the plant above ground never performs as well as it should.
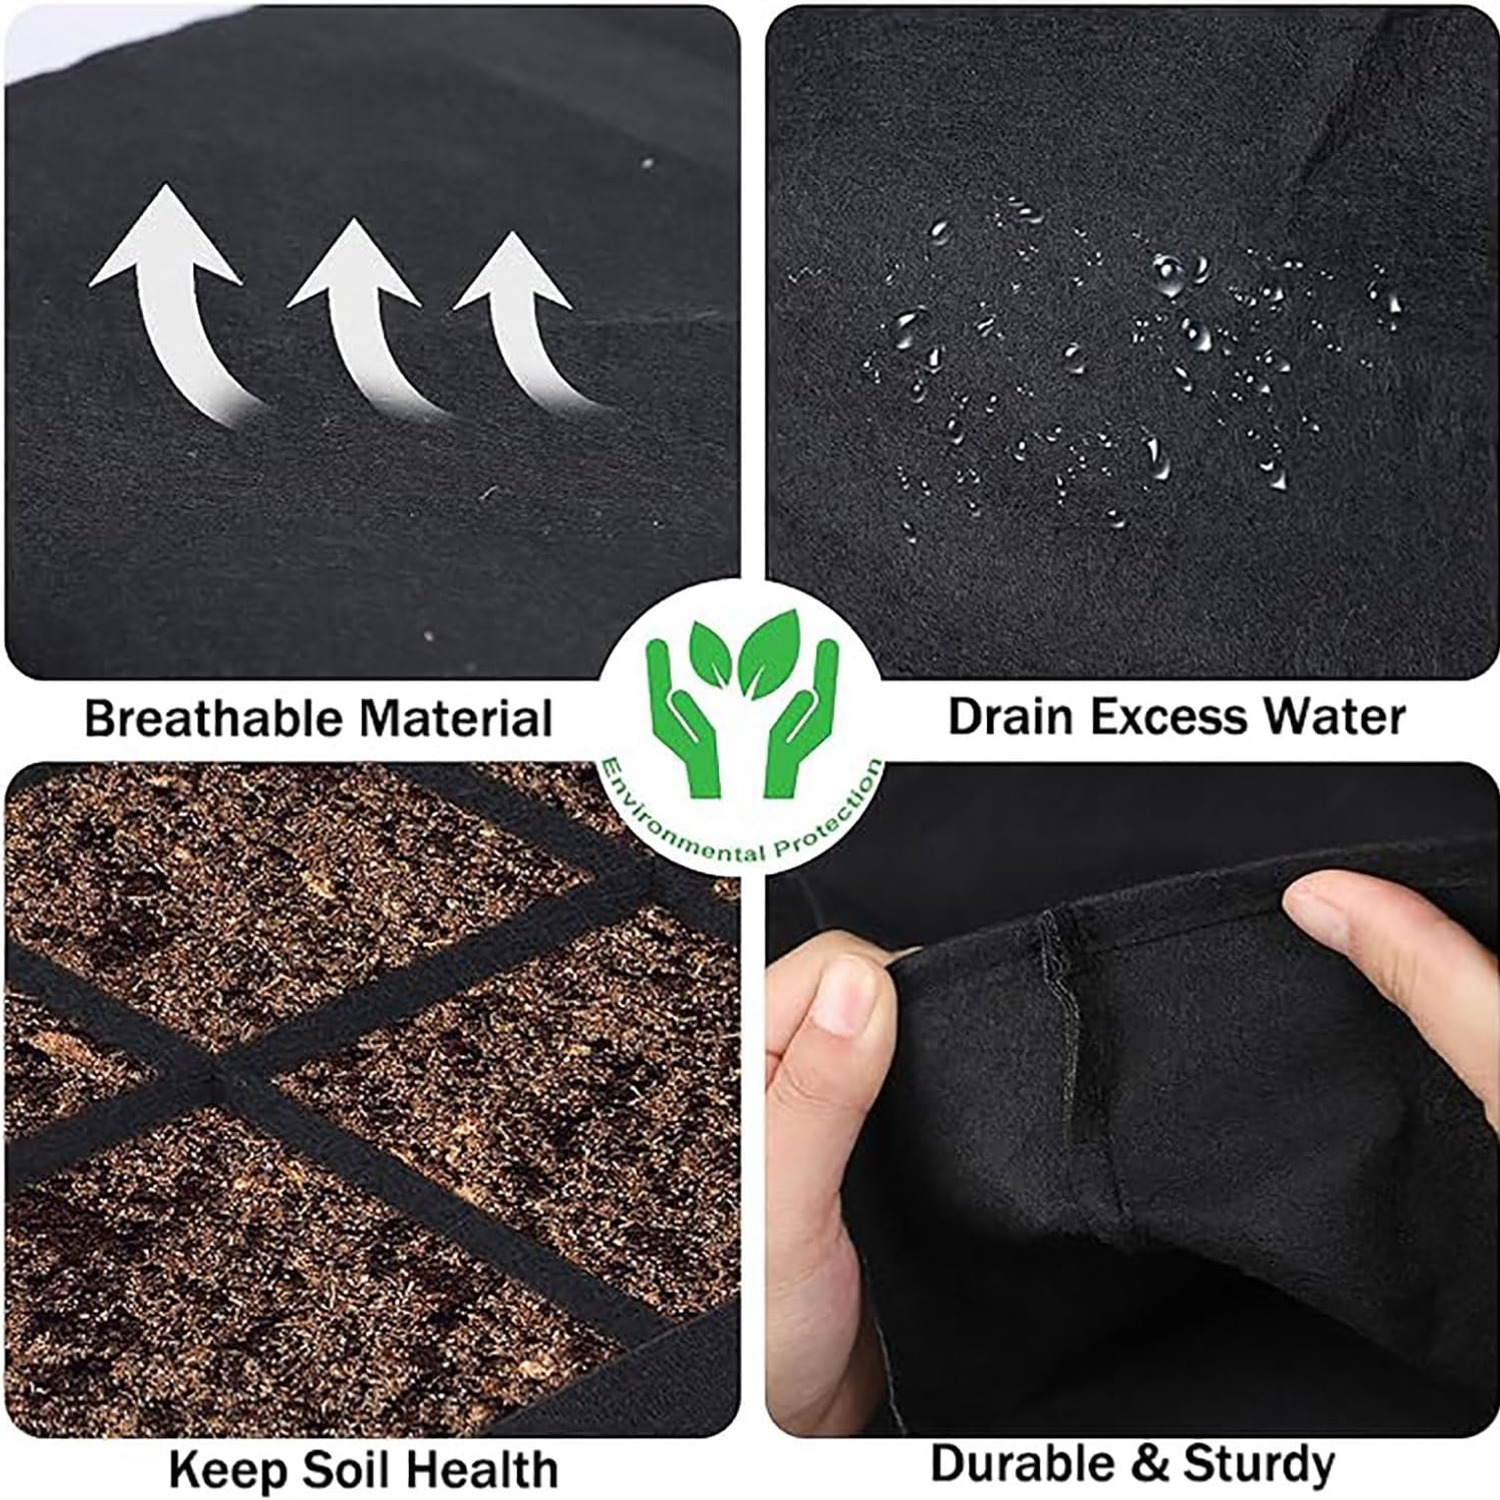
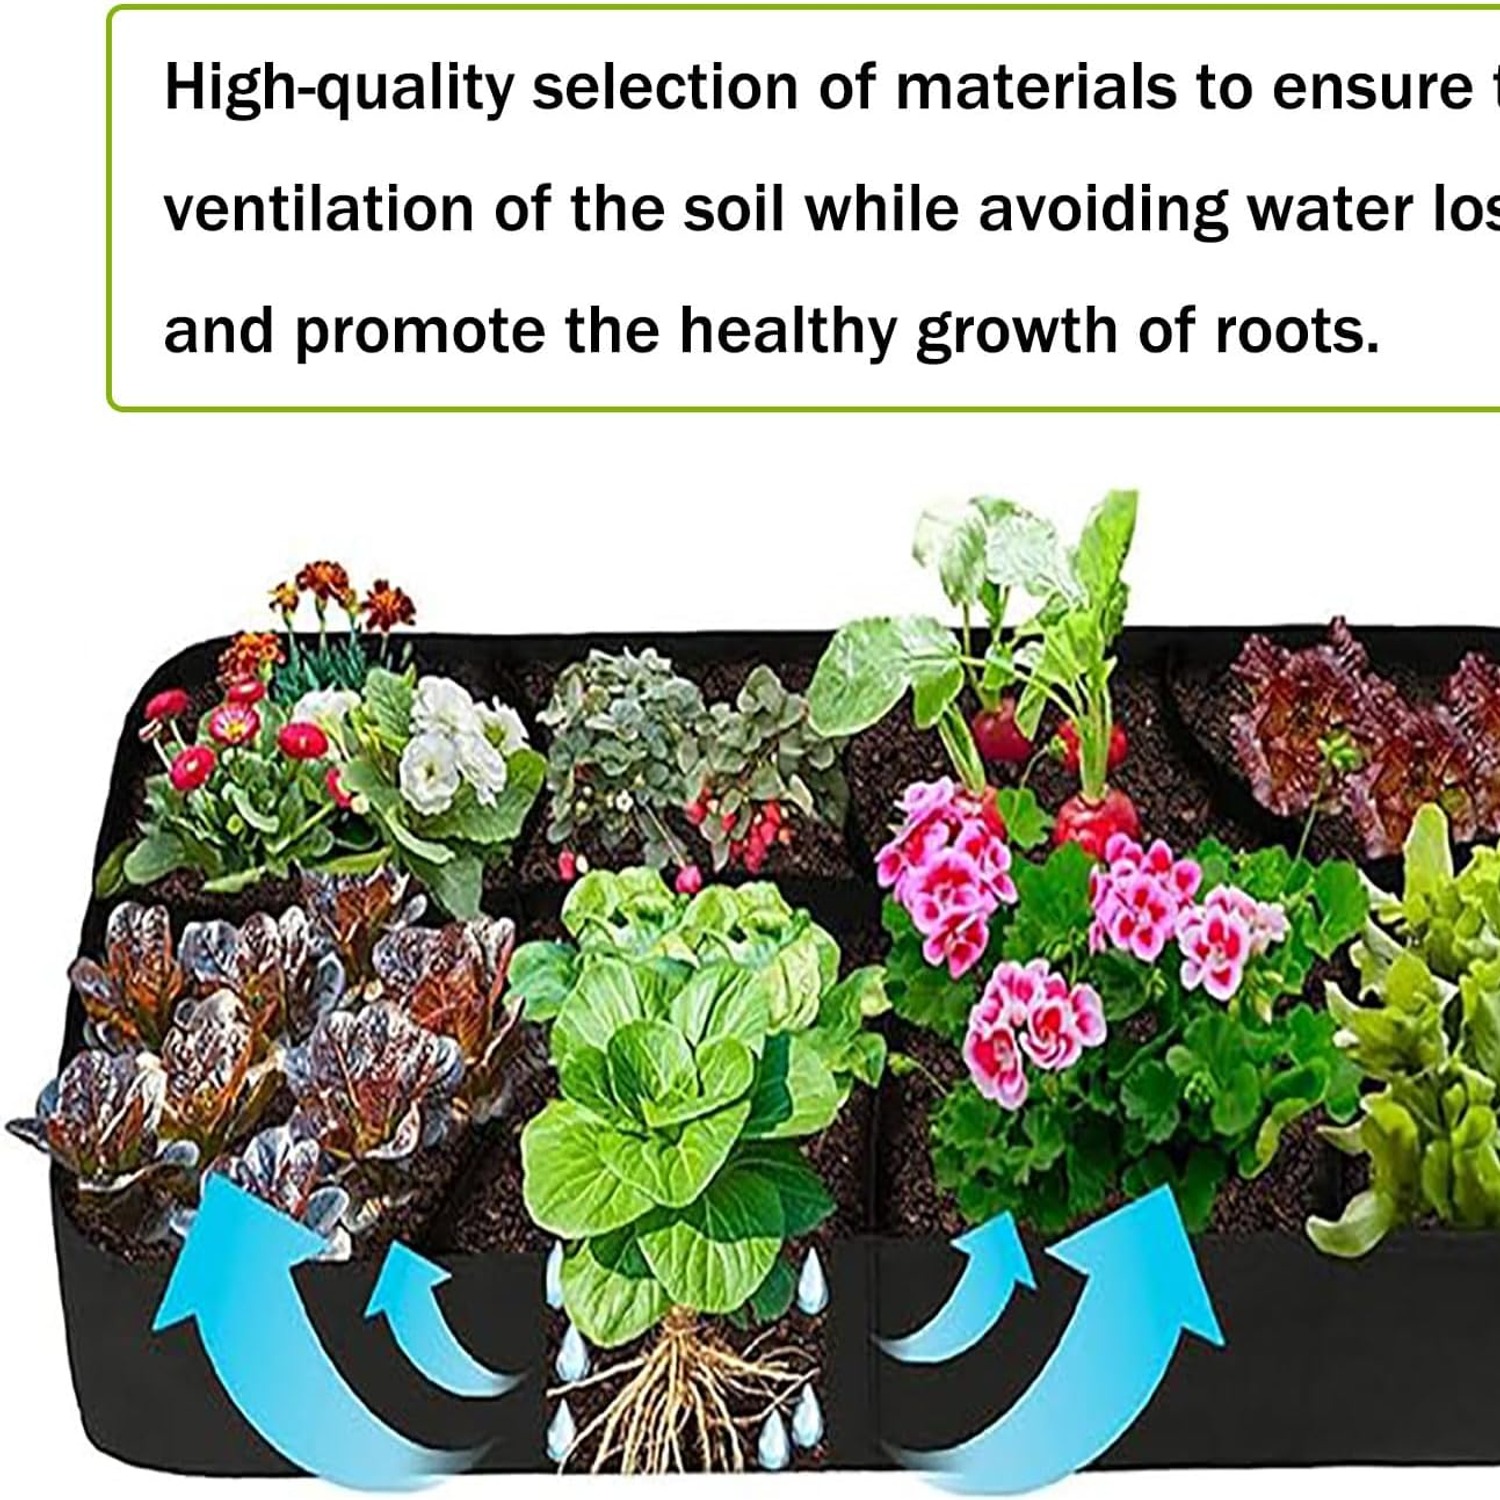
Fabric walls let air through. When a root reaches the edge of a fabric bed it meets drier, airier conditions and stops extending in that direction. The plant responds by putting out more branching roots back inside the soil mass instead. The result is a wider, more even root system doing more work.
Drainage follows the same logic. Water that would sit at the bottom of a sealed container drains out through the fabric. After a heavy downpour the soil wets through and the surplus leaves. That is useful in a wet spring, and it is one of the main reasons the best breathable grow bed designs have become popular with people growing tomatoes and peppers.
The trade-off is moisture loss. A bed that breathes also evaporates. In hot weather you will water more often than you would with a plastic trough. A layer of straw, bark or even cardboard over the surface slows that down a lot.
Who this size suits
At 180 x 90 x 30 cm with a stated capacity of 128 gallons, this is a full-size bed rather than a patio pot. Think about what that means in practice.
The footprint is roughly the size of a single mattress. You need that much clear, reasonably level space. Check it with a tape measure before ordering, especially on a balcony where the usable width is often less than people assume.
The 90 cm width is a sensible number. You can reach the middle from either long side without stepping into the soil, which matters because walking on growing medium compacts it. If the bed will sit against a wall or fence, you will be reaching 90 cm from one side only, so consider putting the taller or less frequently harvested crops at the back.
Depth is 30 cm. That is comfortable for salad leaves, spinach, bush beans, onions, garlic, herbs, strawberries and most fruiting crops. Shorter carrot varieties and early potatoes work too. Full-length parsnips and some long carrot types will find the bottom.
The empty weight is 940 g, so getting it into position is a one-person job. Filled, it is a different story. Wet soil is heavy, and 128 gallons of it is not something you will shift once it is in. Decide on the spot first.
Choosing where to put it
Sunlight is the first filter. Most vegetables want six hours or more of direct sun. Spend a day noting where the shadows fall in your space before you commit. The good news is that this is a foldable bed, so a bad decision in year one is fixable in year two, which is not true of a built frame.
Water access is the second. You will be watering often. A spot twenty metres from the nearest tap gets tedious by the third week of a dry spell. If you can reach it with a hose, you will keep up with it. A soaker hose or a simple drip line laid along the grids is the easiest long-term fix.
Then think about what is underneath. Water will drain through the base, carrying some soil colour with it. On pale paving or a new deck you may see staining. A gravel tray, a few slabs or a sheltered corner solves it. On grass, lay cardboard underneath first to smother the turf.
Making use of the eight grids
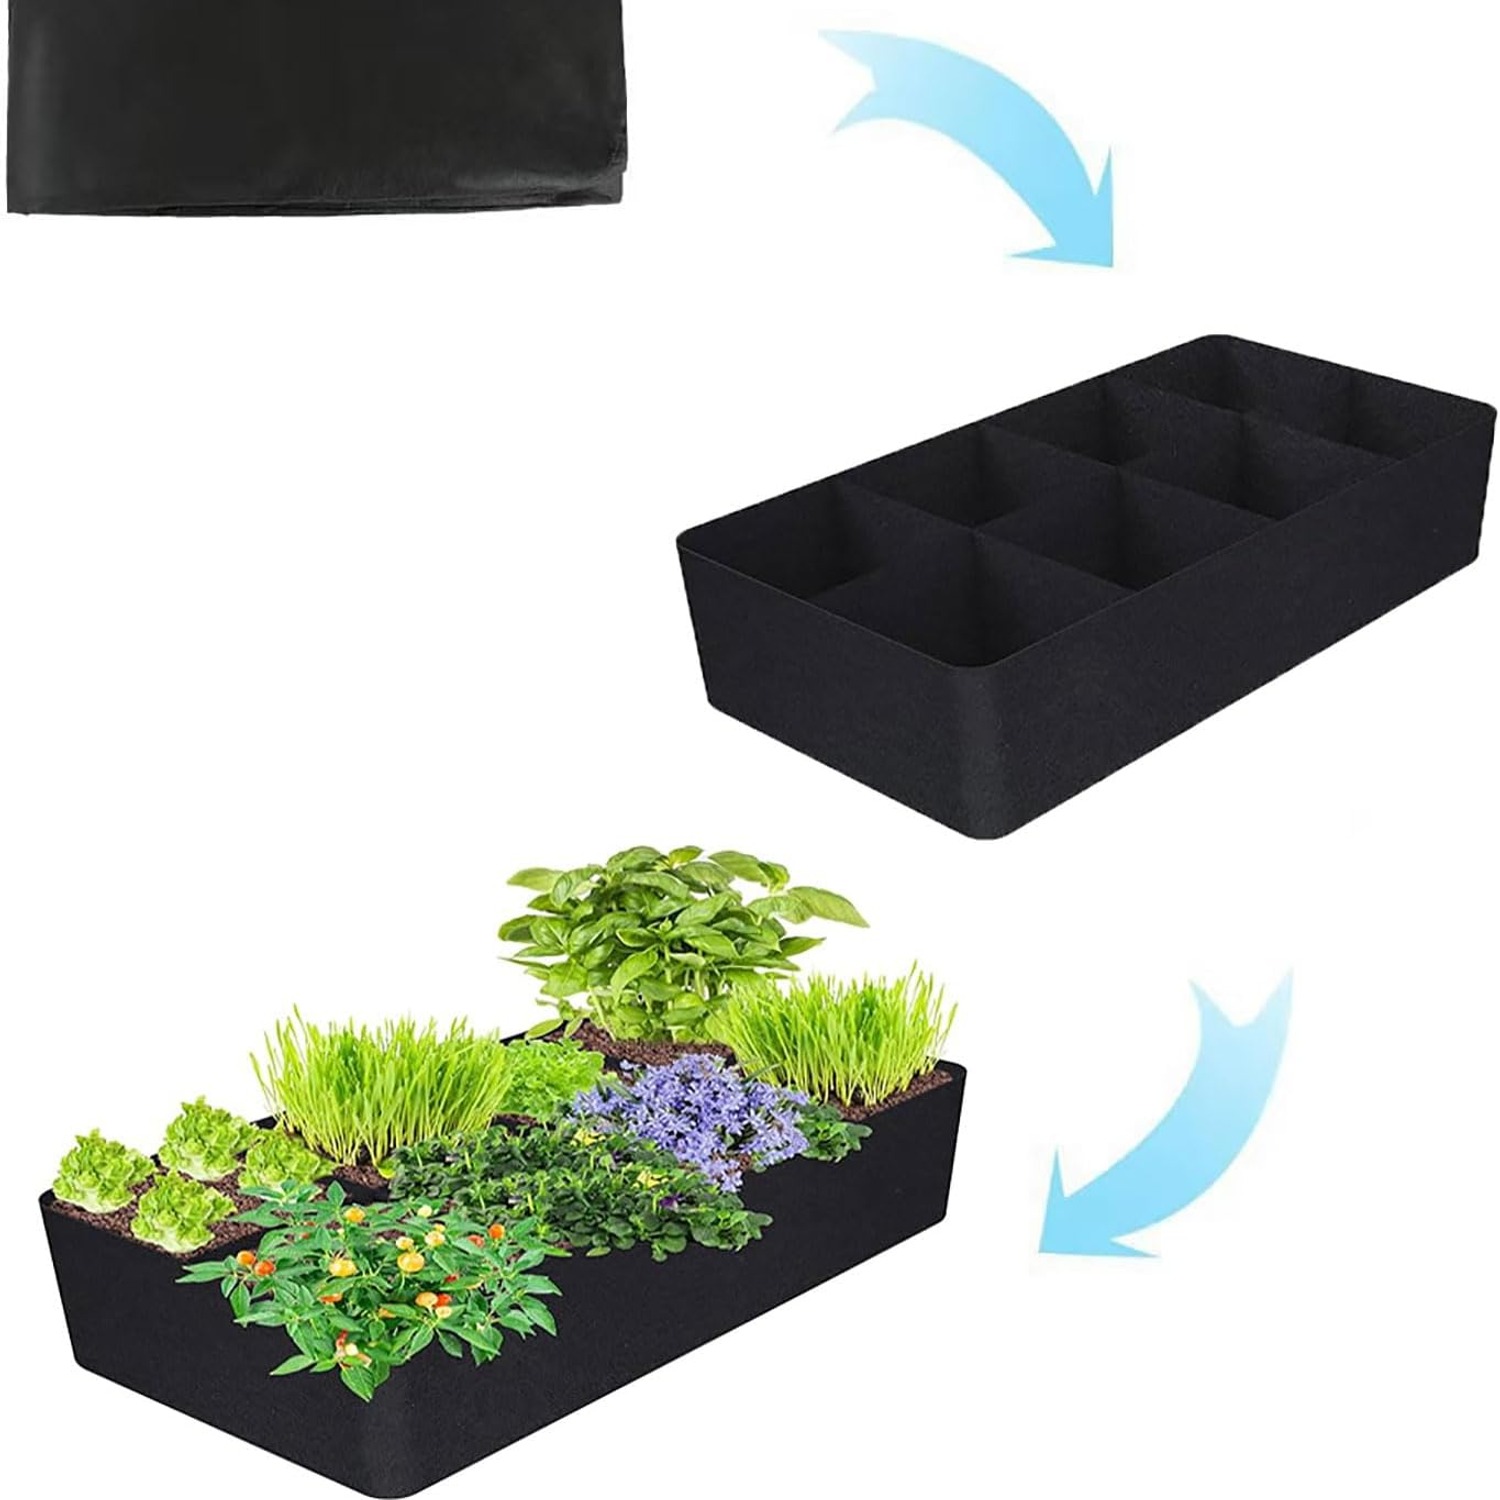
The interior is divided into eight sections, and this changes how you plan.
Instead of staring at a blank rectangle, you have eight defined squares. Treat each as a crop. One for lettuce, one for radish, one for bush beans, one for herbs, and so on. This mirrors the square-foot gardening approach that works well for small plots, and it stops the usual problem where one courgette plant takes over everything.
It also helps with succession. When the radishes finish in six weeks, that grid is empty and ready for something else while the rest of the bed carries on. Keeping notes on which grid held what makes rotation straightforward the following spring.
Give spreading plants their own section and accept they will lean over the neighbours. Climbing crops like beans or cucumbers can go at the back with a cane frame behind the bed rather than pushed into the fabric.
Filling it properly
Do not fill it with soil dug from a heavy garden. Clay compacts in a container and undoes the aeration benefit you bought the bed for.
A workable mix is roughly two parts quality topsoil to one part well-rotted compost. Add a handful of coarse grit or perlite per bucket if your topsoil feels dense. For 128 gallons you are looking at bulk bags rather than small retail sacks, and ordering a bulk delivery is almost always cheaper.
Fill to about 3 cm below the rim. That leaves a lip to hold water and mulch in place when you water. The soil will settle in the first few weeks, so expect to top it up once.
No liner is needed. A liner defeats the breathable design entirely.
Care and storage
Maintenance is light. During the season, watch moisture levels and mulch the surface.
At the end of the year, tip the soil out. You can spread it on borders, add it to a compost heap or save it in bags for next season with fresh compost mixed in. Brush out the loose dirt, rinse the fabric with plain water, and let it dry fully in the open air. Do not use bleach or strong solvents.
Folding it away damp is the one real mistake to avoid. That is how you get musty fabric and mildew. Once dry, it packs down small enough for a shelf in a shed or a cupboard.
The maker describes the fabric as thickened, with reinforced stitching, and lists it as weather resistant and reusable. No specific lifespan is given, so treat it sensibly and it should see you through several seasons.
The short version
If you have a hard surface, poor soil or a rented home, this gives you a real growing area with no building work. Unfold it, fill it, plant it. The breathable walls help roots develop properly and let surplus water out, at the cost of watering more often in hot weather. Eight grids keep the planting organised. It weighs 940 g empty and folds flat when the season ends.
Measure your space against the 180 x 90 cm footprint, pick a spot with sun and a nearby tap, and order enough soil in one go. That is most of the job done before you plant a single seed.