


The complete guide
How to Choose and Use a Manual Auger Post Digger
The problem with digging round holes by hand
Anyone who has set a fence post with a spade knows the routine. You chop a square-ish pit, it keeps getting wider at the top, you end up with a mound of spoil three times the size of the hole, and the post still needs wedging because the sides are not tight against it. Then you do it nine more times along the run.
Planting is the same story at a smaller scale. Put in two hundred bulbs with a trowel and your wrist tells you about it for a week. Worse, the depths come out uneven, which shows up in spring when half the daffodils flower a fortnight behind the others.
A manual auger post digger is a direct answer to both problems. It cuts a cylinder instead of a crater. The spiral blade pulls soil up and out as it turns, so the walls of the hole stay firm and the hole keeps its shape. You get the same diameter every time, which is exactly what you want when you are repeating a job.
How a hand auger actually works
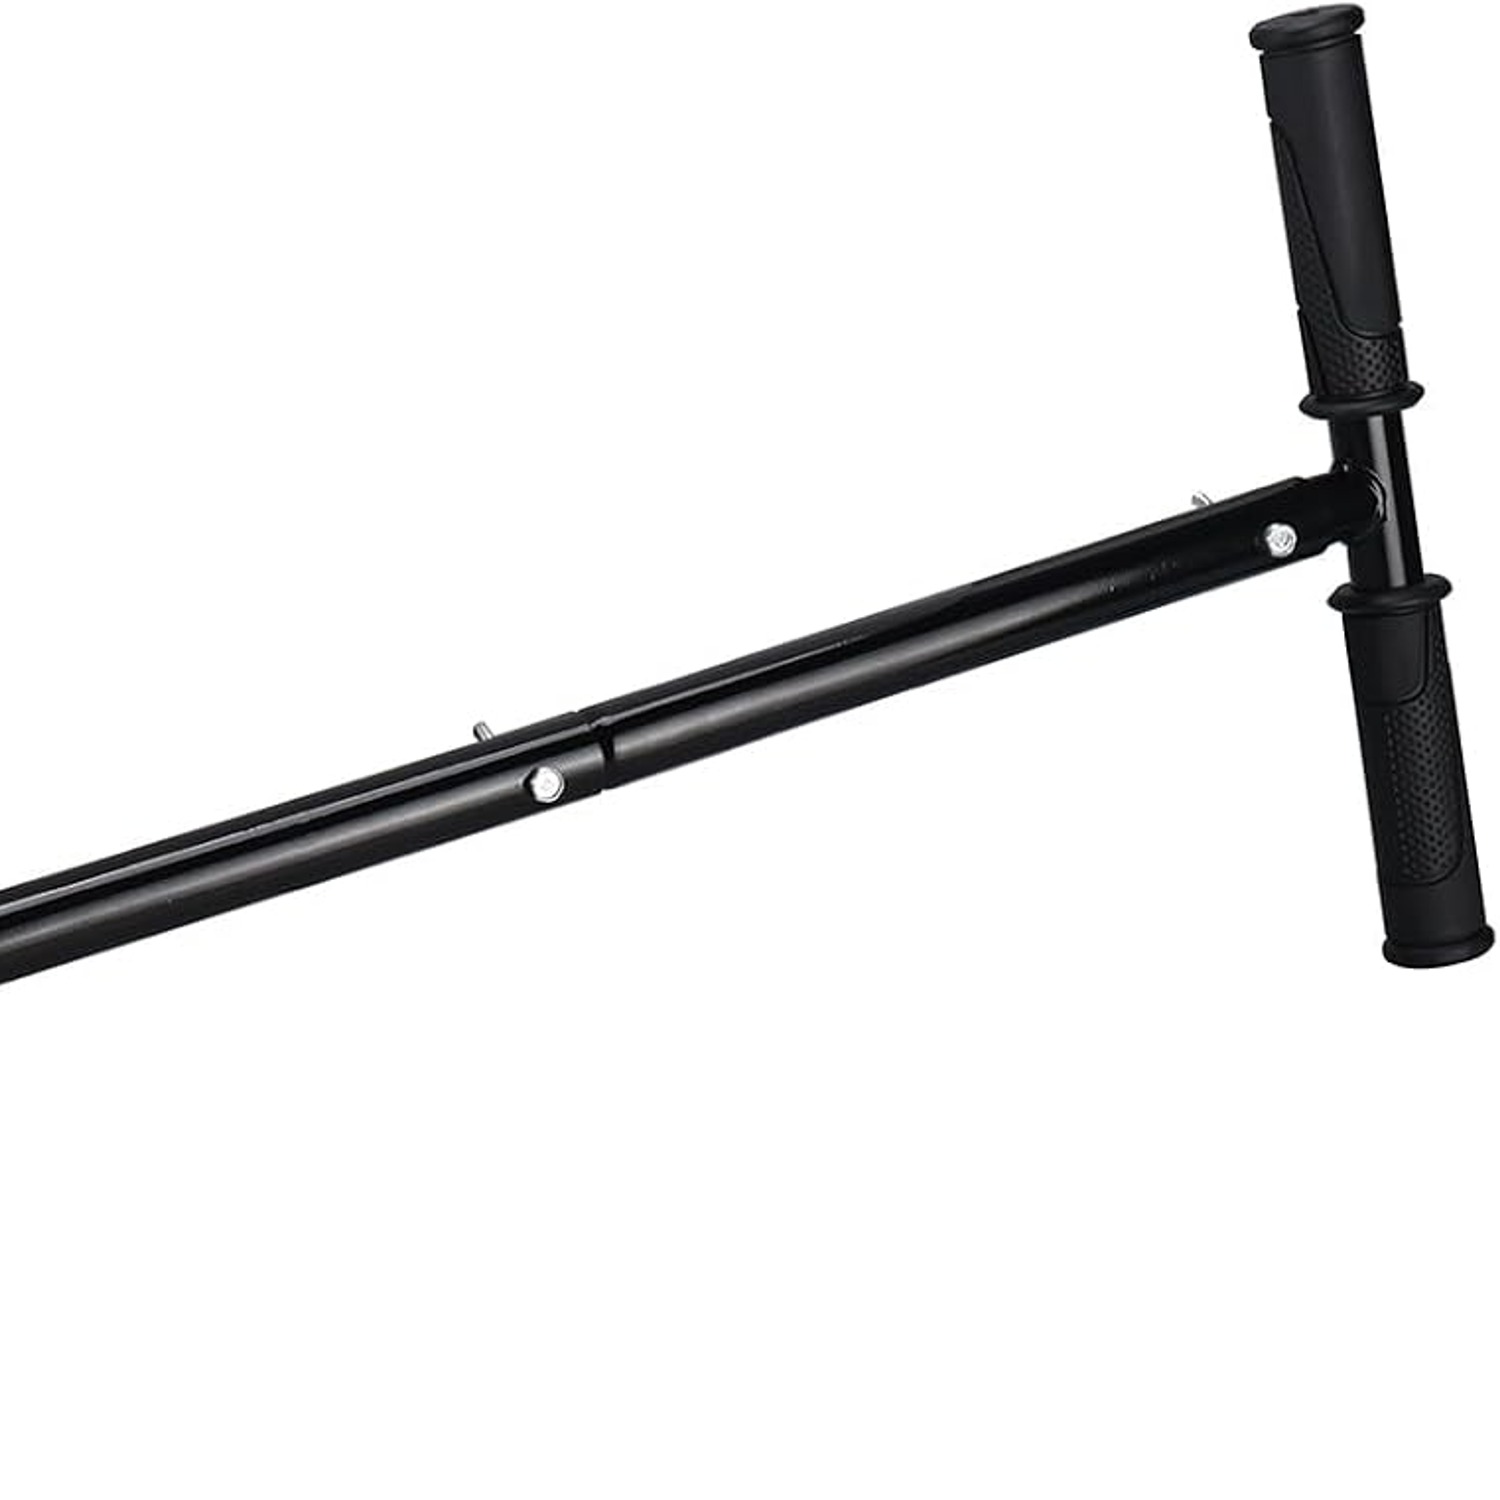
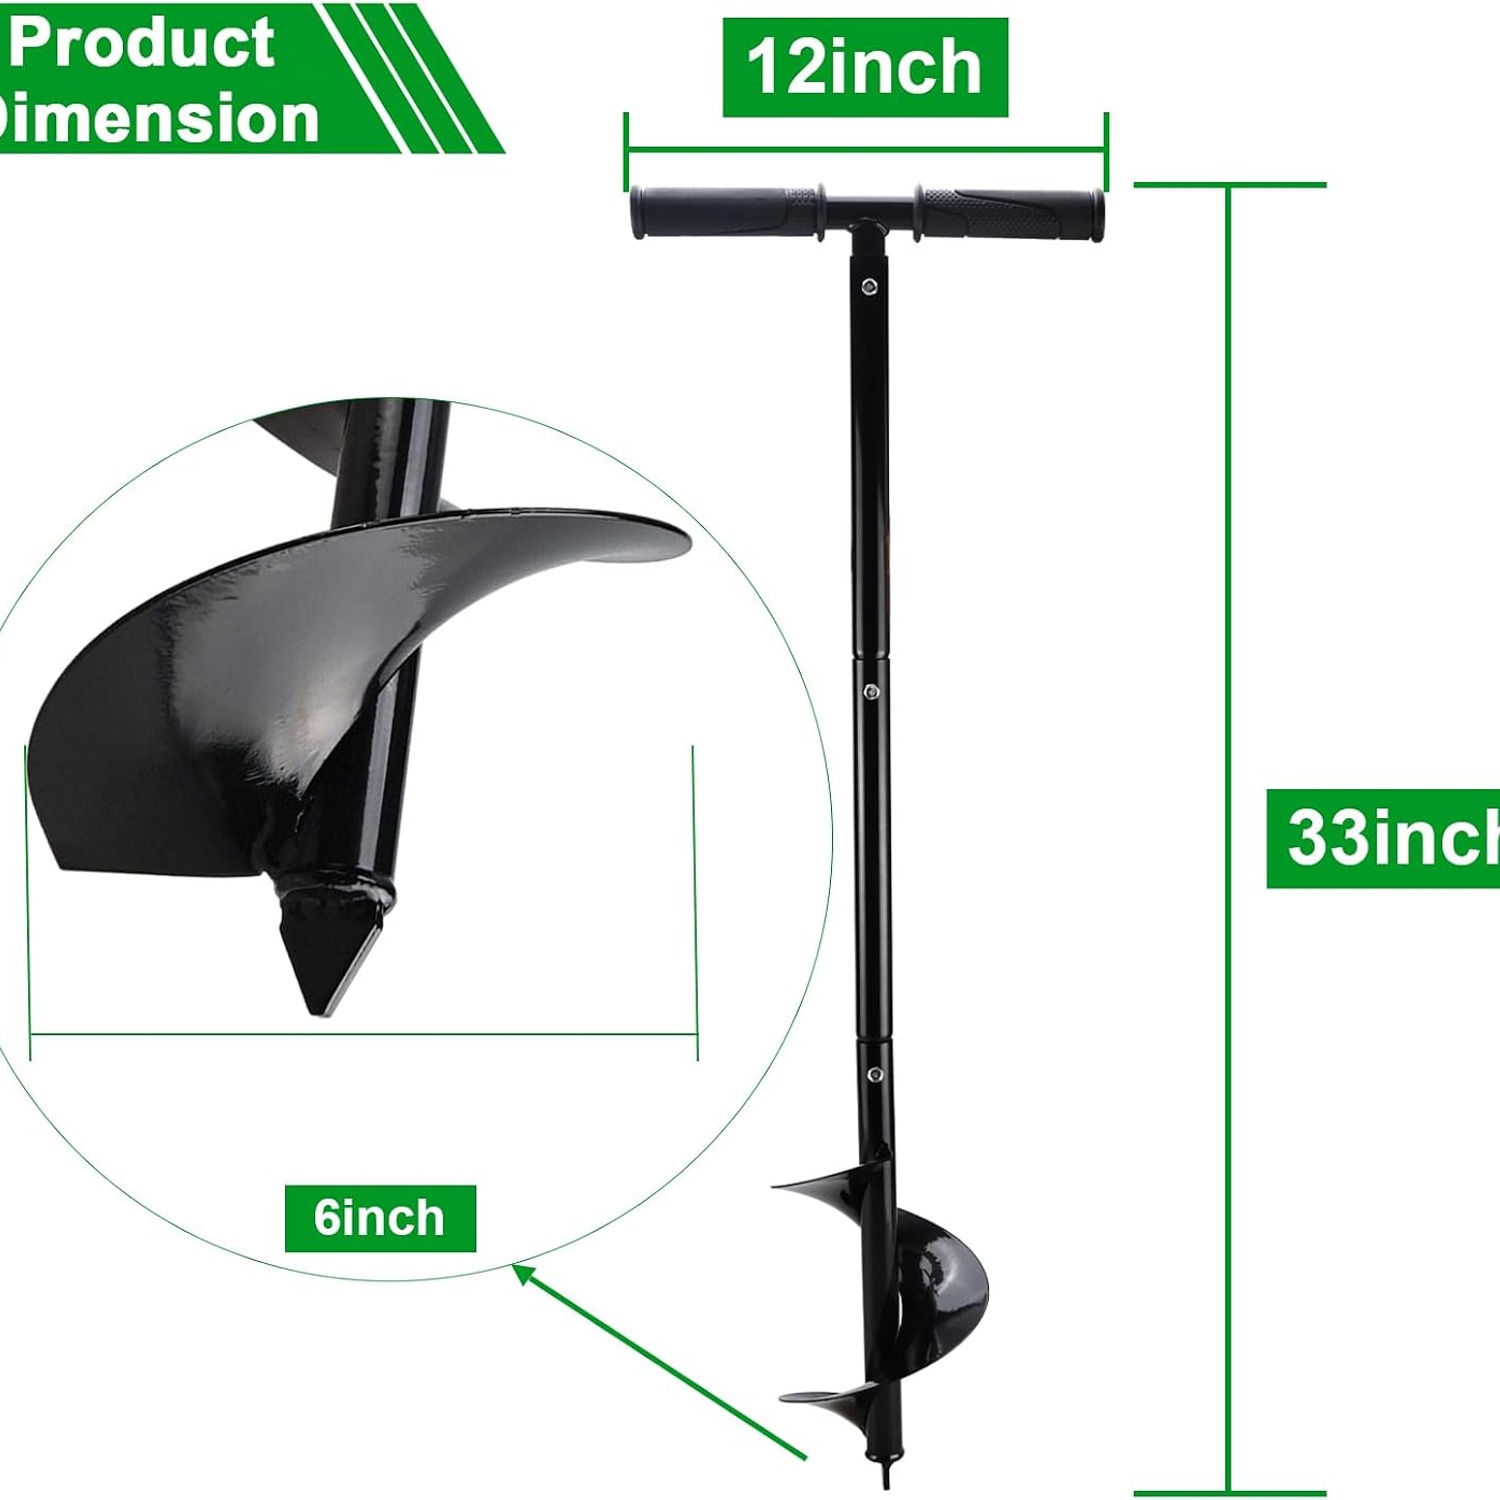
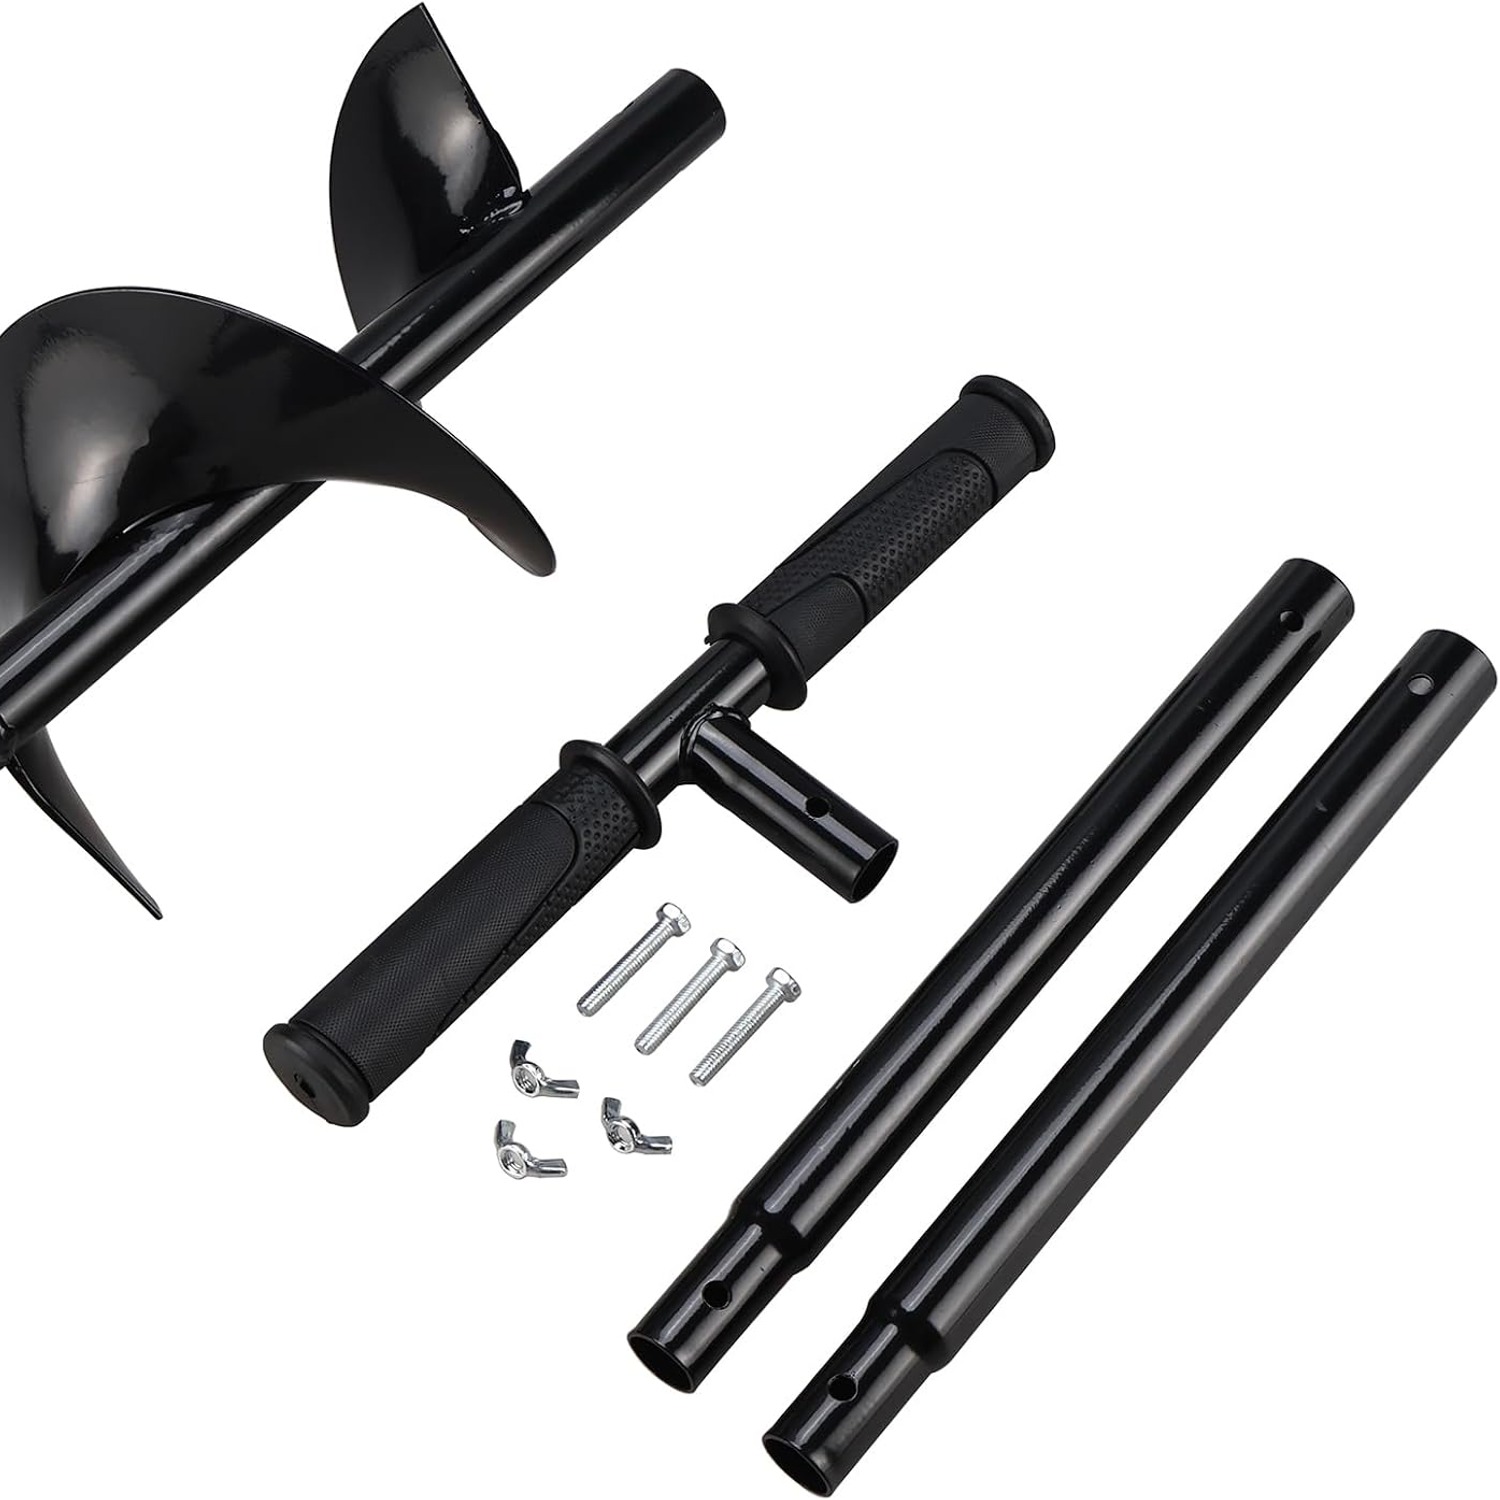
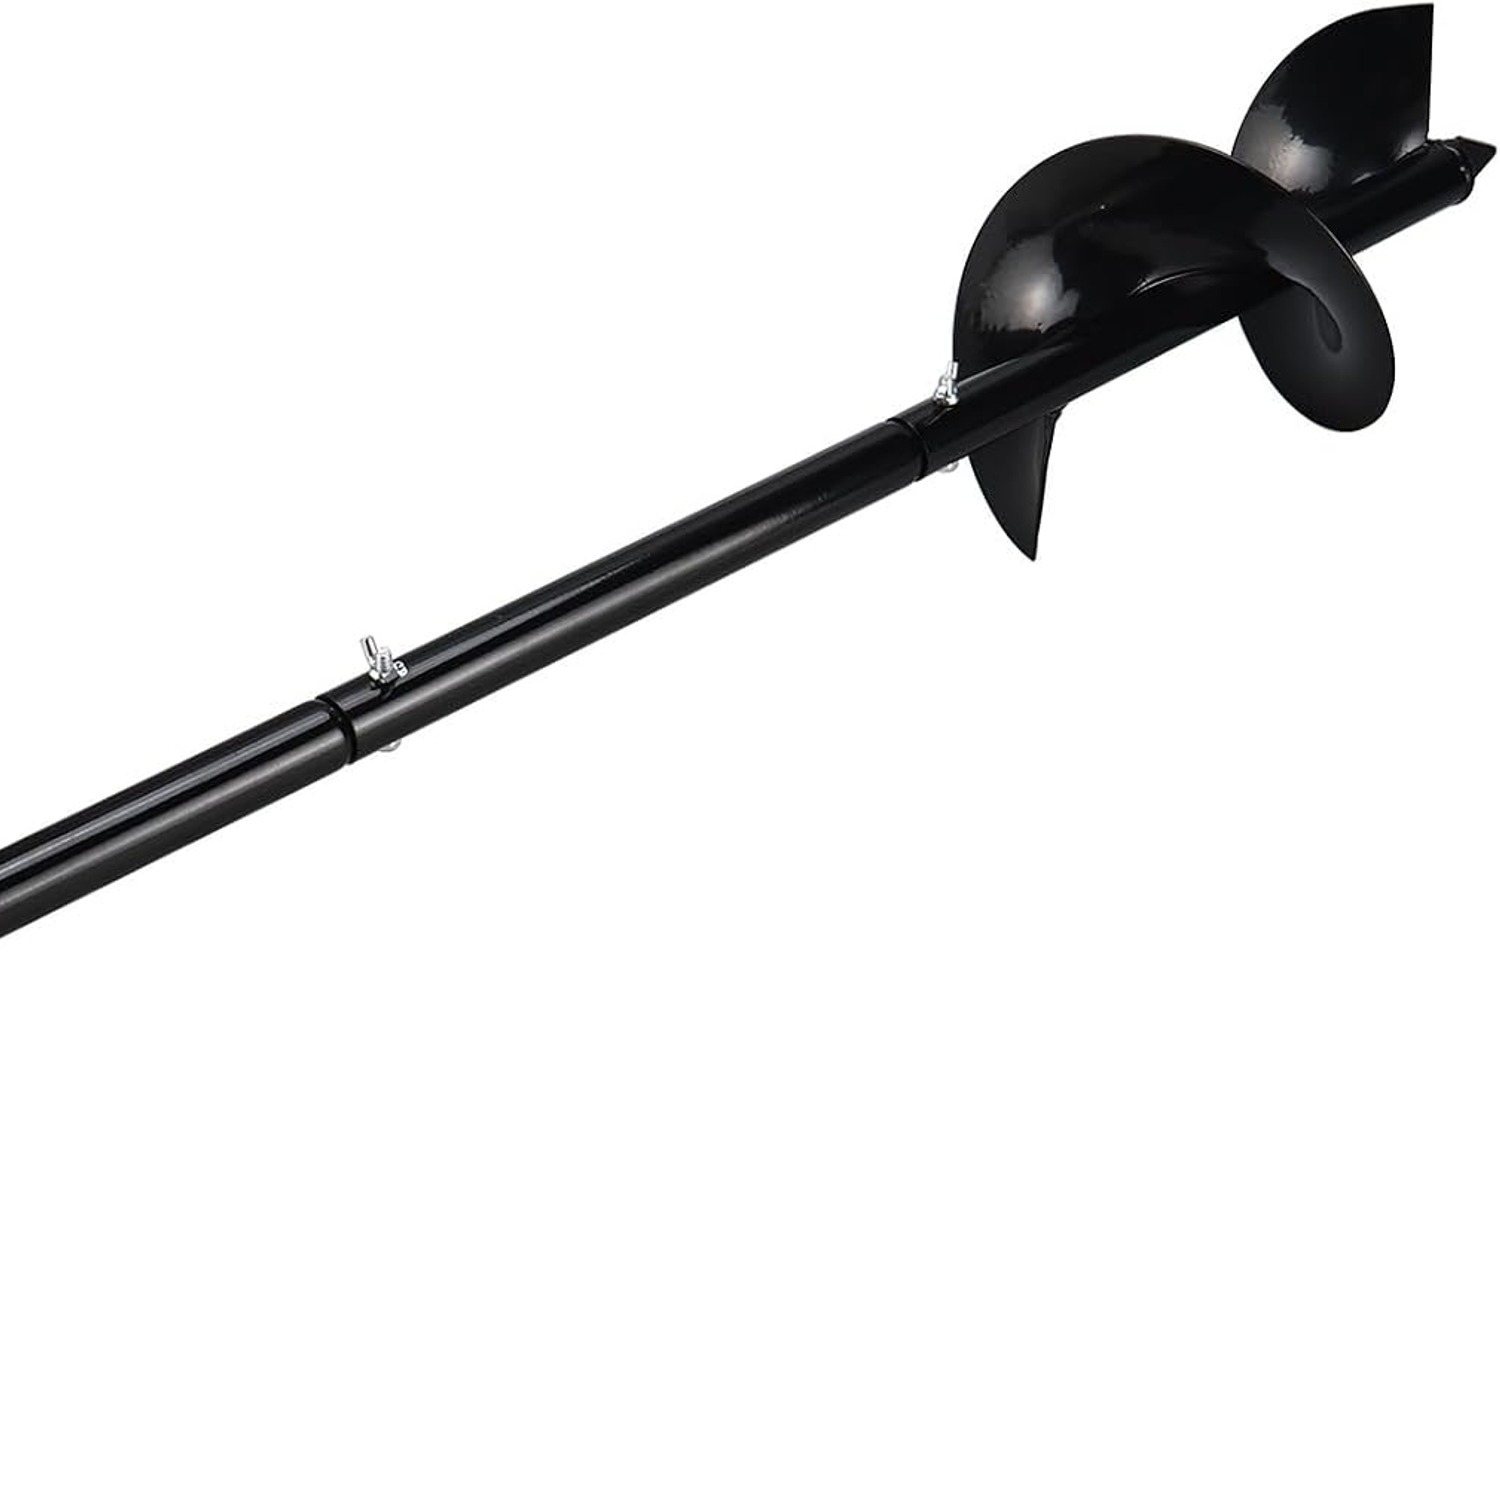
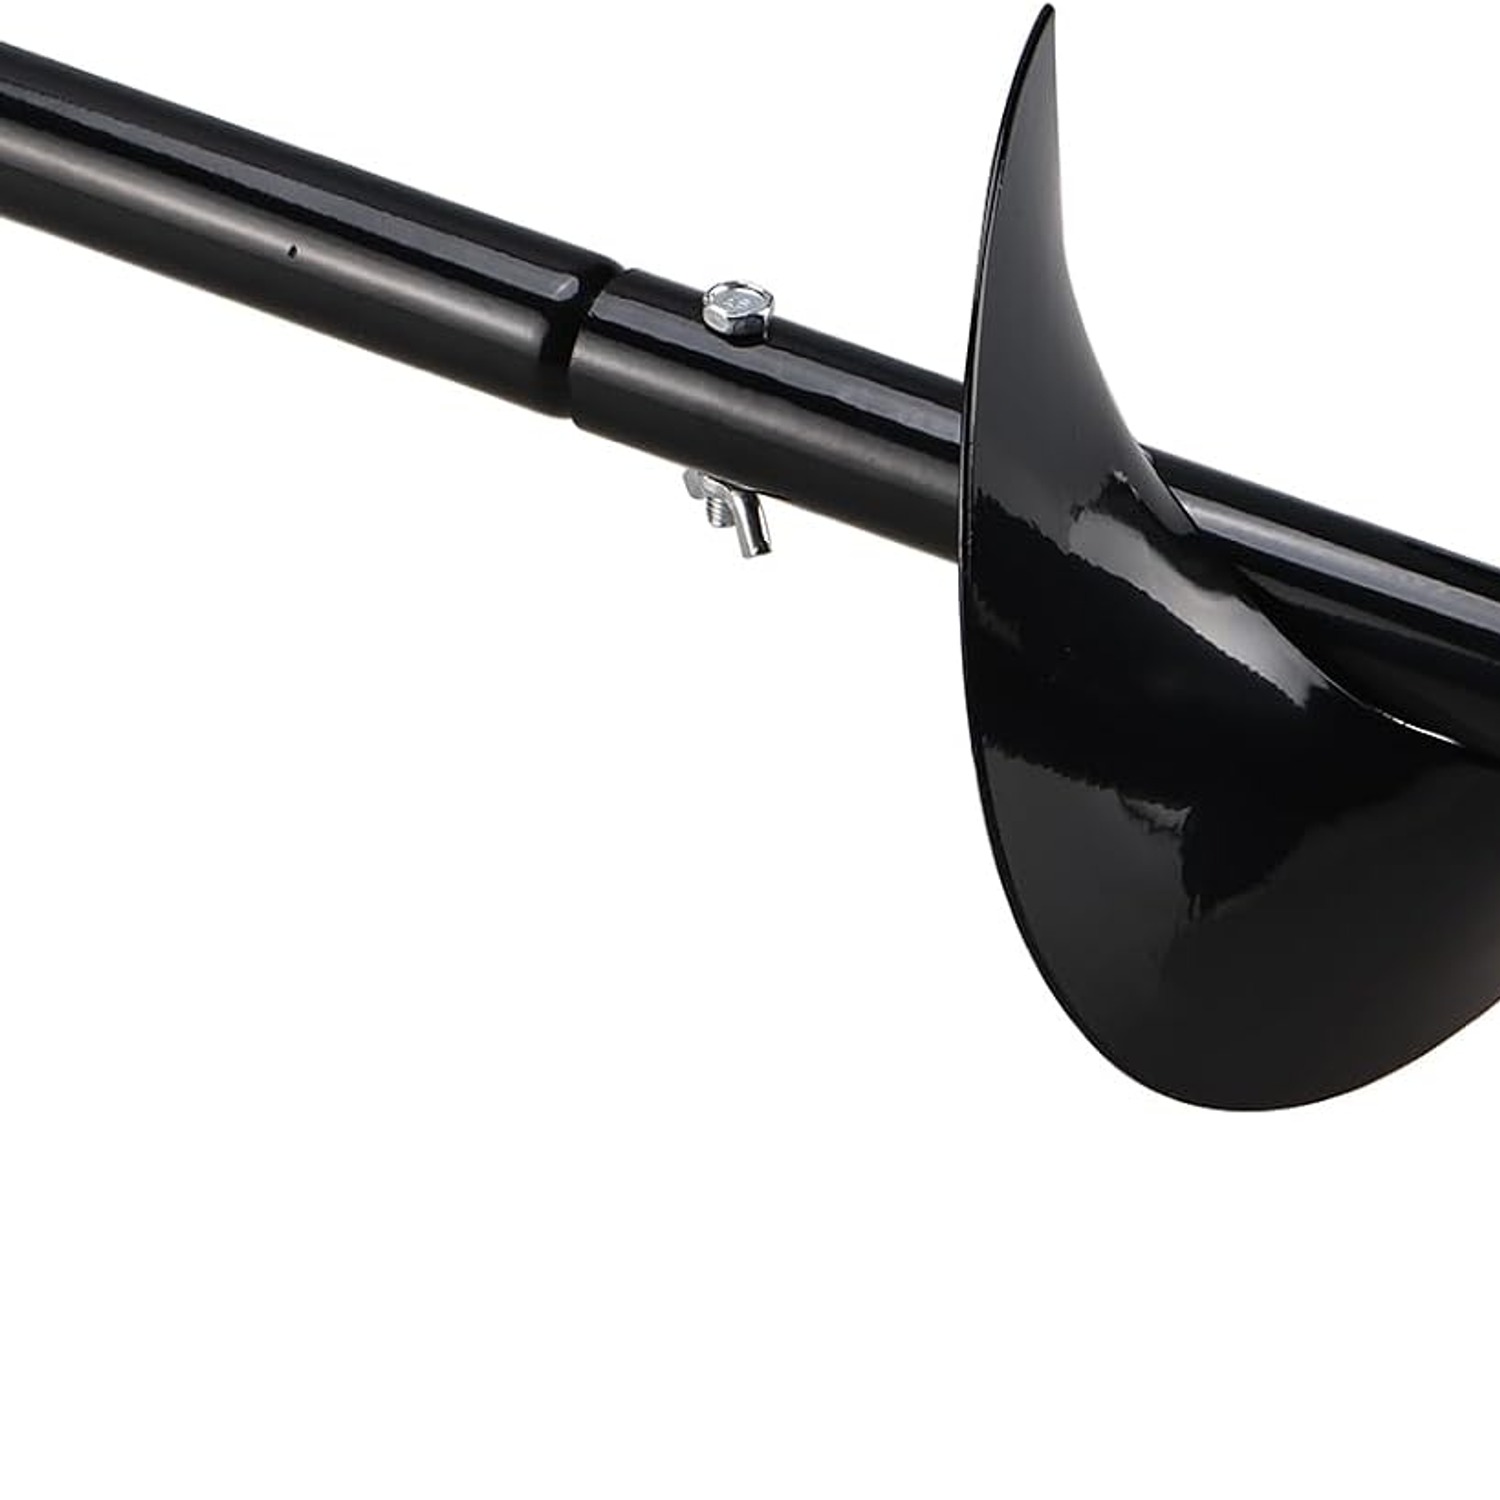
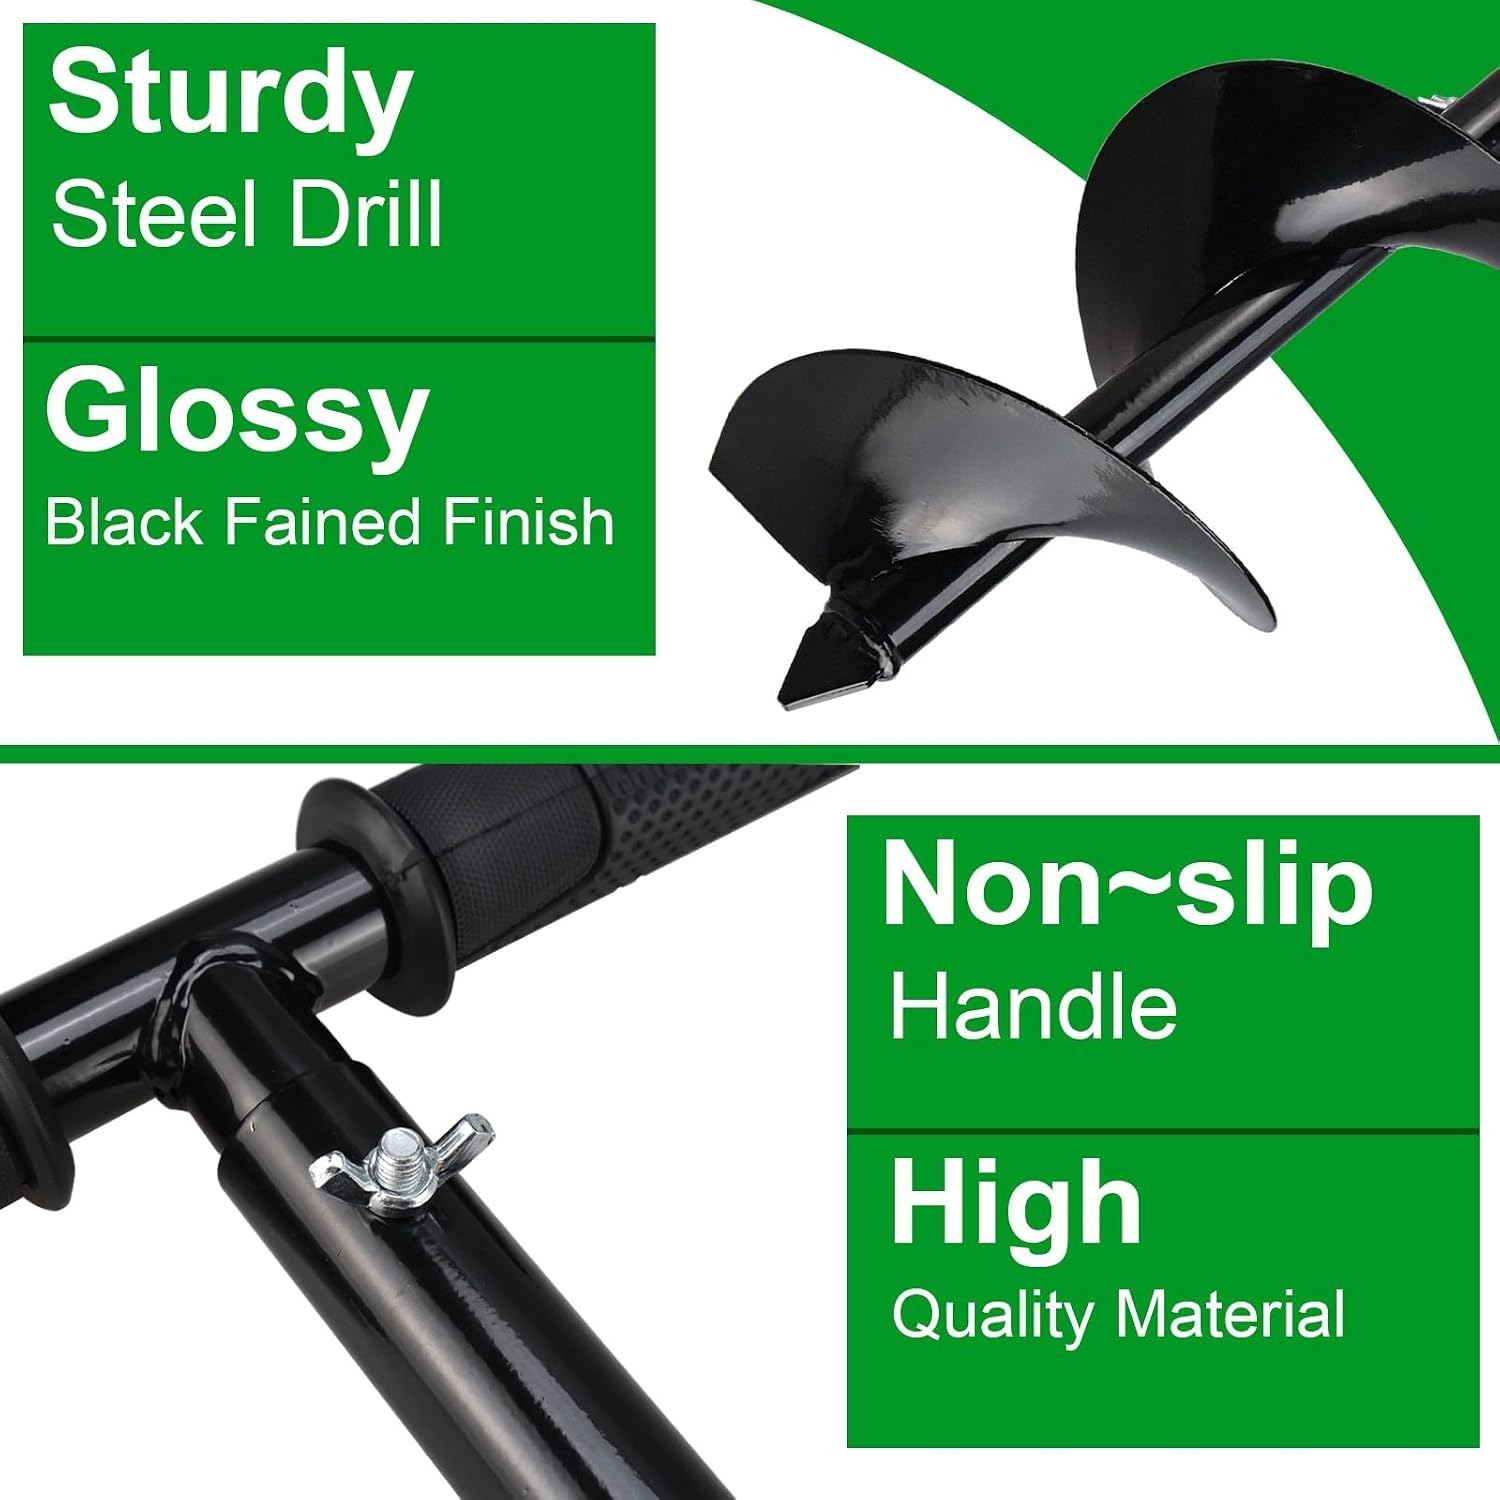
The design is simple and has not changed much in a long time. There is a pointed tip at the bottom, a spiral flight wound around a central shaft, a long rod running up from that, and a crossbar handle at the top.
You put the point on the spot you want, lean some weight down through the handle and turn clockwise. The tip pulls the blade into the ground. As the spiral rotates, soil rides up the flight. After four or five turns the flight is loaded and you lift the whole tool out, knock the soil off to one side, drop it back in the hole and carry on.
That lift-and-clear rhythm is the part people get wrong at first. If you keep turning with a packed flight, you are just grinding. Clearing often feels slower but is much faster overall.
This particular tool uses a single-blade spiral bit with a diameter of 15 cm (6 in), on a three-stage shaft that bolts together with hand-tightened hardware. Assembled length is around 84 cm (33 in) and the whole thing weighs 1.79 kg. That light weight matters more than you might think, because you are lifting it out of the hole dozens of times in a session.
Who it suits
This is a tool for gardeners and small-scale fencing jobs rather than contractors boring sixty holes a day. It makes sense if you are:
- Planting bulbs, bedding or vegetable starts in quantity and want consistent depth
- Setting fence posts, trellis uprights, bird feeder poles or garden stakes
- Working in a space where engine noise and exhaust would be a nuisance
- Looking for something you can store in a shed without it dominating the wall
It also suits people who would rather not own another small engine. There is no fuel to mix, no battery to keep topped up, nothing to service before spring.
Matching the auger to your ground
Soil is the single biggest factor in whether you will enjoy this tool or curse it.
Sandy soil and worked garden beds are ideal. The blade bites immediately and you can sink a hole in under a minute. Loam is nearly as good.
Clay is workable but conditional. Damp clay cuts reasonably well as long as you clear the flight frequently, because clay sticks and clogs. Dry, baked clay is genuinely hard work for any hand auger. The fix is water. Soak the spots the night before and the difference is dramatic.
Stony ground is the real limit. A spiral blade is made to shear soil. It cannot cut stone, and it will not get through a buried brick, slab or substantial root. When you feel the auger stop dead, do not force it. Pull the tool out, clear the obstruction with a bar or a spade, and start again. Forcing a jammed auger is how handles get bent.
Before any digging, check what is below. Buried cables, water pipes and irrigation lines are not always where you expect them. A hand tool gives you more warning than a petrol machine, but it will still cut through a cable.
Getting a straight, clean hole
Start the hole properly and the rest looks after itself. Press the tip into the soil and give it one slow half turn to carve a starter dimple. That seat stops the point skating sideways.
Once the tip is seated, keep the shaft vertical. The easiest way to check is to stand back every few turns and sight along it, or ask someone to eyeball it from ninety degrees to where you are standing. Small drift at the surface becomes a noticeably leaning post at depth.
Turn steadily rather than fast. Short, controlled rotations with your body weight over the handle do more than quick spins with your arms. The crossbar is rubber covered and wide enough for both hands, so you can pull against the turn with one hand while pushing with the other.
Have a bucket or tarp beside you for the spoil. Keep the finer soil separate, because that is what you want to pack back around a post. Rubble and roots go in a second pile.
Setting posts with an auger
For fence posts, the usual rule is to bury roughly a third of the post length. Work out your finished height first, then your hole depth, and check the shaft length will reach. With about 84 cm (33 in) of total tool length, this auger suits shorter garden posts, trellis supports and stakes rather than tall boundary fencing.
Bore the hole, then drop a little gravel in the bottom for drainage. Stand the post in, check it with a level on two faces, and backfill in layers, tamping as you go. If you are using a post mix, follow the instructions on the bag for water quantity.
When you are running a line of posts, set a string line first and mark each centre with a cane. The consistent hole width from an auger makes spacing easy to judge by eye once the first two are in.
Planting work
For bulbs, the 15 cm bit opens a hole wide enough for a small cluster rather than a single bulb, which is how most people prefer to plant them anyway. Bore, drop in three or five bulbs, backfill, move on. You can cover a lot of ground in an afternoon.
For shrubs and young plants, use the auger to open the core of the hole and then loosen the sides with a fork. Augered walls can glaze slightly in clay, and roots push out more easily through broken ground.
The tool is also handy for drainage probes in a lawn, soil sampling, and making holes for ground anchors or sun shade poles.
Looking after it
Steel and wet soil do not get on. Rinse or brush the blade and shaft clean at the end of every session, then dry it. If you are putting the auger away for the winter, wipe the metal with a light oil first.
Check the bolts on the three-stage shaft before each job. Turning puts twist through those joints, and a loose bolt makes the tool feel sloppy. Hand-tight is the design, but a quick nip with a spanner does no harm.
If the cutting edge starts to feel blunt, touch it up with a flat file, following the bevel that is already there. Take off as little metal as you can.
Store the sections apart if space is tight, and keep the bolts in a labelled bag so you are not hunting for them next spring.
The short version
A manual auger post digger gives you round, repeatable holes without fuel, noise or fumes. This one has a 15 cm (6 in) spiral bit, a three-stage bolted shaft about 84 cm (33 in) long, a rubber T-handle, and a 1.79 kg weight that makes repeated lifting easy.
It shines in soft soil and sand, copes with damp clay if you are patient, and will not get through stones or roots. Soak hard ground before you start, clear the flight every few turns, keep the shaft vertical, and clean the steel when you are done. Do that and it will handle bulbs, beds, stakes and garden posts for a long time.