


The complete guide
Deep Water Culture Buyer's Guide, How Bucket Hydroponics Actually Works
The problem with growing indoors
Most people who want fresh greens at home run into the same wall. There is no garden, or the garden gets two hours of sun, or the soil in the pots dries out the moment you go away for a weekend. Then there are the small frustrations: fungus gnats, compost on the floor, plants that sulk for weeks and never really take off.
Growing in water sidesteps a lot of that. There is no soil to dry out, no compost to spill, and nothing for gnats to breed in. The plant sits above a reservoir with its roots in the water, and you top the reservoir up every few days. That is the whole routine, more or less.
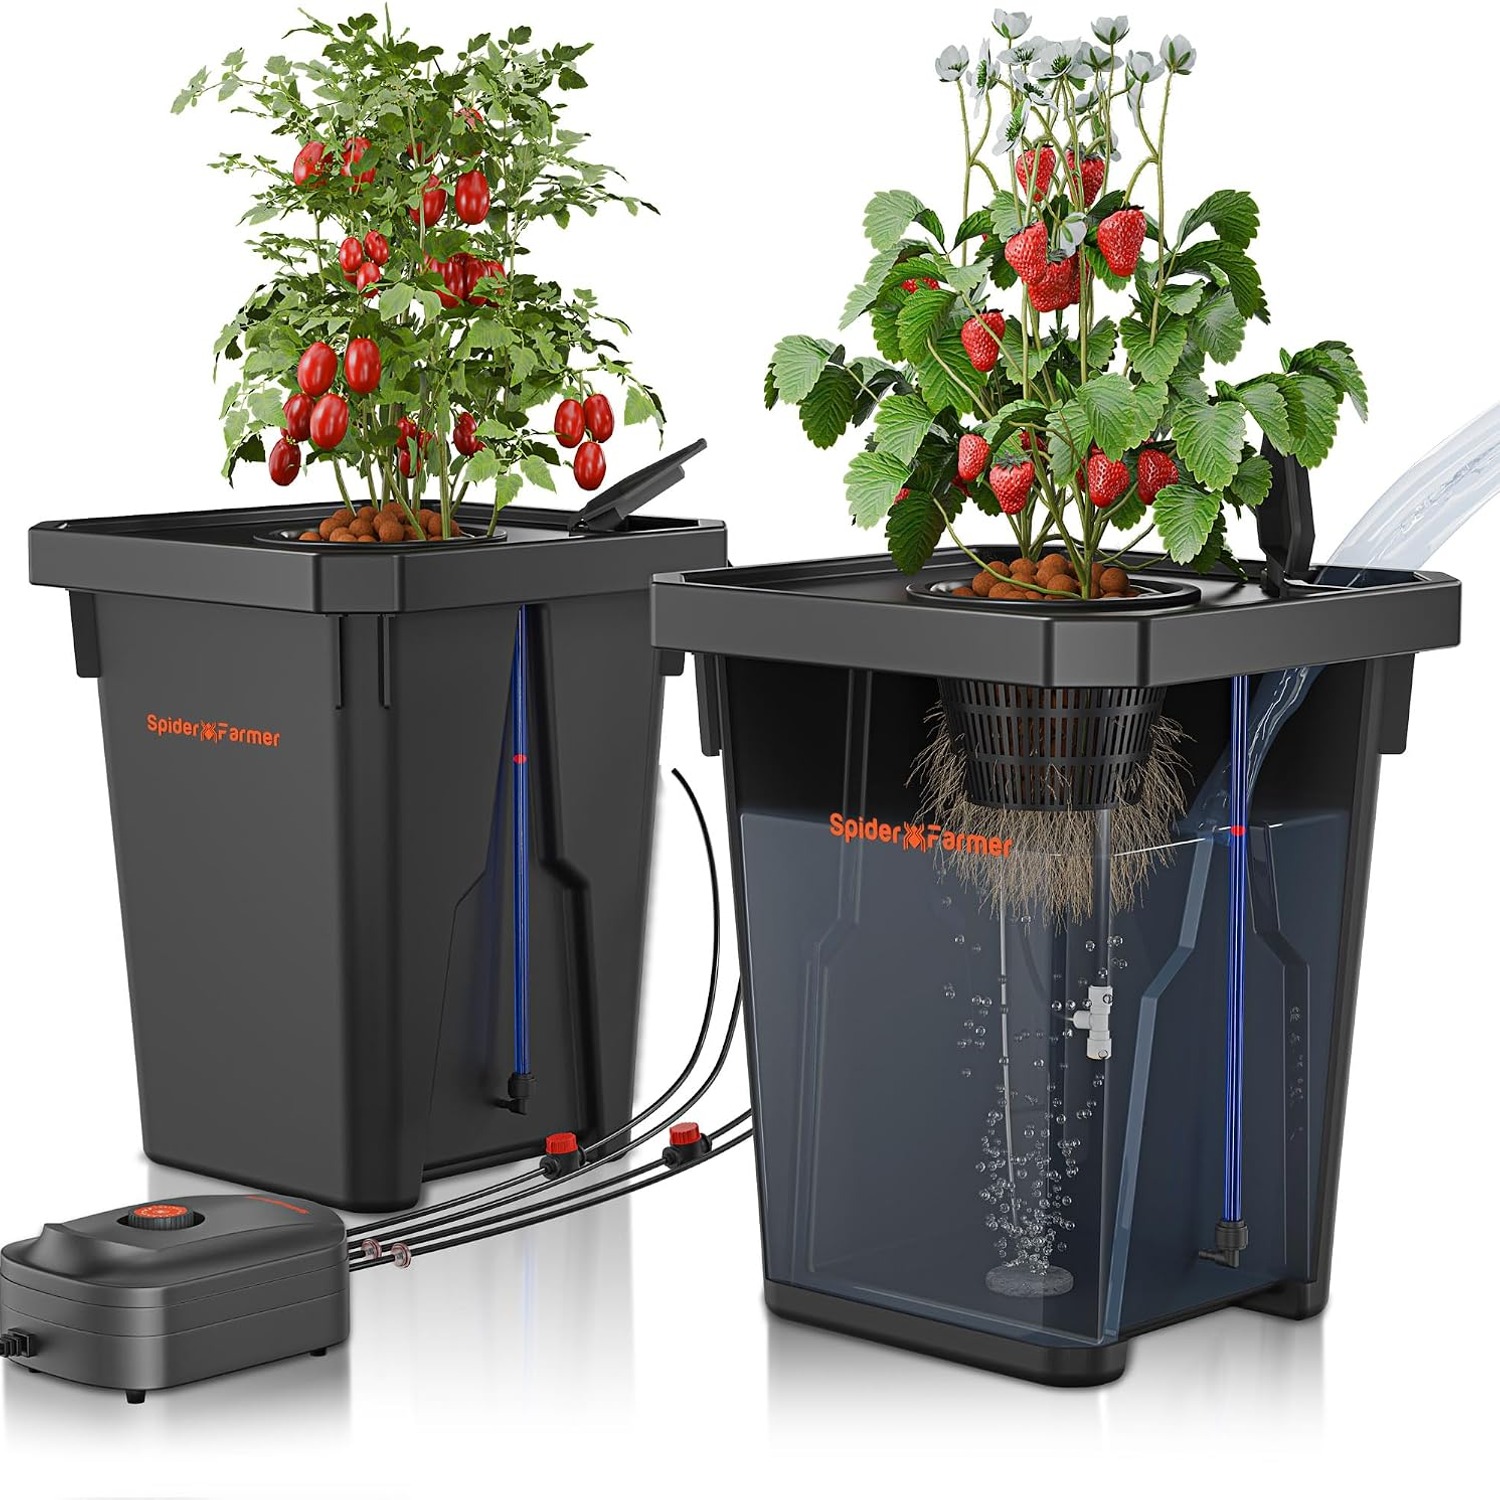
Deep water culture is the version of this that beginners usually meet first, and for good reason. It has almost no moving parts. A bucket holds the water, an air pump keeps that water oxygenated, and the plant sits in a mesh cup on top. No timers, no drain cycles, no pumps switching on and off through the night.
How deep water culture works
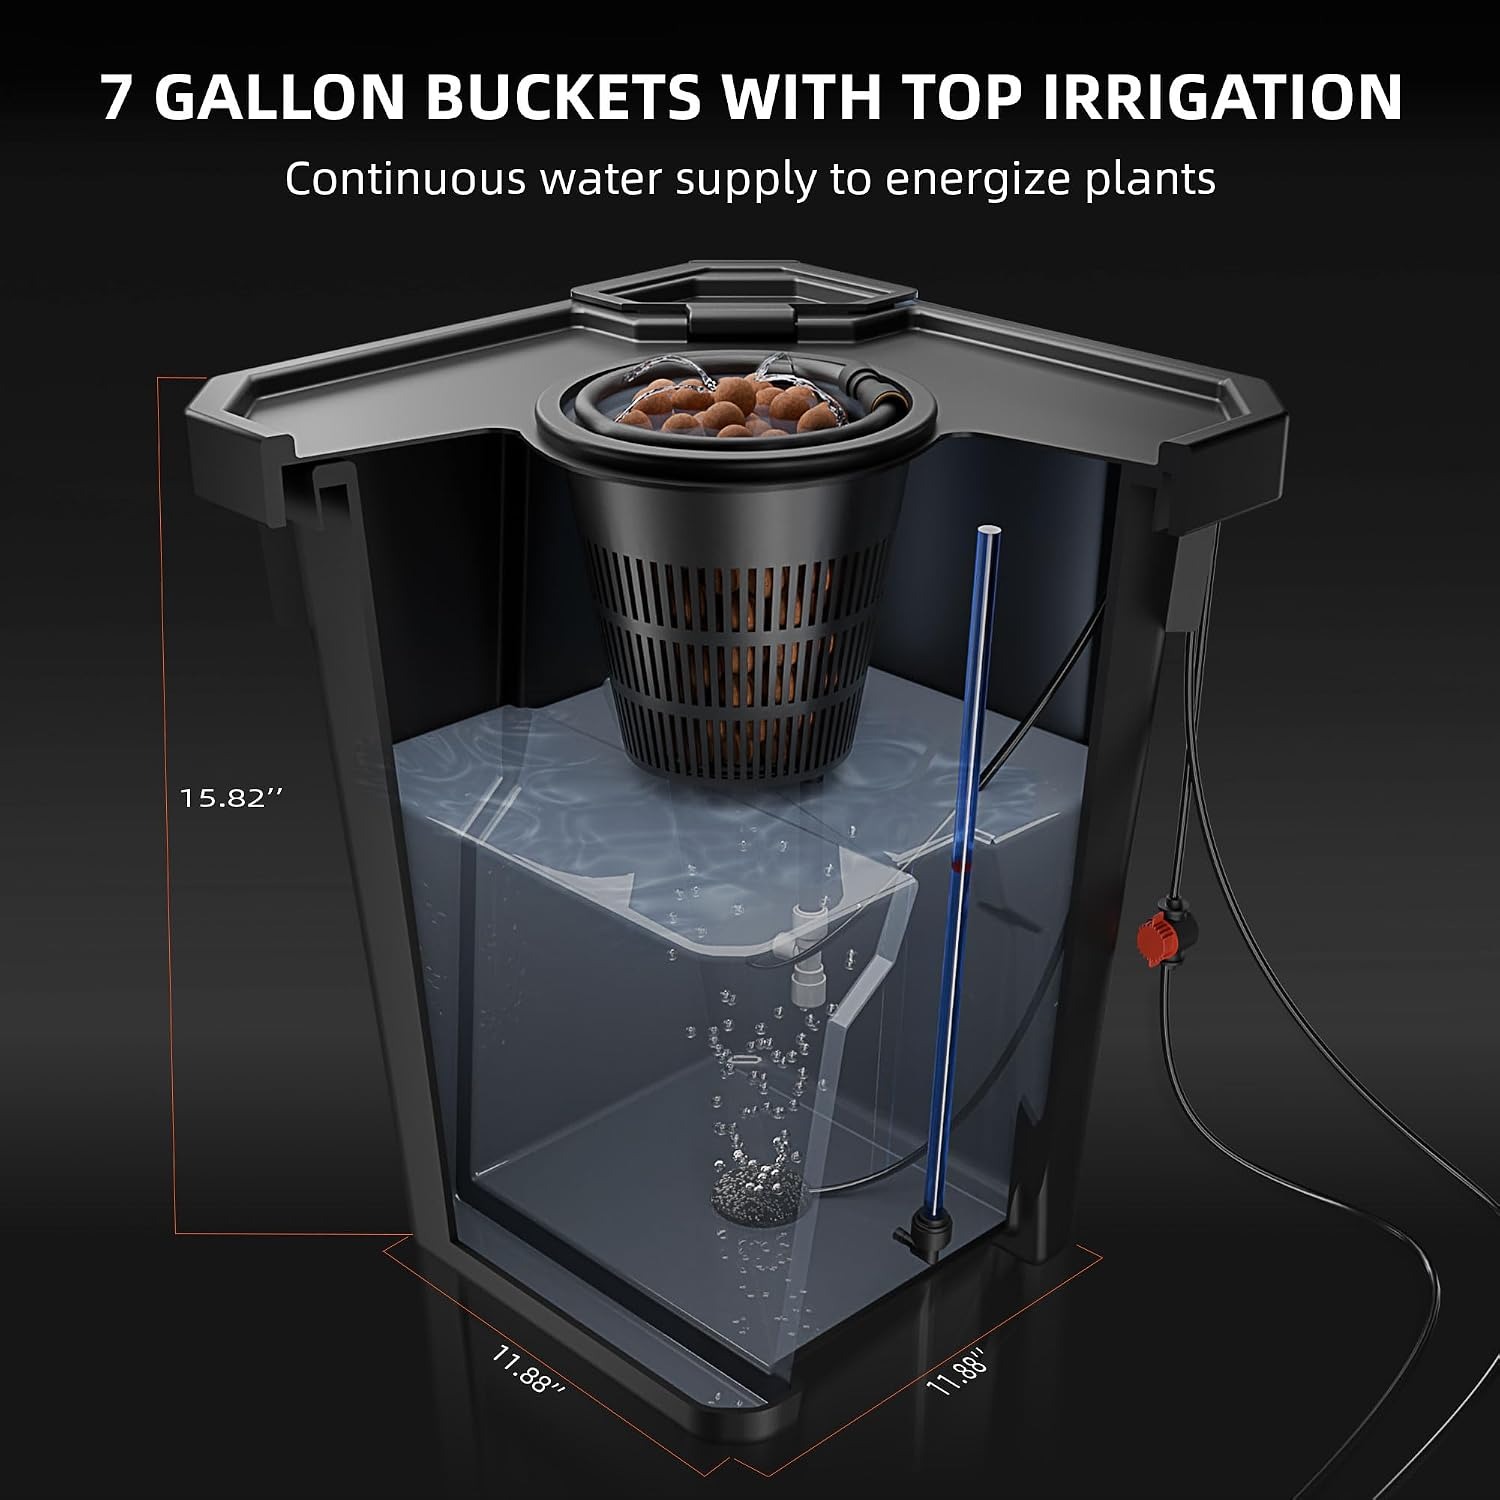
Picture a bucket with a lid. In the lid there is a hole, and in that hole sits a mesh cup full of clay pebbles. Your seedling goes into the pebbles, which hold it upright without smothering the roots.
Below the cup is the reservoir, filled with water mixed with hydroponic nutrients. At the start the water sits just under the base of the cup, close enough that the short roots can find it. As the plant grows, roots push down into the solution and form a thick white mass that you can see through the lid when you lift it.
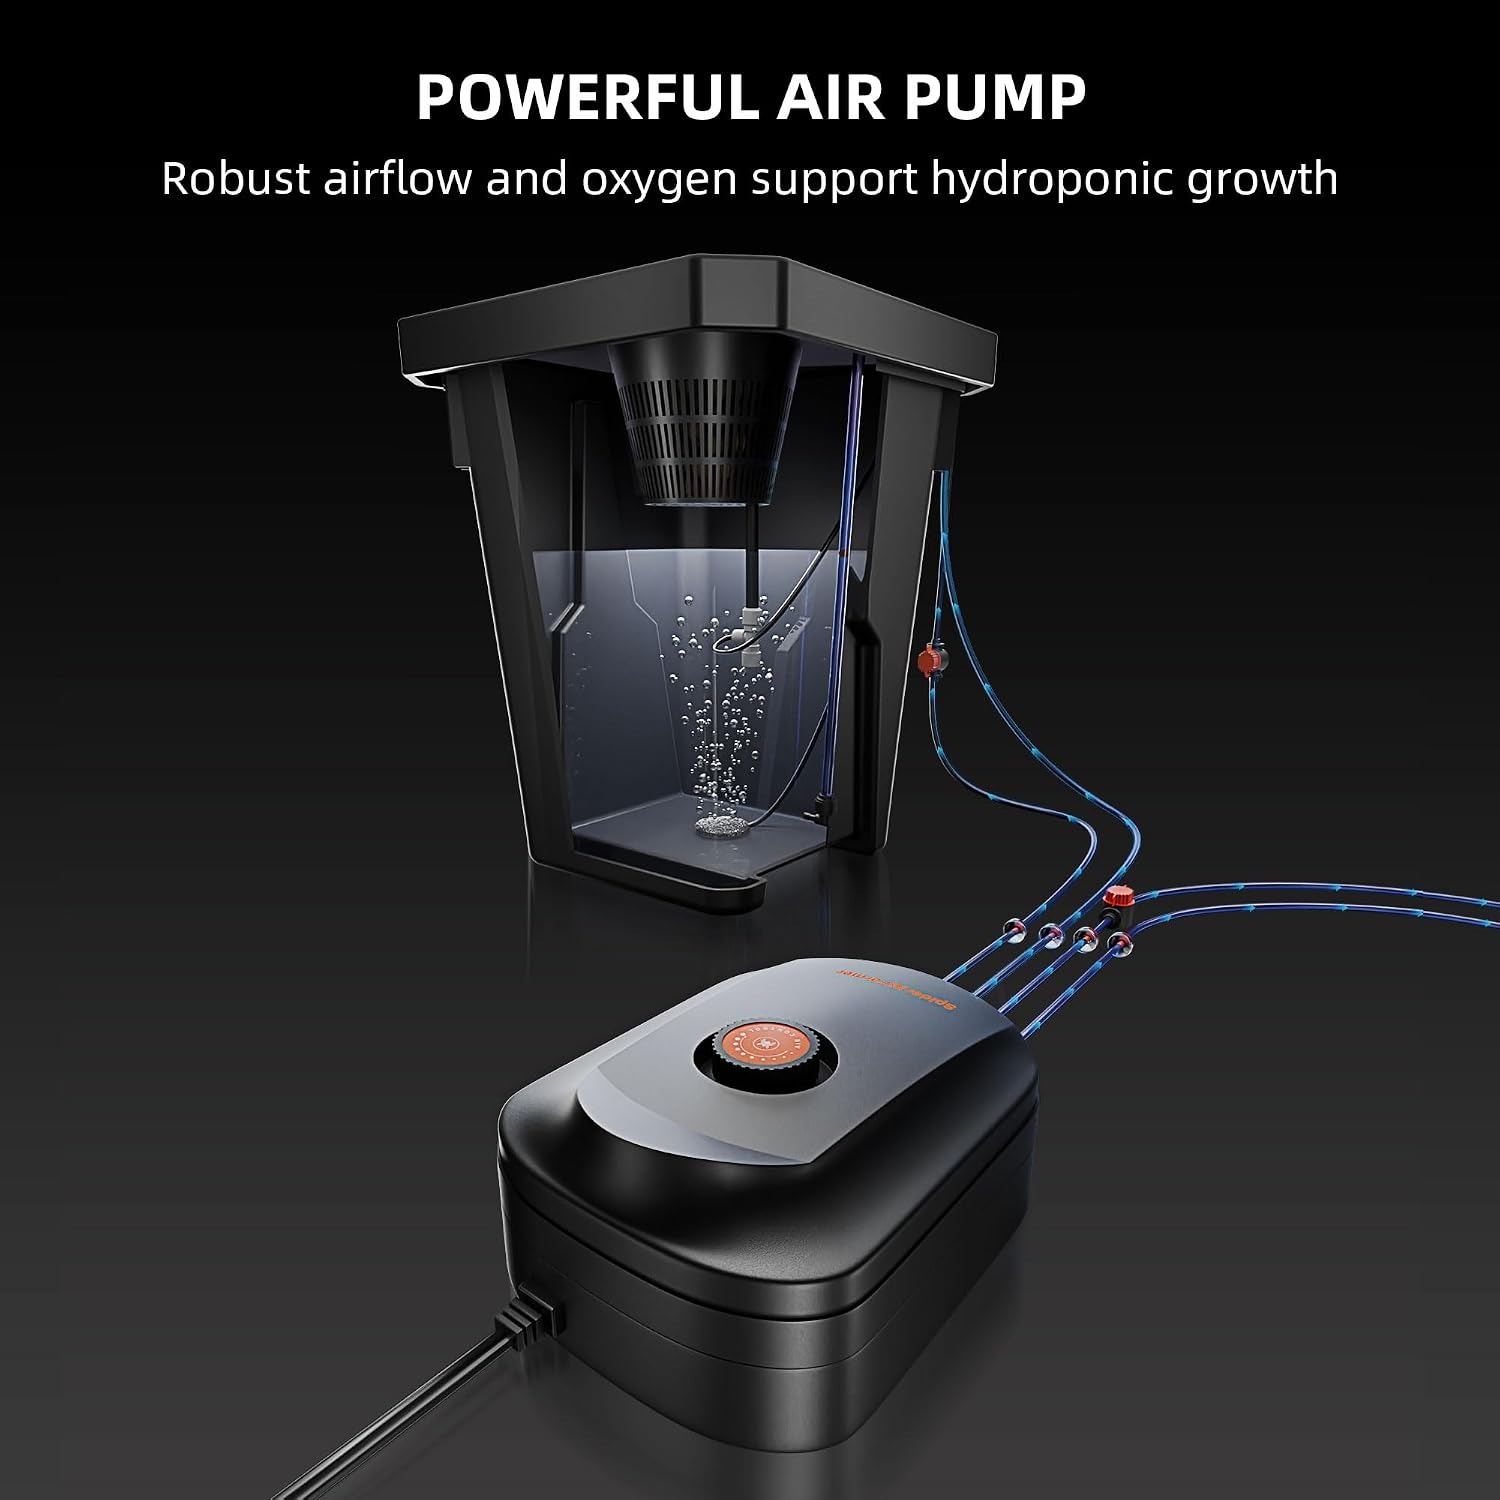
Here is the part people get wrong. Roots need oxygen as much as they need water. Dunk them in still water and they suffocate, go brown and start to rot. That is what the air pump is for. It drives air through stones sitting on the bottom of the bucket, and those stones break the air into fine bubbles that rise through the whole reservoir. The water stays lively and oxygen-rich, so the roots can drink and breathe at the same time. That combination is why a plant in a good deep water culture kit often outpaces the same plant in a pot of soil.
What is in this kit and why each part matters
This set gives you two 7-gallon buckets in polypropylene, a plastic that handles nutrient solutions without complaint. Each bucket measures 30.2 cm square and 50 cm tall. The whole kit weighs 6.22 kg dry.
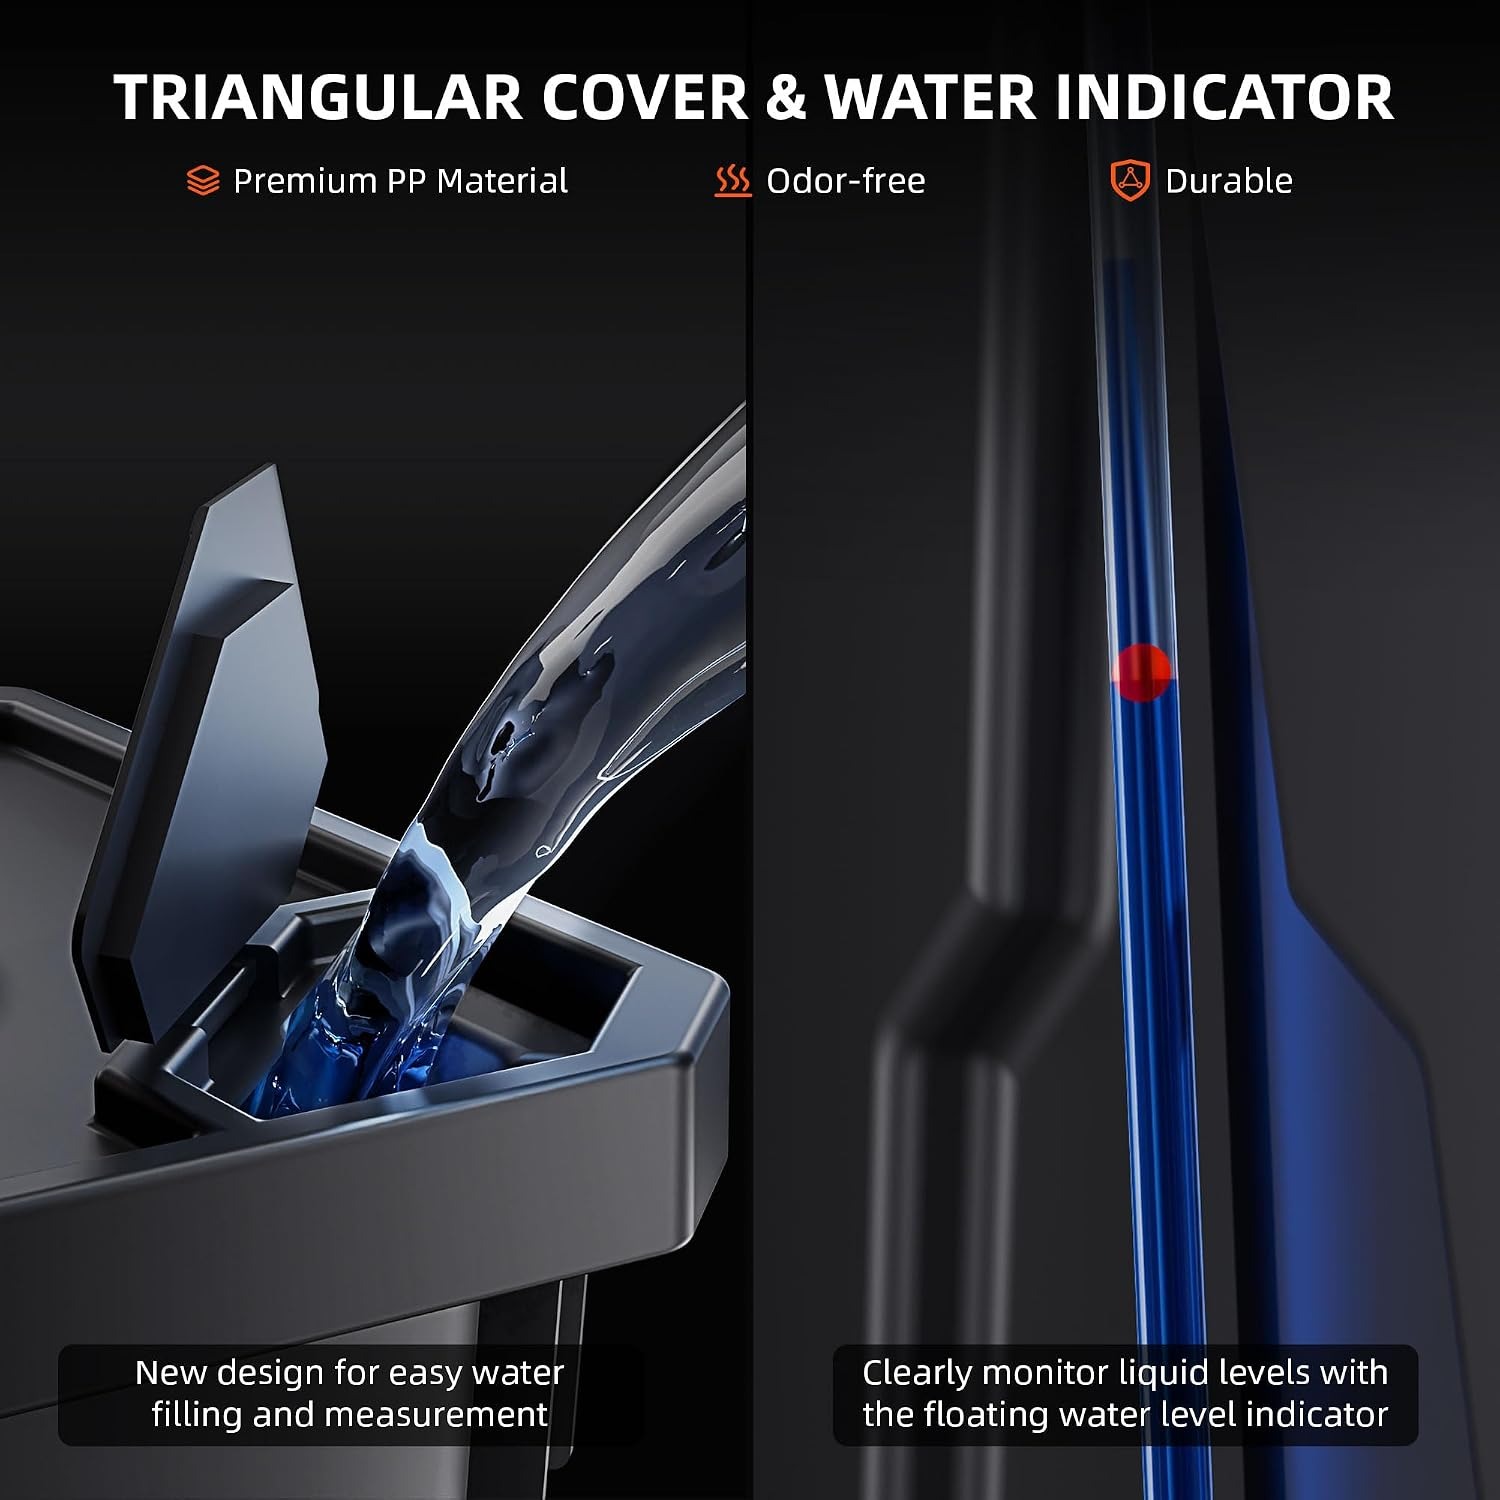
The covers are triangular and lift off, which sounds like a small thing until you have used a system where they do not. Lifting the cover means you can pour in water without splashing the plant, dip a pH meter straight into the reservoir, and get a proper look at the roots. Checking roots is the single most useful diagnostic in hydroponics, and anything that makes it easier is worth having.
Each bucket also has a clear water level tube running down the side. You read the level at a glance rather than opening anything. Over a long grow that saves you a lot of fiddling.
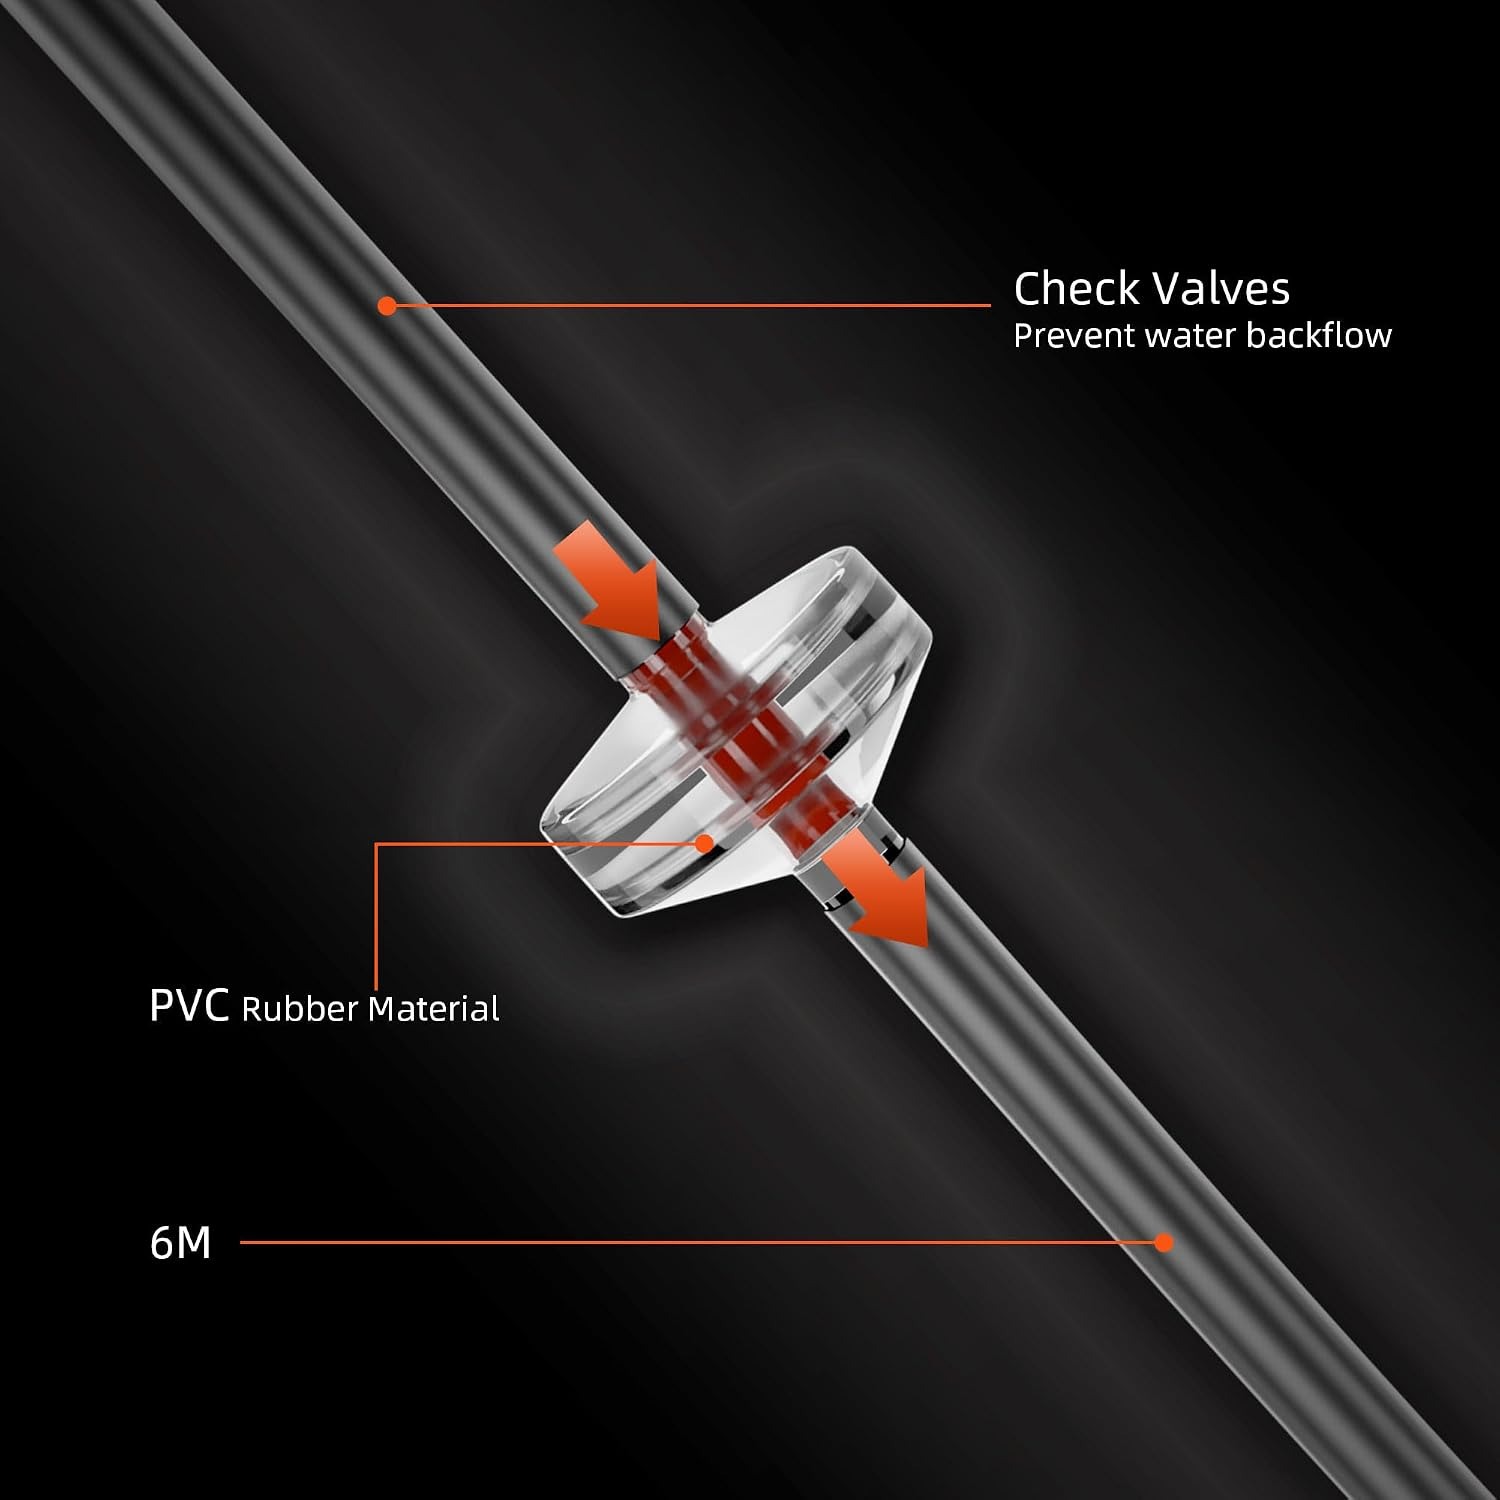
The air pump is rated at 8W, runs at 120V/60HZ, and pushes a maximum airflow of 4 x 63.4 GPH, with adjustable output. It feeds the two air stones through 6 metres of 4/6mm black hose. A check valve is fitted in the line to stop water running back down toward the pump if power drops. You should still sit the pump higher than the water, because belt and braces costs nothing.
Then there are the drip rings. These sit on top of the pebbles in each cup and drip nutrient solution over the medium. This matters most in the first week or two, when roots are short and have not yet reached the reservoir. That gap is where most first attempts fail, because the top of the cup dries out while the water sits untouched a few centimetres below. The ring bridges it. Once roots are long, you can slow the drip right down or turn it off.
Clay pebbles are included to fill the cups, along with a user manual and accessories.
Who this suits
If you have a grow tent, this drops straight in. Two buckets side by side need around 65 cm of floor width with a little room to work, and 50 cm of height before the plant starts. Check your tent measurements and leave headroom for the light.
It also suits people working with a balcony, a greenhouse corner or a spare room. The system is described as being for indoor use, so keep it out of rain and harsh direct sun. A black bucket in full summer sun heats the water, and warm water holds less oxygen, which is exactly what you do not want.
Crop-wise, lettuce and herbs are the easy wins. They grow fast, they forgive mistakes, and you will see results in weeks. Strawberries, mint and basil also do well. Tomatoes and peppers work in a 7-gallon reservoir because there is enough volume to support a big root system, though you will need proper staking and a strong light. Root crops are the exception, since there is nothing solid for them to swell into.
Choosing between systems
If you are comparing options, a few things separate one bucket hydroponics kit from another.
Reservoir size is the first. A bigger reservoir is more stable. Nutrient levels and pH shift slowly in a large volume of water and quickly in a small one, so 7 gallons per plant is a comfortable place to be. It also means you can leave the system longer between top-ups.
Lid access is the second. Systems where the whole lid is a fixed ring make root checks painful. A lift-off cover solves this.
Third is whether a drip feed is included. Plenty of cheaper sets are just a bucket, a lid and a pump, and they leave you improvising for the first fortnight with a jug. Having the ring supplied with adjustable flow is genuinely useful.
Finally, think about what you still need to buy. No bucket system includes nutrients or lighting. Factor those into your budget rather than being surprised later.
Looking after it
The routine is short. Top up with plain water when the level drops, and do a full solution change every one to two weeks. Check pH if you can, because tap water often sits outside the range plants absorb nutrients in.
Between crops, empty and rinse the buckets and wipe the inside walls with warm water and a soft cloth. Flush the tubing and drip rings with clean water. Rinse the air stones, and replace them if they stay clogged after a wash. They are cheap, and weak bubbling is not worth tolerating.
Clay pebbles can be reused. Soak and rinse them, picking out old root fragments, and let them dry before storing.
Keep the pump running at all times. A few hours of still water is survivable, a few days is not.
Troubleshooting the common ones
Brown, slimy roots usually mean warm water and not enough oxygen. Check the stones are bubbling, move the system somewhere cooler, and change the solution.
Yellowing lower leaves on leafy greens often point to nutrient levels drifting down after a lot of top-ups with plain water. A full change usually fixes it.
Plants that stall in week one are nearly always suffering from the gap problem described earlier. Turn the drip ring up and keep the pebbles damp until roots appear in the reservoir.
The short version
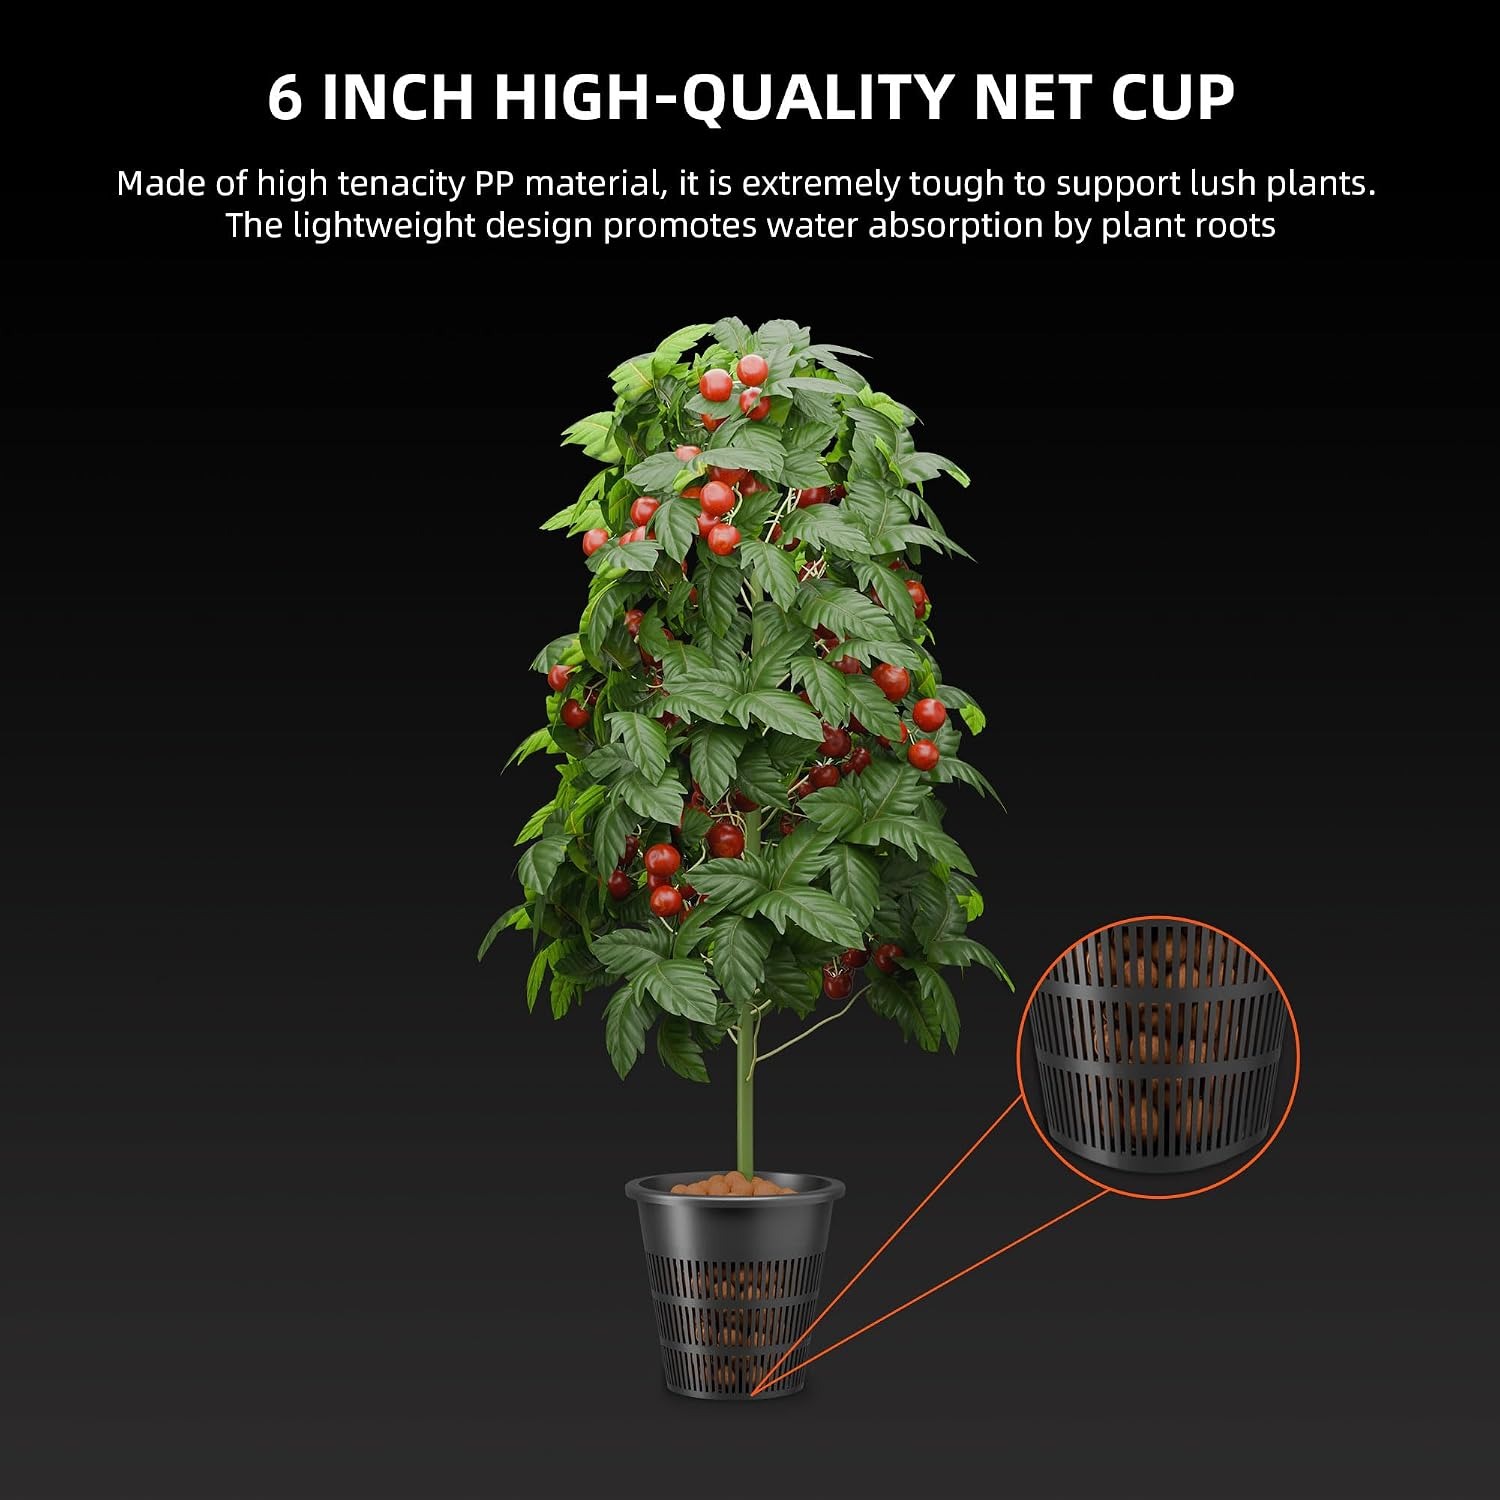
Deep water culture is the most forgiving introduction to growing without soil, and this kit covers the hardware side of it properly. Two 7-gallon polypropylene buckets, lift-off triangular covers, 6 inch mesh cups, an adjustable 8W air pump with two stones, 6 metres of tubing with a check valve, drip rings, water level tubes and clay pebbles. Add a light, some nutrients and a seedling, and you have a working indoor garden in an afternoon.
It will not suit root vegetables, and it is not a plug-and-forget appliance. But if you want faster growth, no soil mess and salad leaves from your own kitchen in winter, this is a sound place to start.