


The complete guide
How To Choose And Install Corten Steel Garden Edging
The problem with soft edges
Most gardens do not fail in the middle. They fail at the edges. The bed and the lawn start as two clear things, then over a season they blur. Mulch slides out onto the grass. Grass runners push in under the mulch. Gravel from the path spreads sideways a centimetre at a time until the path is twice as wide and half as tidy.
You can fight this with a spade twice a year. Cutting a fresh trench edge looks sharp for about three weeks, then the soil slumps and you are back where you started. It is one of those jobs that never actually finishes.
A physical border solves it properly. Something firm sits between the two materials and stays there. The question is only what that something should be.
Why people choose corten steel
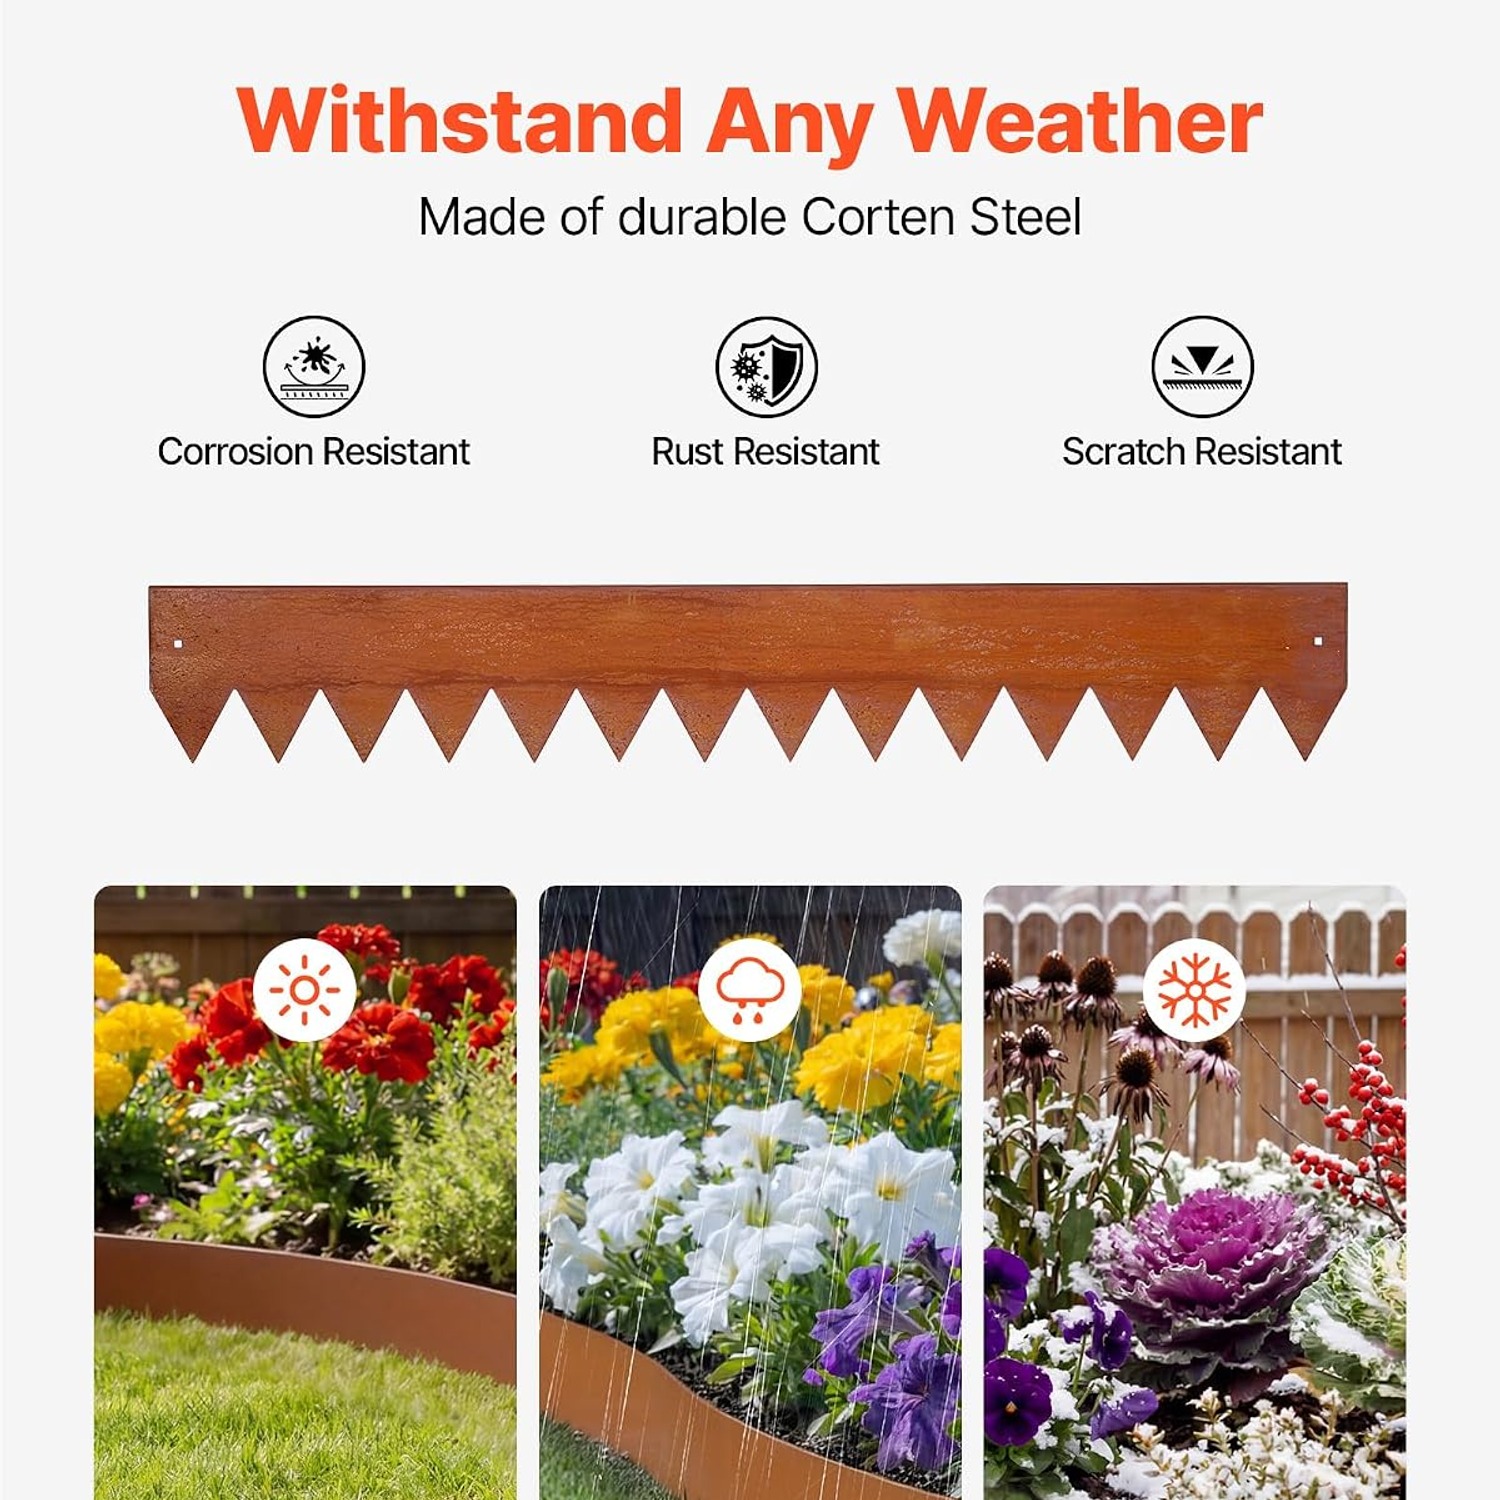
Corten is weathering steel. The surface develops a settled rust tone rather than flaking apart, which gives it that warm orange-brown colour you see in contemporary planting schemes. This particular edging uses corten steel with a treated surface that the listing describes as resisting rust, fading and cracking through everyday weather changes.
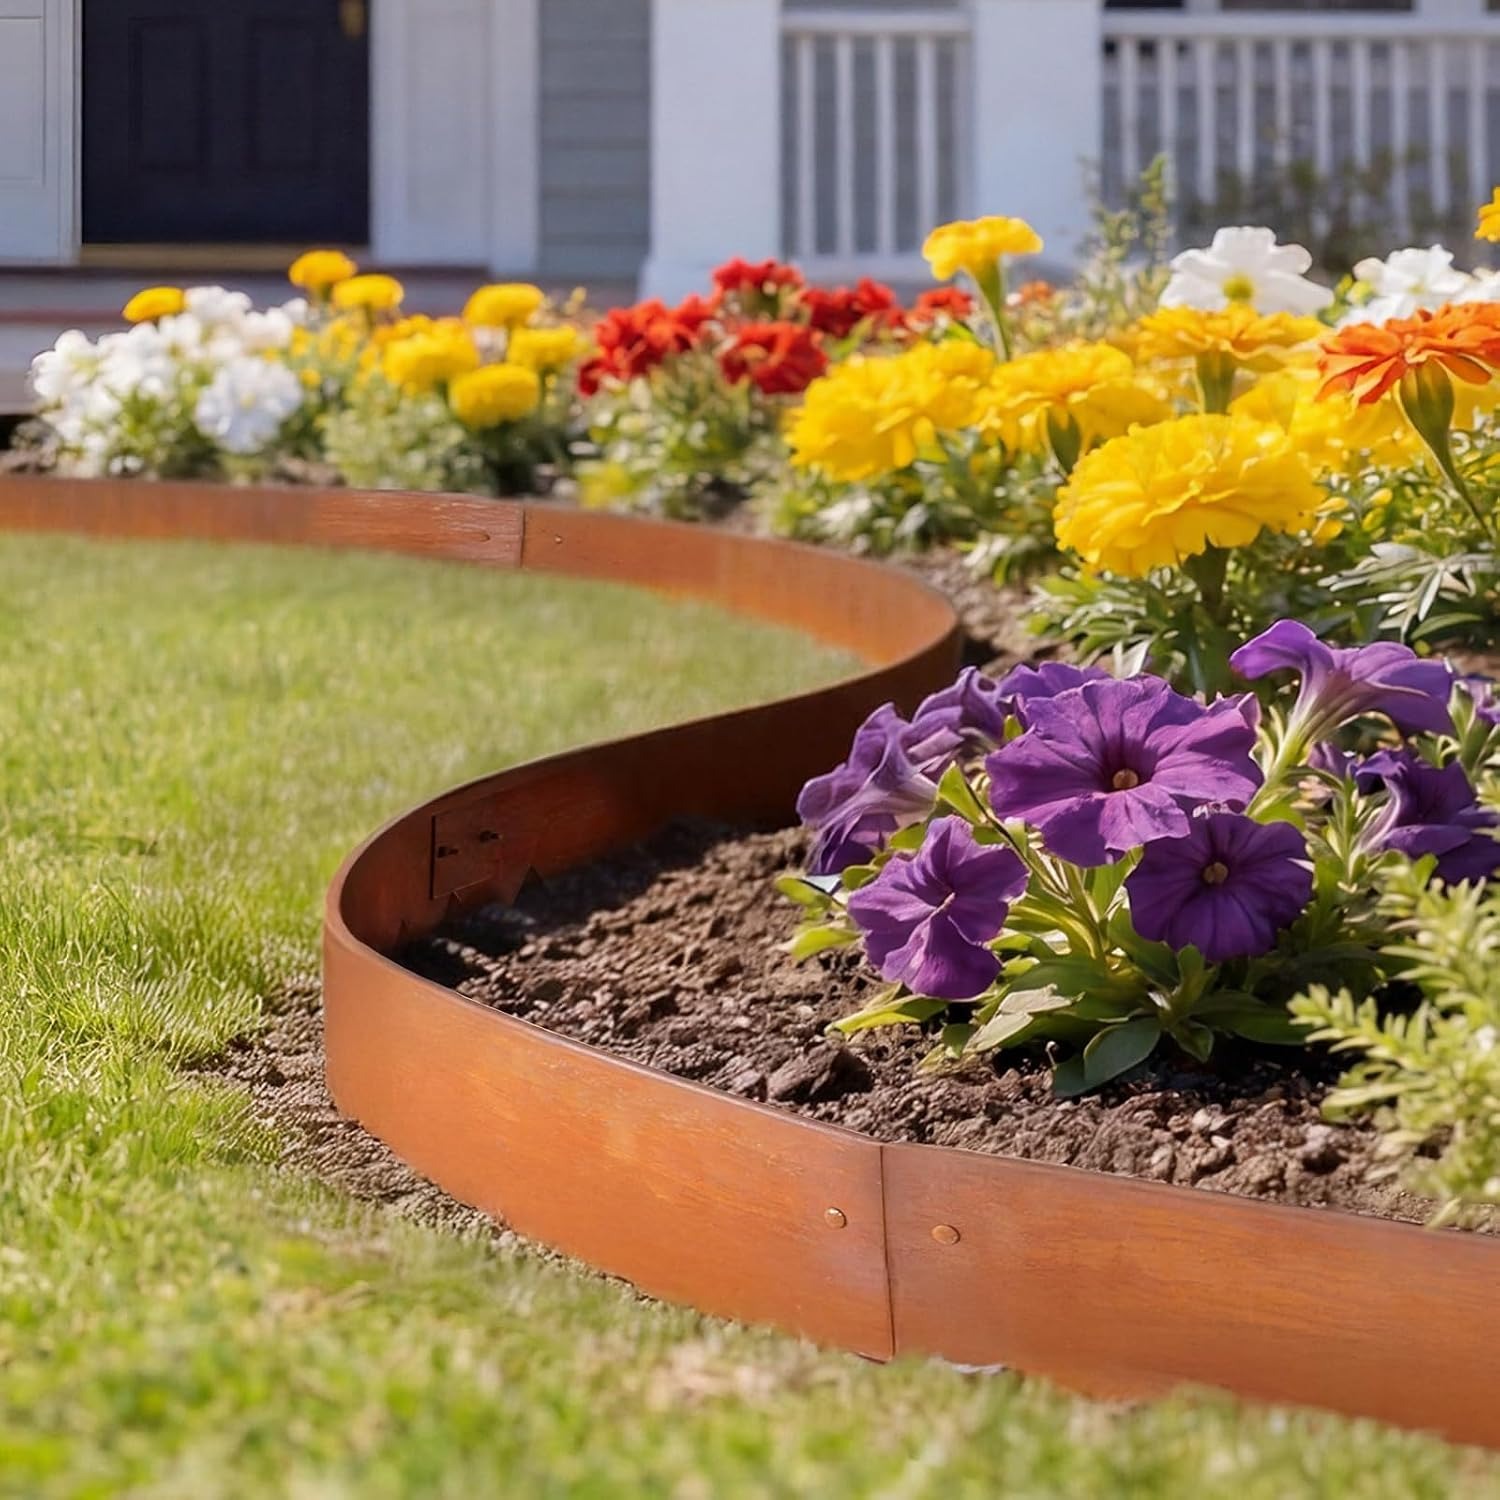
The visual argument is simple. A thin steel line almost disappears. Plastic edging announces itself. Timber sleepers are chunky and eventually rot. Concrete kerbing is permanent in a way that stops you changing your mind. Steel at 0.25 cm thick reads as a drawn line between two surfaces, not as a structure.
The practical argument matters more. Steel holds its shape against soil pressure, does not go brittle in cold weather, and does not need repainting. The colour changes, but that is the feature rather than the fault.
What is actually in this pack
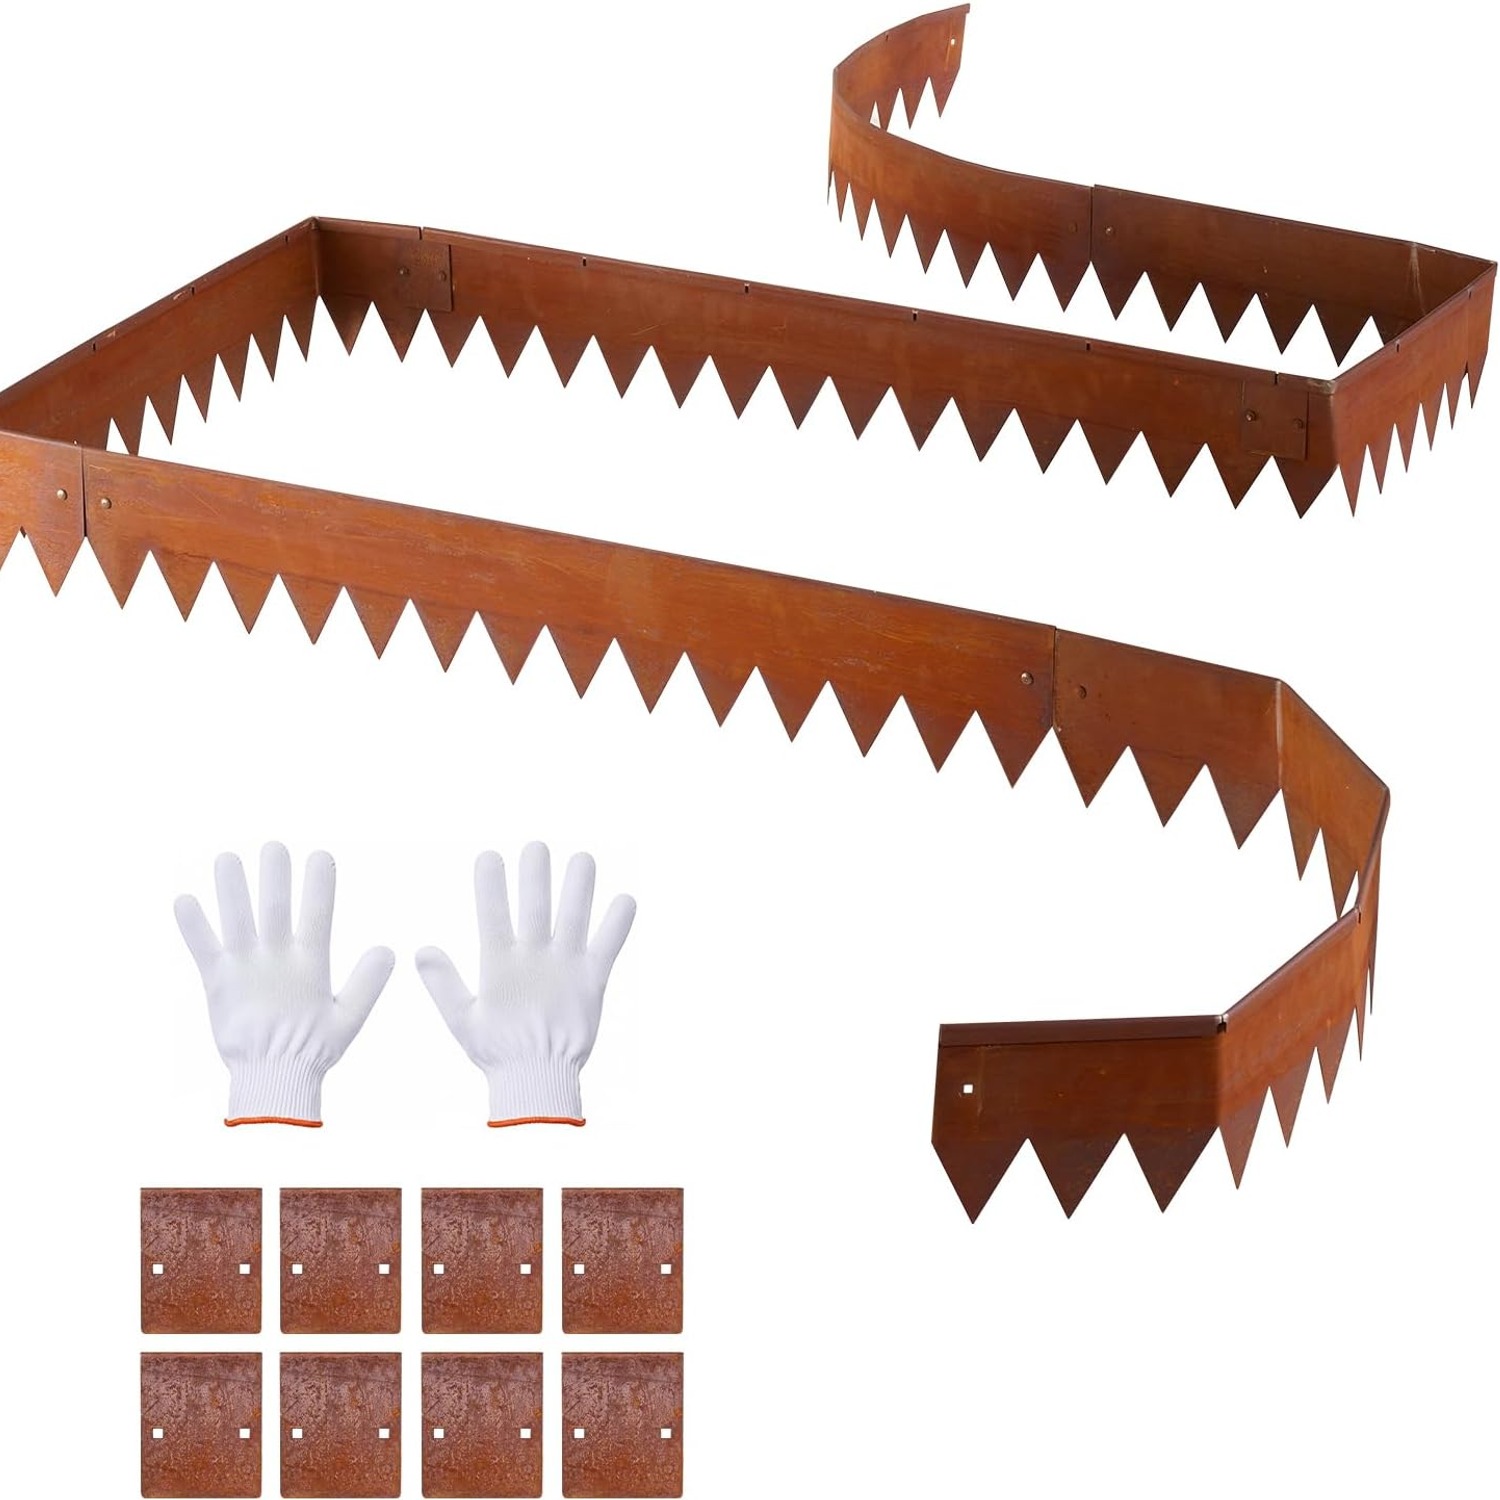
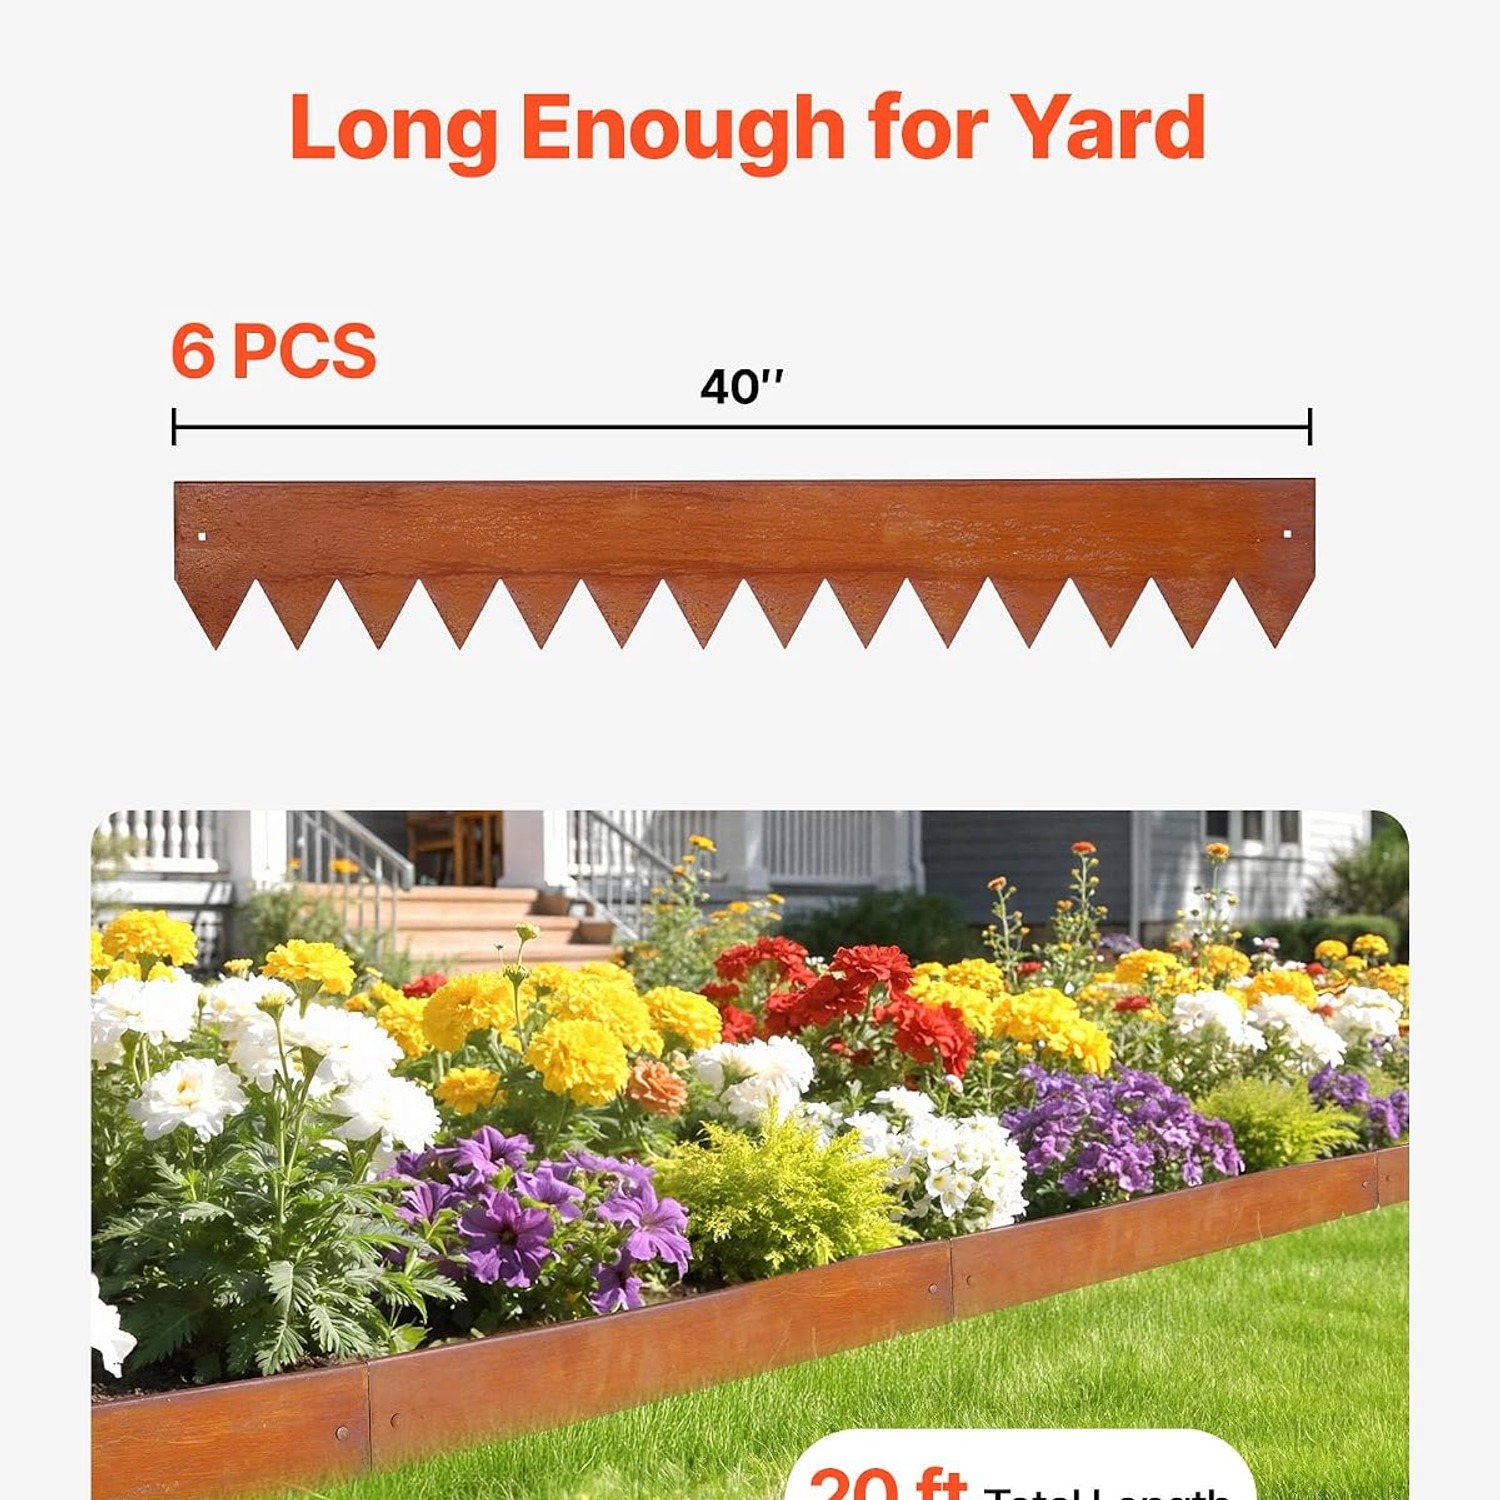
Six sections, each 101.6 cm long with a 15.2 cm face. That gives you about 6.1 metres of run in total, allowing a little for overlaps at the joins. The profile is 0.25 cm thick and the whole pack weighs 8.25 kg.
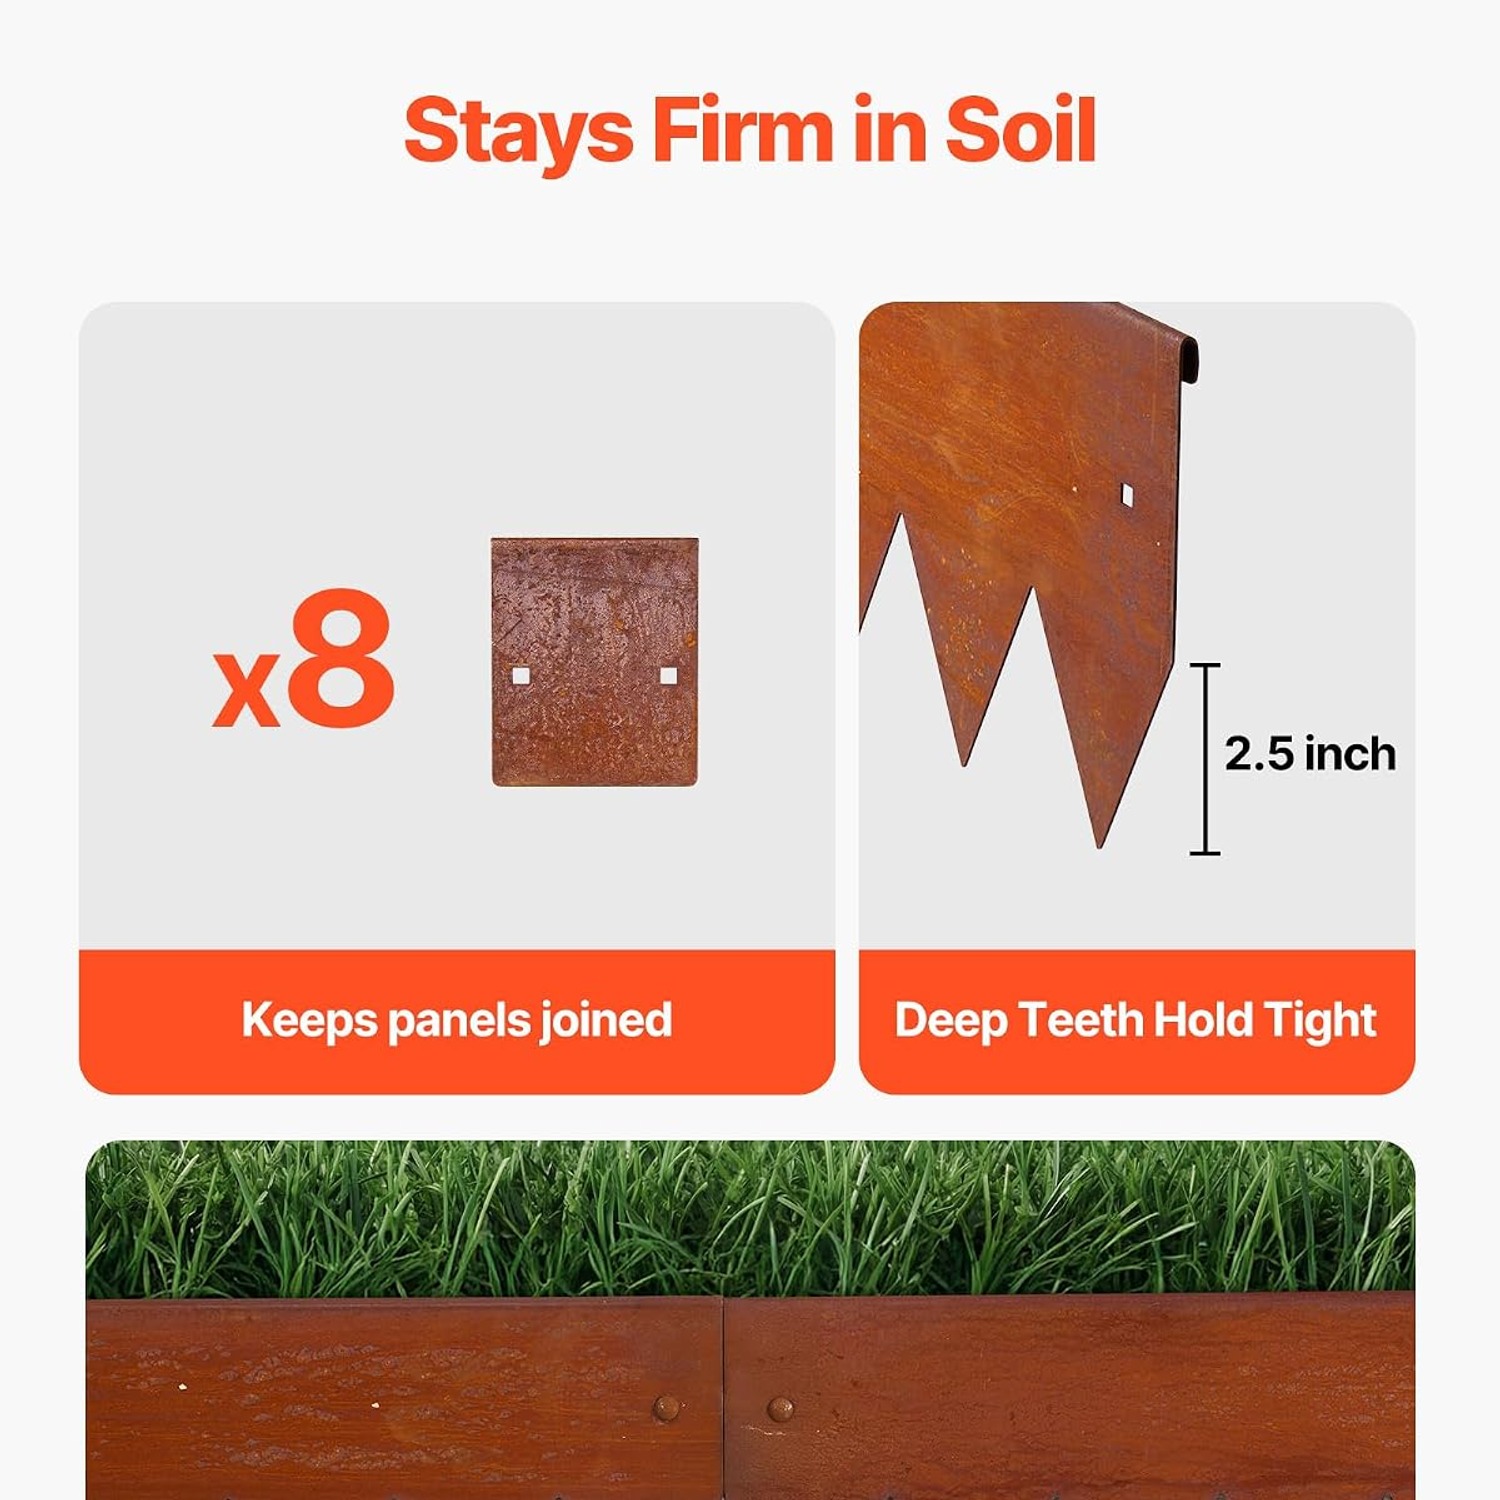
Along with the steel you get eight connecting plates, a set of screws, and one open-end wrench. The plates bolt across the back of two neighbouring sections so the joins stay in line. Six pieces in one continuous run need five joins, so the extra plates are there as spares or for when you split the pack into two separate borders.
Each section has extended spikes that push down into the soil. This is what holds the edge in place once it is set.
Working out how much you need
Measure the line you want to draw, not the area you want to enclose. Use a hose or a length of rope laid on the ground. It is a useful trick because a hose naturally settles into the kind of curve that looks right, and you can stand back and adjust it before you commit.
Then count the metres. One pack covers roughly 6.1 metres. A typical border along one side of a small garden might take a single pack. A full rectangular bed of three by two metres needs ten metres of perimeter, so two packs with some left over.
Buy slightly more than your measurement suggests. Corners eat length, and a short offcut is more useful than a gap. If you are after the best garden bed border result, having one extra section in the shed means you can extend a run later without waiting for a delivery.
Straight runs, curves and corners
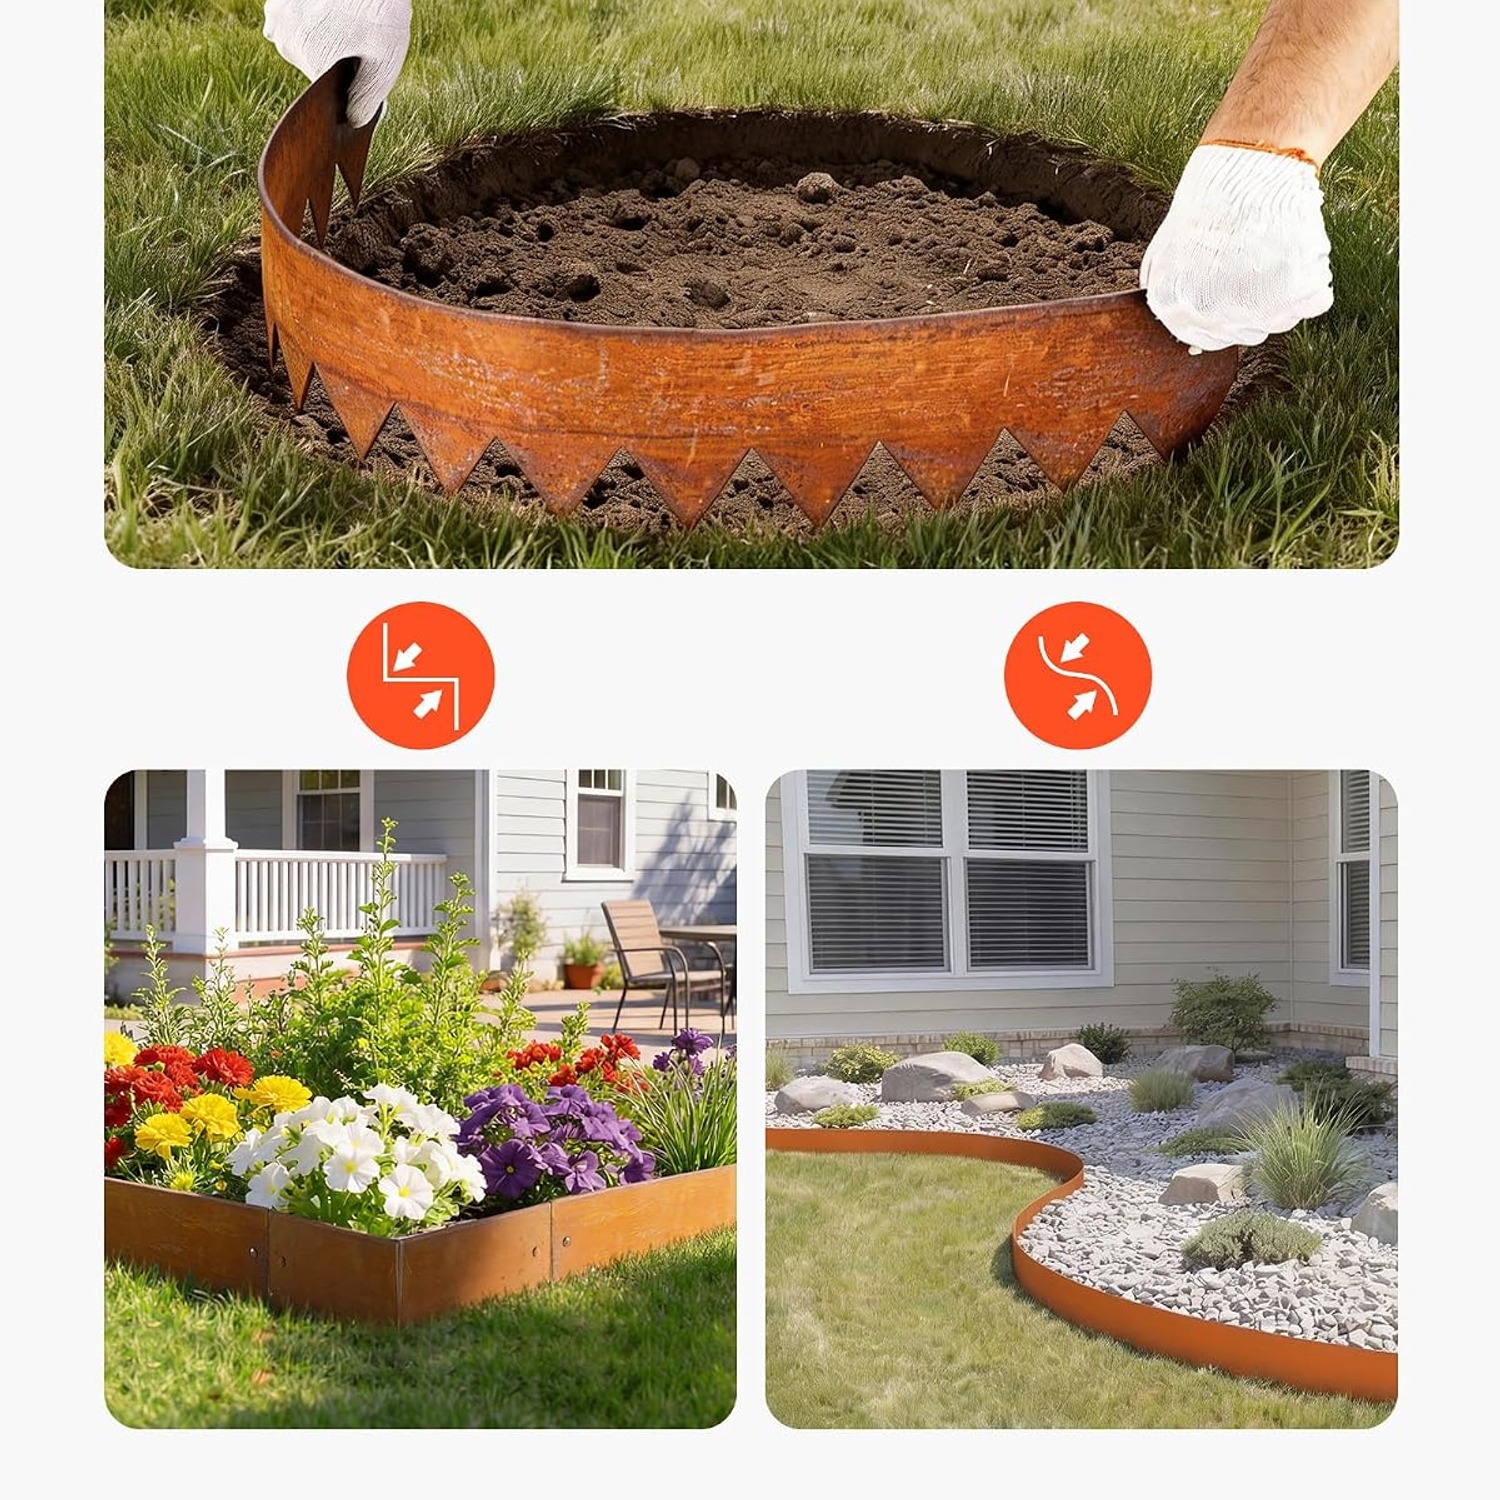
The steel bends by hand. That is the main reason this style of edging suits real gardens, which are rarely perfect rectangles.
For a gentle curve, lay the section on the ground and work the bend along its length with steady pressure rather than one hard push. The curve forms smoothly if you take it in stages. Generous radii are easy. Very tight circles are harder because the 15.2 cm face resists sharp folding.
For a right angle, clamp the section against a straight timber board at the fold line and work the bend progressively down the face. Doing it in small increments gives a much cleaner corner than trying to crease it in one go.
Straight runs need the least effort. Mark your line, keep the sections butted tight, and sight down the top edge every metre or so to check it has not wandered.
Getting it in the ground
Cut a shallow trench along your marked line. A narrow slot made with an edging iron or the blade of a spade is enough. You are not digging a foundation.
Link two sections with a connecting plate and screws, then set them into the trench so the spikes go into the soil. Tighten the fixings with the supplied wrench. Work along the run, adding sections as you go, so each new piece is supported by the one behind it.
Once the run is in place, tap the top edge down to final height. Use a rubber mallet, or put a block of scrap timber on top and hit that with a hammer. Hitting the bare steel directly will mark it.
Backfill and firm the soil on both sides. The soil is doing half the work here, so do not leave loose material against the edge.
How high should it sit?
This depends on what the edge is doing.
If it separates lawn from bed and you want to mow past it, set the top flush with or just below the grass so the mower wheels ride over. If it is holding back mulch or gravel, leave two to five centimetres proud so the material has something to sit against. For a path edge, the top should finish just above the gravel surface.
As a general rule, burying around half the 15.2 cm face gives a good balance between a visible line and a stable install. In sandy or loose soil, go deeper. The best metal lawn edging installations are usually the ones that are set a little deeper than the installer first thought necessary.
Looking after it
There is not much to do. Hose off soil and leaf litter when it looks grubby. Do not attack it with a wire brush or abrasive pad, because that scours the weathered surface you want to keep. Keep paint, fuel and solvents away from the steel.
Once or twice a year, walk the line. Tighten any connecting plate screws that have worked loose and tap down any section that frost has lifted. That is genuinely the whole maintenance routine.
Expect the colour to keep shifting for the first year or two. Wet sites change faster than dry ones. It settles eventually into a deeper, more even tone.
Where it works best
Flower beds are the obvious use, and the steel looks especially good against dark mulch. Pathways are the other big one, because gravel migration is a problem that physical edging genuinely fixes. A mulch ring around a tree, a boundary between lawn and a gravel seating area, a frame for a vegetable plot: all reasonable jobs for this edging.
What it is not is a retaining wall. It will hold a low level change and keep materials where you put them. It will not hold back a deep bank of soil, and you should not ask it to.
The short version
Six lengths, 6.1 metres of border, a 15.2 cm face, and everything you need to join it together. The steel bends by hand so it follows the shape your garden actually is rather than the shape it should have been. It goes in with a spade and a mallet in an afternoon.
The finish changes as it weathers, which is the point. Set it deep enough, keep the top line even, and check the screws once a year. After that it just does its job quietly while the planting around it grows in.