



The complete guide
Paver Mould Buyer's Guide - Pouring Your Own Garden Path
The problem with garden paths
Most gardens have a worn strip of grass somewhere. It runs from the back door to the shed, or around the side of the house to the bins, and it turns into mud every winter. You know a path would fix it. Then you get a quote, and a few square metres of laid paving comes back at a number that makes you decide to live with the mud for another year.
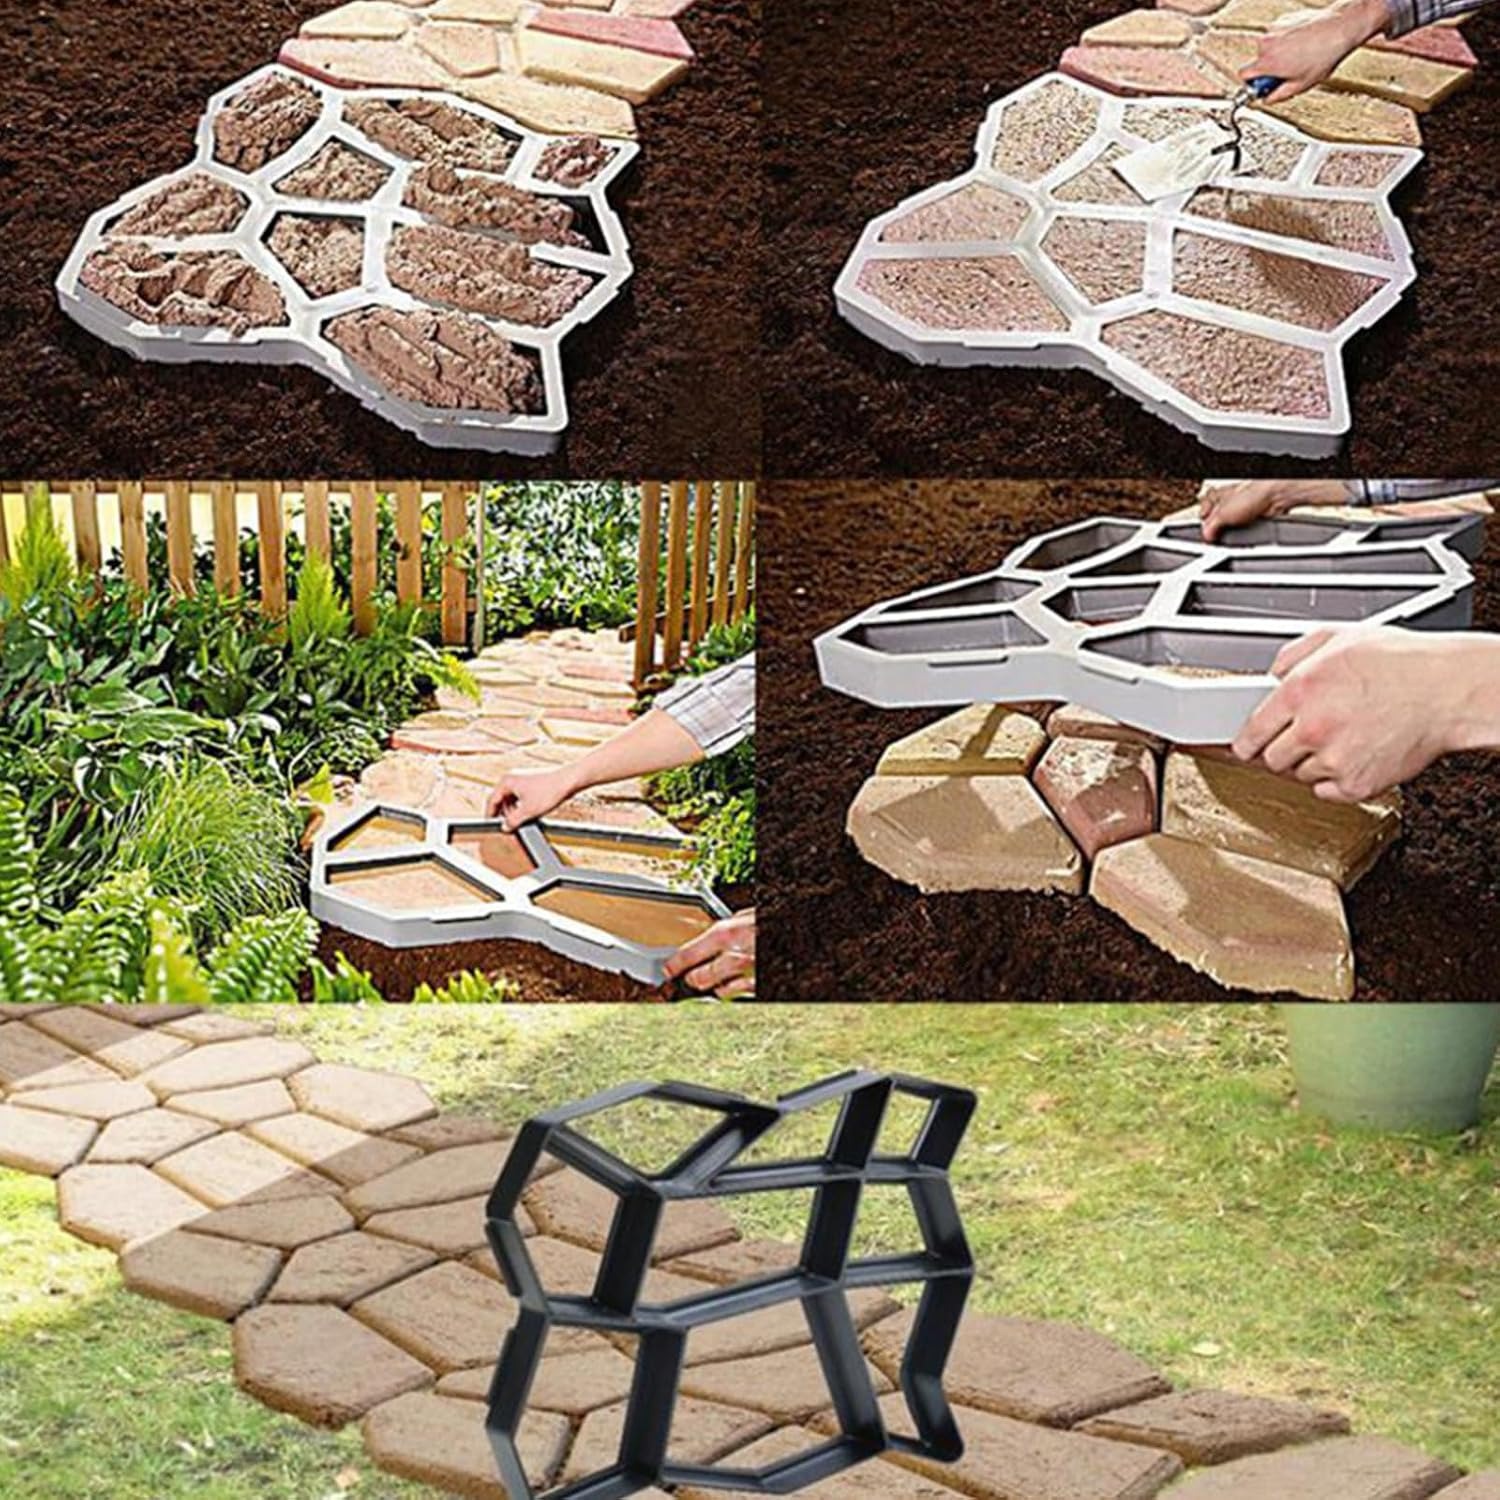
The materials are not the expensive part. Cement, sand and aggregate are among the cheapest building products you can buy. What costs money is shaping, setting and levelling each unit by hand. A paver mould takes that work and turns it into something repetitive and simple. You lay the form down, fill it, flatten the top, lift it off, and shuffle along. The pattern comes out identical every time because the form does the thinking.
That is the whole idea behind a walk maker mould. It is not clever technology. It is a well-shaped piece of plastic that makes an awkward job predictable.
How the mould actually works
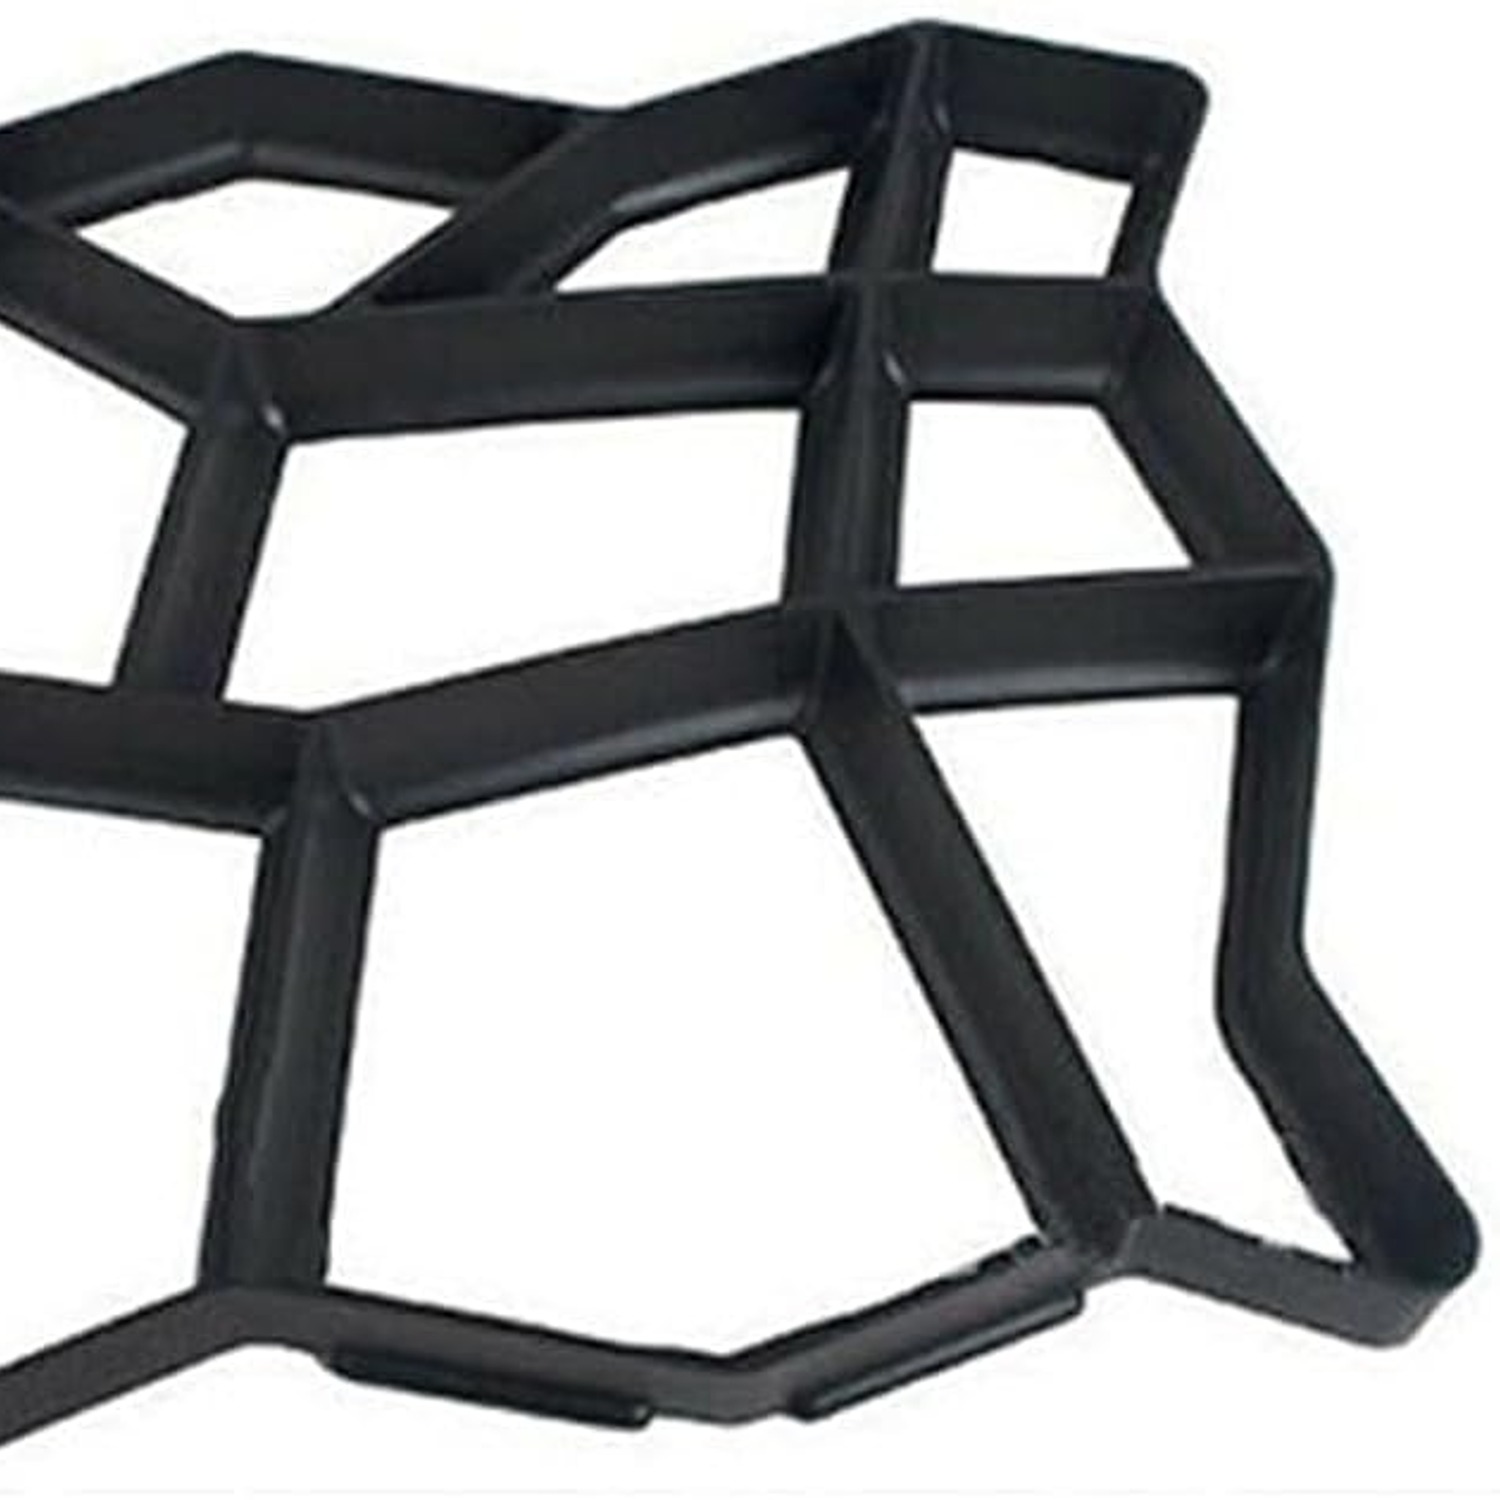
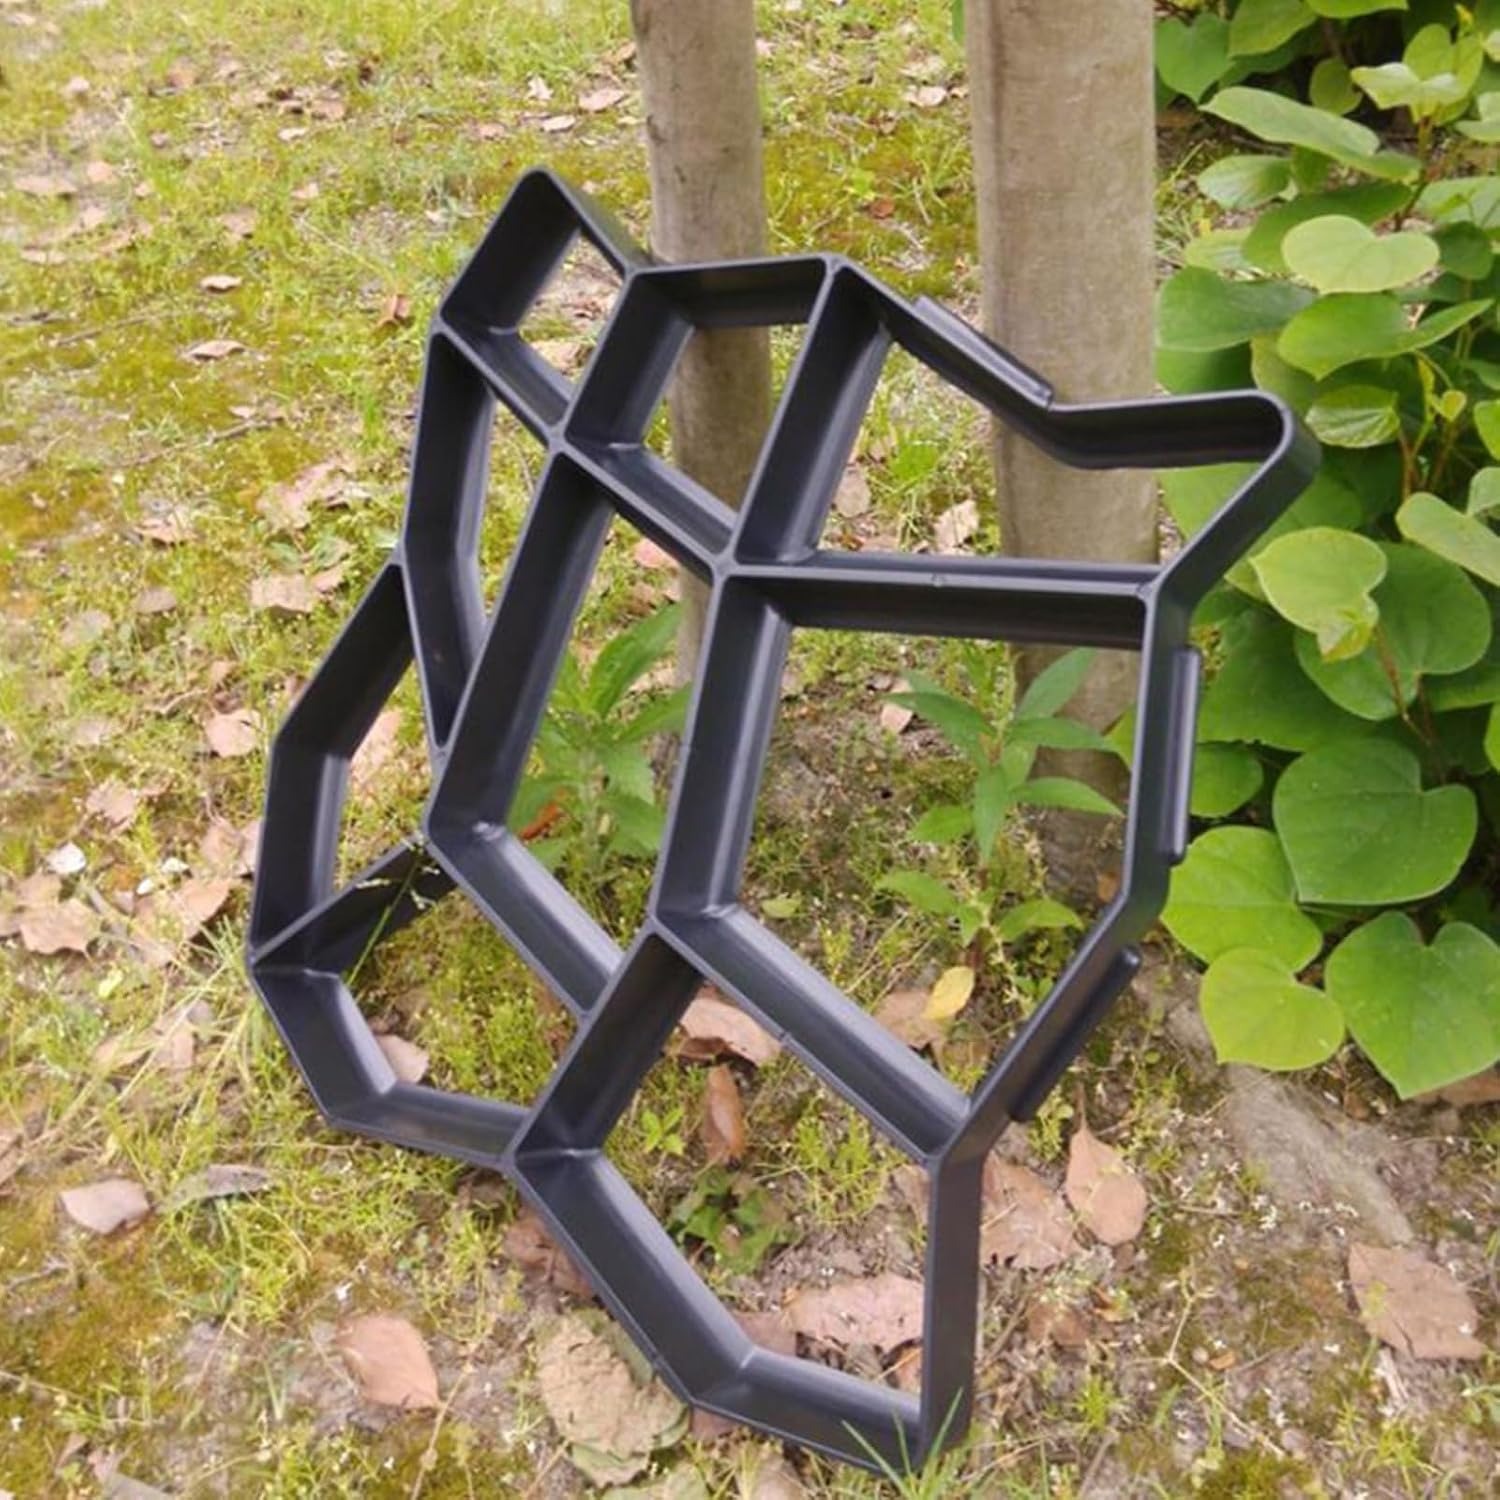
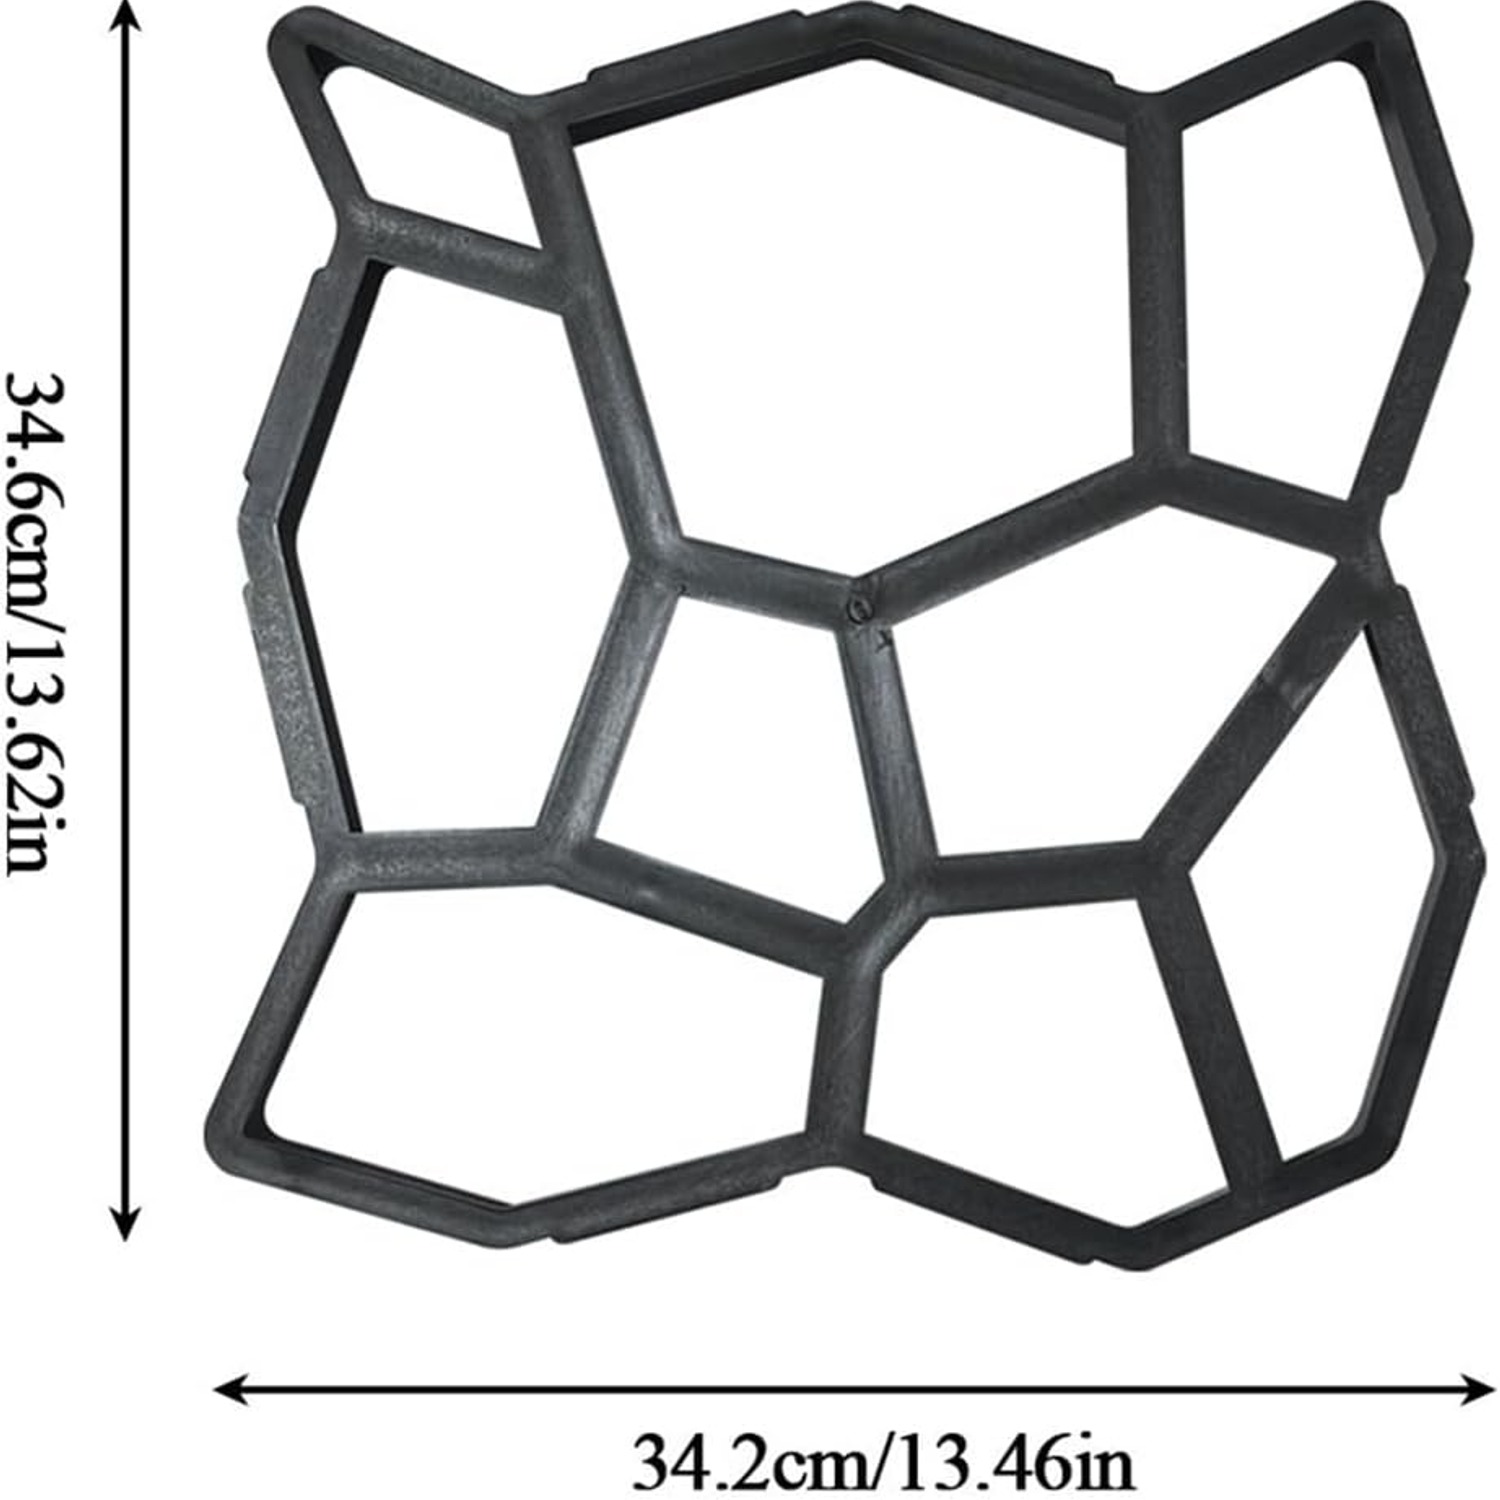
The mould is a single piece of heavy-duty polypropylene with a pattern of cavities in it, usually resembling irregular cobbles or cut stone. You place it on prepared ground, shovel in your concrete mix, push the mix into the corners of each cavity, and screed the top flat with a trowel or a length of timber.
Then you wait. Not long. Just a few minutes, until the concrete is stiff enough to keep its edges but still soft. At that point you lift the mould straight up. The cast shapes stay behind and the mould is free.
This is where the timing matters. Lift too early and the edges slump. Leave it too long and the concrete grips the plastic. Your first pour is a calibration exercise. By the third one you will know the feel of it for your mix and your weather.
The built-in tenons on this mould are a small feature that makes a big difference over distance. They give you a locating edge so the next pour sits square against the last. If you have ever tried to lay a long line of anything by eye, you will know how quickly it drifts. The tenons hold the line for you, which is why the listing says no special tools or professional skills are needed.
Rinsing is the other habit to build. Keep a bucket of water and a brush beside you. Rinse the mould with water before the concrete solidifies and it comes up clean in seconds. That single step is what makes it a reusable paving mould rather than a single-use one.
Who this suits
This kind of mould is aimed squarely at the homeowner doing a small to medium job themselves. Side paths. Stepping stones across a lawn. A surround for a shed or a greenhouse. A neat edge along a driveway. A small seating area at the end of the garden where the washing line is.
It also suits people who want control over the look. Pre-cast slabs come in whatever your local merchant stocks. Pour your own and you can add oxide colour to the mix, vary the tone from section to section, or change the jointing material to shift the whole character of the path.
It suits renters less well, for obvious reasons, though a run of individual stepping stones on a lawn is easier to remove later than a continuous slab.
It is not the right tool for a driveway, a vehicle hardstanding, or anything carrying structural load. Those jobs need a thicker slab, reinforcement and a properly compacted sub-base designed for the weight. The listing frames this as a product for gardens, streets, balconies and villa landscaping, and foot traffic is the honest limit.
Choosing and planning the job
Start with the measurement. Walk your intended route and measure it in metres, then decide on a width. Most single-person garden paths sit somewhere around 60 to 80 cm wide. Anything you want two people to walk side by side on needs closer to 1.2 m.
Next, work out your concrete volume. The finished cavity dimensions of this mould are not listed, so the practical trick is to fill the mould with dry sand once, tip that into a measuring bucket, and read off the litres. Multiply by the number of pours your path needs. Bagged concrete states yield in litres on the sack, so you can convert straight across. Buy at least one bag more than you calculate. Running out halfway through a run is far more annoying than having a spare bag in the shed.
Then think about the base. This matters more than anything else you do. Dig out the turf and topsoil to a depth that gives you room for a compacted layer plus the thickness of your pour. Firm it down properly, whether that is with a hired plate compactor or a lot of enthusiasm and a heavy timber. Add sharp sand or crushed hardcore and level it. A path poured onto soft ground will move, and once it moves it cracks.
Check your falls. Water needs somewhere to go. A gentle slope away from the house, even a centimetre or two across the width, keeps puddles off the path and damp away from your walls.
Finally, think about the weather. You want a dry spell with mild temperatures. Concrete poured in freezing conditions does not cure properly, and concrete poured in blazing heat dries too fast at the surface and cracks. Check the bag for the working temperature range of your product.
Mixing and pouring, practically
Mix in small batches. The temptation is to make a huge tub of concrete and get through the whole path in one go, but concrete has a working life of under an hour in most conditions. Mix what you can place in twenty minutes and no more.
Aim for a stiff mix, not a sloppy one. If you tip the tub and it slumps and runs, it is too wet. Too wet also means weak, because excess water leaves voids as it evaporates. You want something that holds a shape when you heap it with a trowel.
Push the mix down into the corners of each cavity with your trowel or a gloved hand. Air pockets at the edges give you ragged pavers. Then screed the surface flat and lift.
Two people make this much faster than one. One mixes and carries, one places and lifts. You can keep a steady rhythm of a pour every ten to fifteen minutes that way, which gets a surprising amount of path down in an afternoon.
If you want colour, add oxide powder to the dry mix and blend it thoroughly before adding water. Streaky colour is almost always under-mixing.
Looking after the mould
Care is simple and comes down to one rule. Clean it wet.
Rinse with water while the residue is soft. A stiff brush and a hose handle the rest. If something does set hard, soak it and work it loose with a plastic scraper. Avoid metal tools and avoid solvents. Gouged plastic shows up in every pour afterwards.
Dry the mould before you put it away. Store it flat, out of long periods of direct sun, with nothing heavy on top. Polypropylene is tough but it will slowly distort if you leave it bent under a load in a hot shed. At 440 g it takes up almost no room on a shelf.
Finishing the path
Once the pours have cured, the joints need filling. Dry sand is the cheapest option and looks natural. Fine gravel gives a sharper, more modern finish. Polymeric jointing sand sets slightly and resists weeds better than plain sand. Some people plant low creeping ground cover in the gaps, which looks lovely but needs a few seasons to fill in.
Brush the filler in, water it lightly, and top up where it settles. Expect to redo this once or twice in the first year as everything beds down.
The short version
A paver mould turns an expensive contractor job into a weekend of straightforward work. This one is heavy-duty polypropylene, weighs 440 g, and has built-in tenons so each pour lines up with the last. Clean it with water before the concrete sets and you can keep using it.
Get the base right, mix stiff rather than sloppy, work in small batches, and rinse as you go. Do those four things and the path will look like you knew what you were doing, which after the third pour you will.