




The complete guide
Choosing a Childrens Microscope, A Practical Buyer's Guide
The problem with most first microscopes
A lot of children get given a microscope and never really use it. The thing sits on a shelf, gathers dust, and eventually goes to a charity shop with the slides still sealed in their plastic. It is rarely the child's fault. It is usually because the instrument was too fiddly, too dim, or came with nothing to look at.
Think about what happens on day one. A child unboxes a microscope, puts their eye to the eyepiece, and sees grey. Nothing is in focus, because there is nothing on the stage. So they need a specimen. If the box did not include any, they go and find a leaf, mash it onto the glass, and still see grey, because a whole leaf is far too thick for light to pass through. Ten minutes later they have decided science is boring.
Everything about choosing a good beginner microscope comes back to avoiding that first-day failure. You want something that gives a clear, bright, interesting image within the first few minutes, with no adult expertise required.
How a microscope actually works
The basic idea is simple. Light passes through or bounces off a specimen, then travels up through a lens system that magnifies the image before it reaches your eye. Two things determine whether you see anything useful: how much light reaches the specimen, and how well the lenses are matched to the distance.
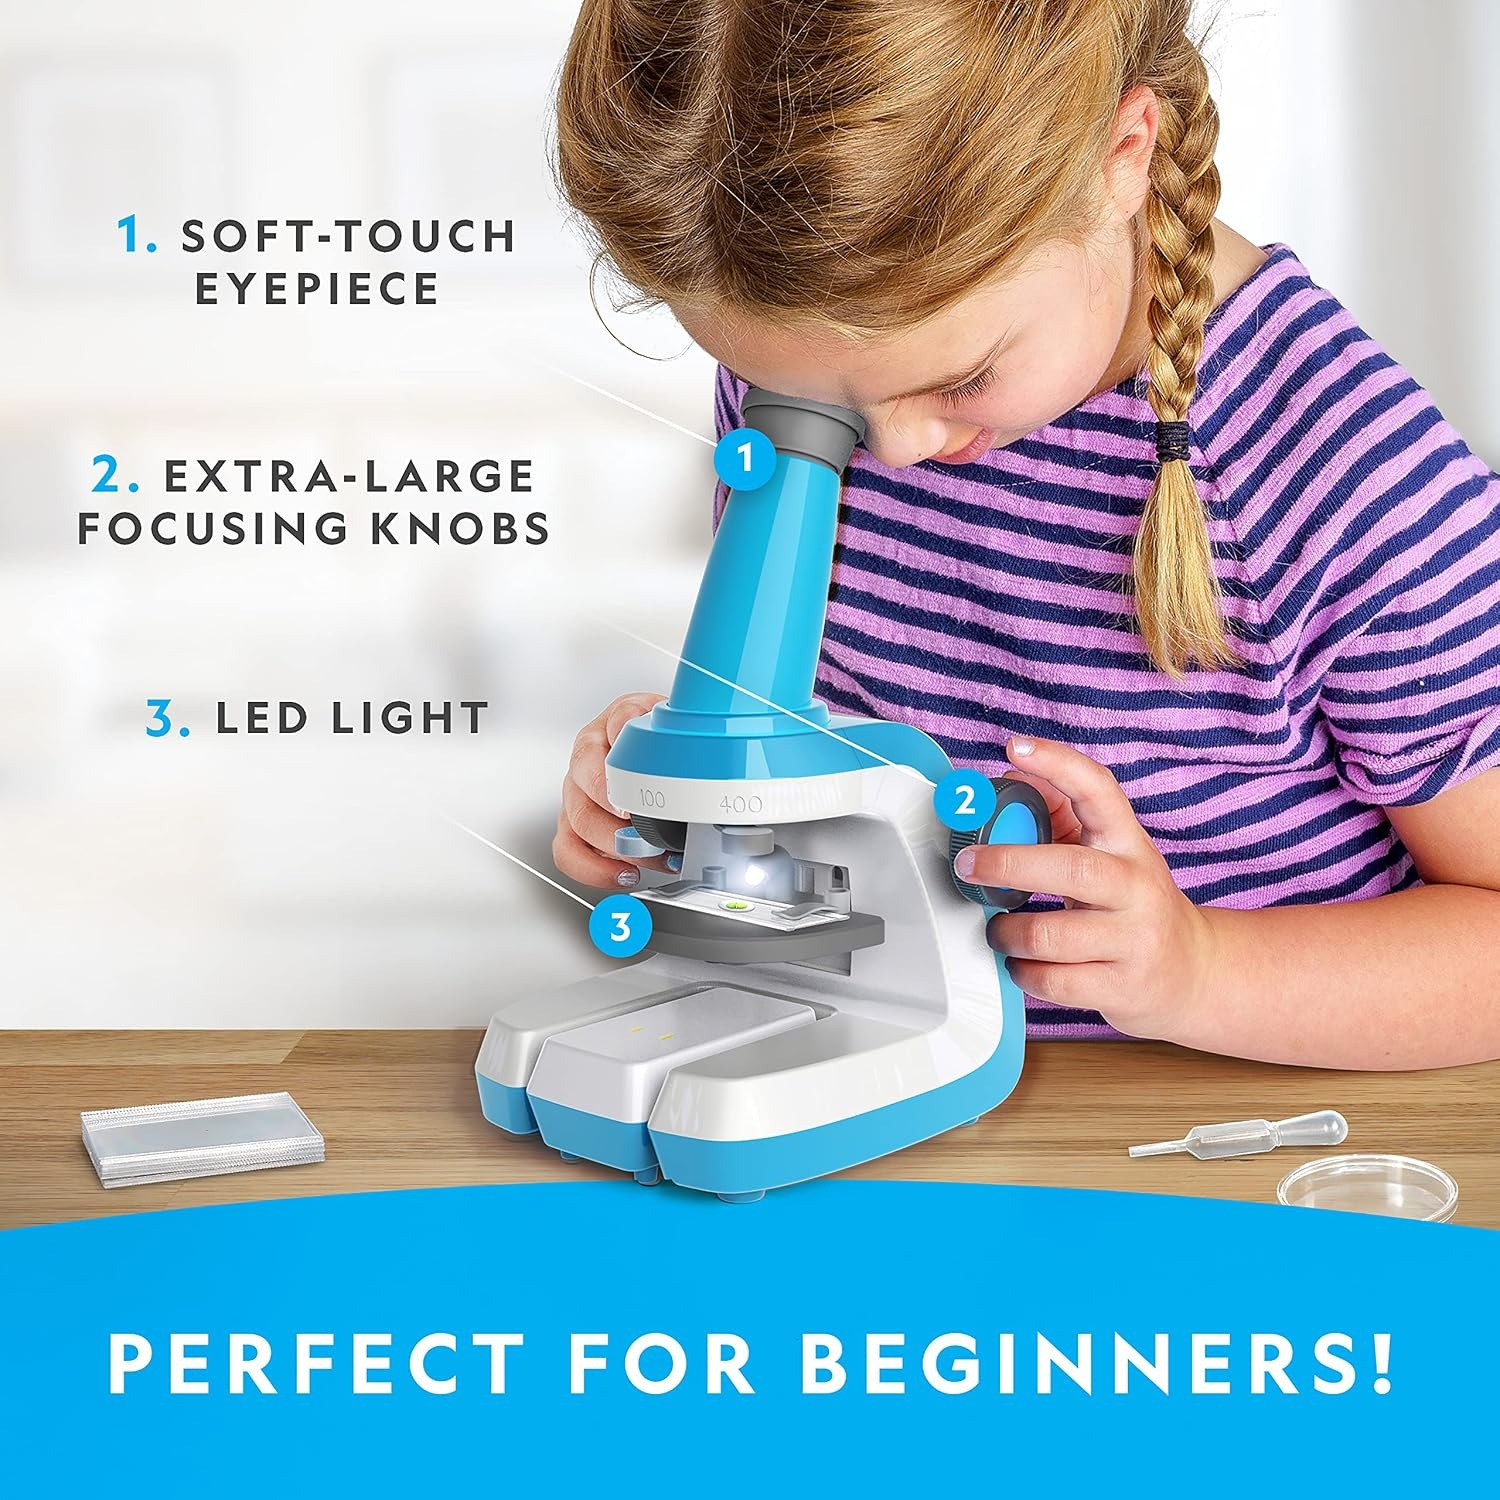
This kit handles the light part with two separate sources. The one below the stage shines upward, which is what you need for thin, see-through material like the prepared plant slides. The one above the stage shines down, which is what you need for solid objects. That second light is why the six rocks and minerals included in the box are worth looking at. Without top lighting, a rock under a microscope is just a dark shape.
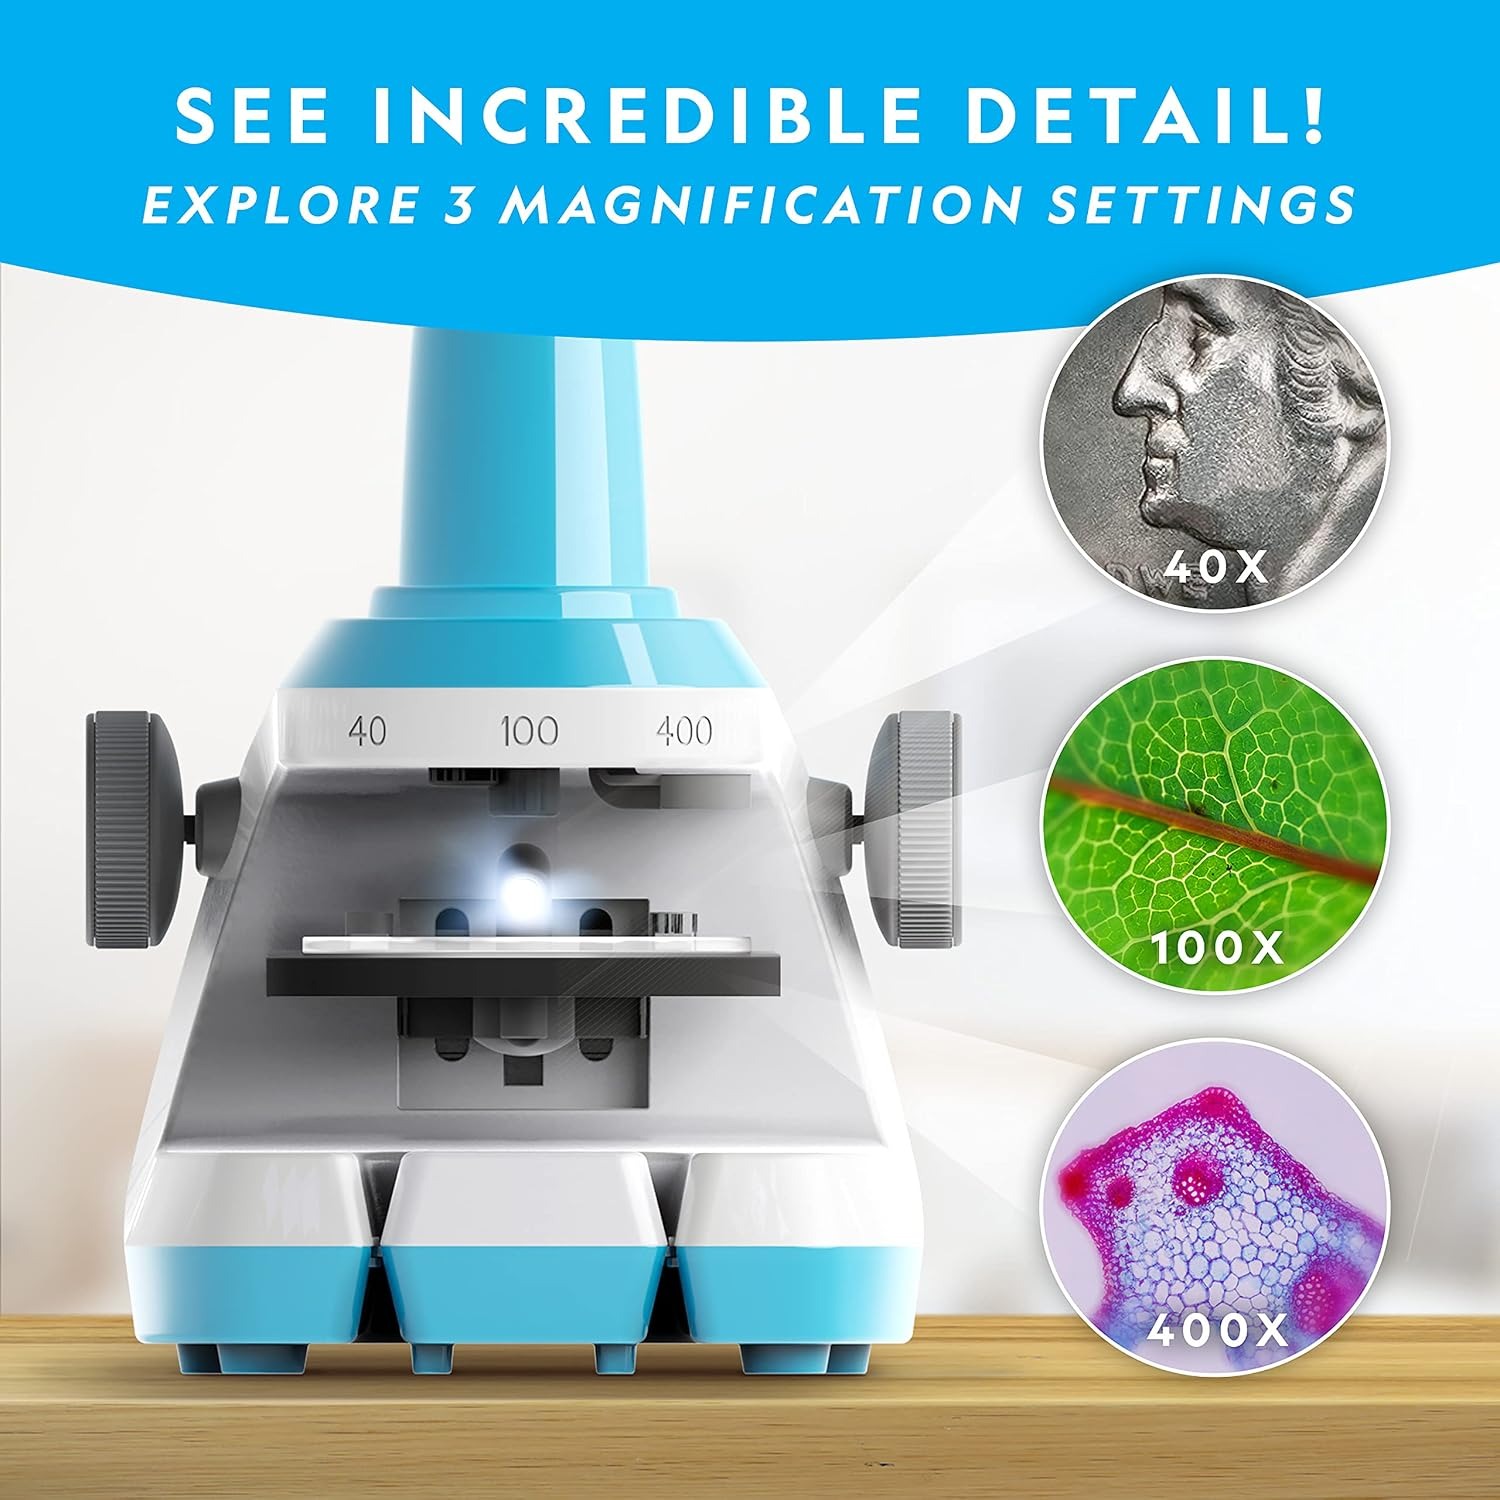
Magnification is handled by three objective lenses: 40x, 100x and 400x. The habit to teach early is to always start at 40x. At that power the field of view is wide, so finding your specimen is easy, and the focus range is forgiving. Once the image is sharp, you switch up. Trying to find a specimen at 400x is like trying to find your house by looking through a drinking straw from a plane.
Who this suits
Children who ask questions about how things work. Children who already pick up stones, collect feathers, or want to know what is in a puddle. You do not need a child who says they love science. You need a child who is curious about something, anything, because a microscope makes almost any curiosity more interesting.
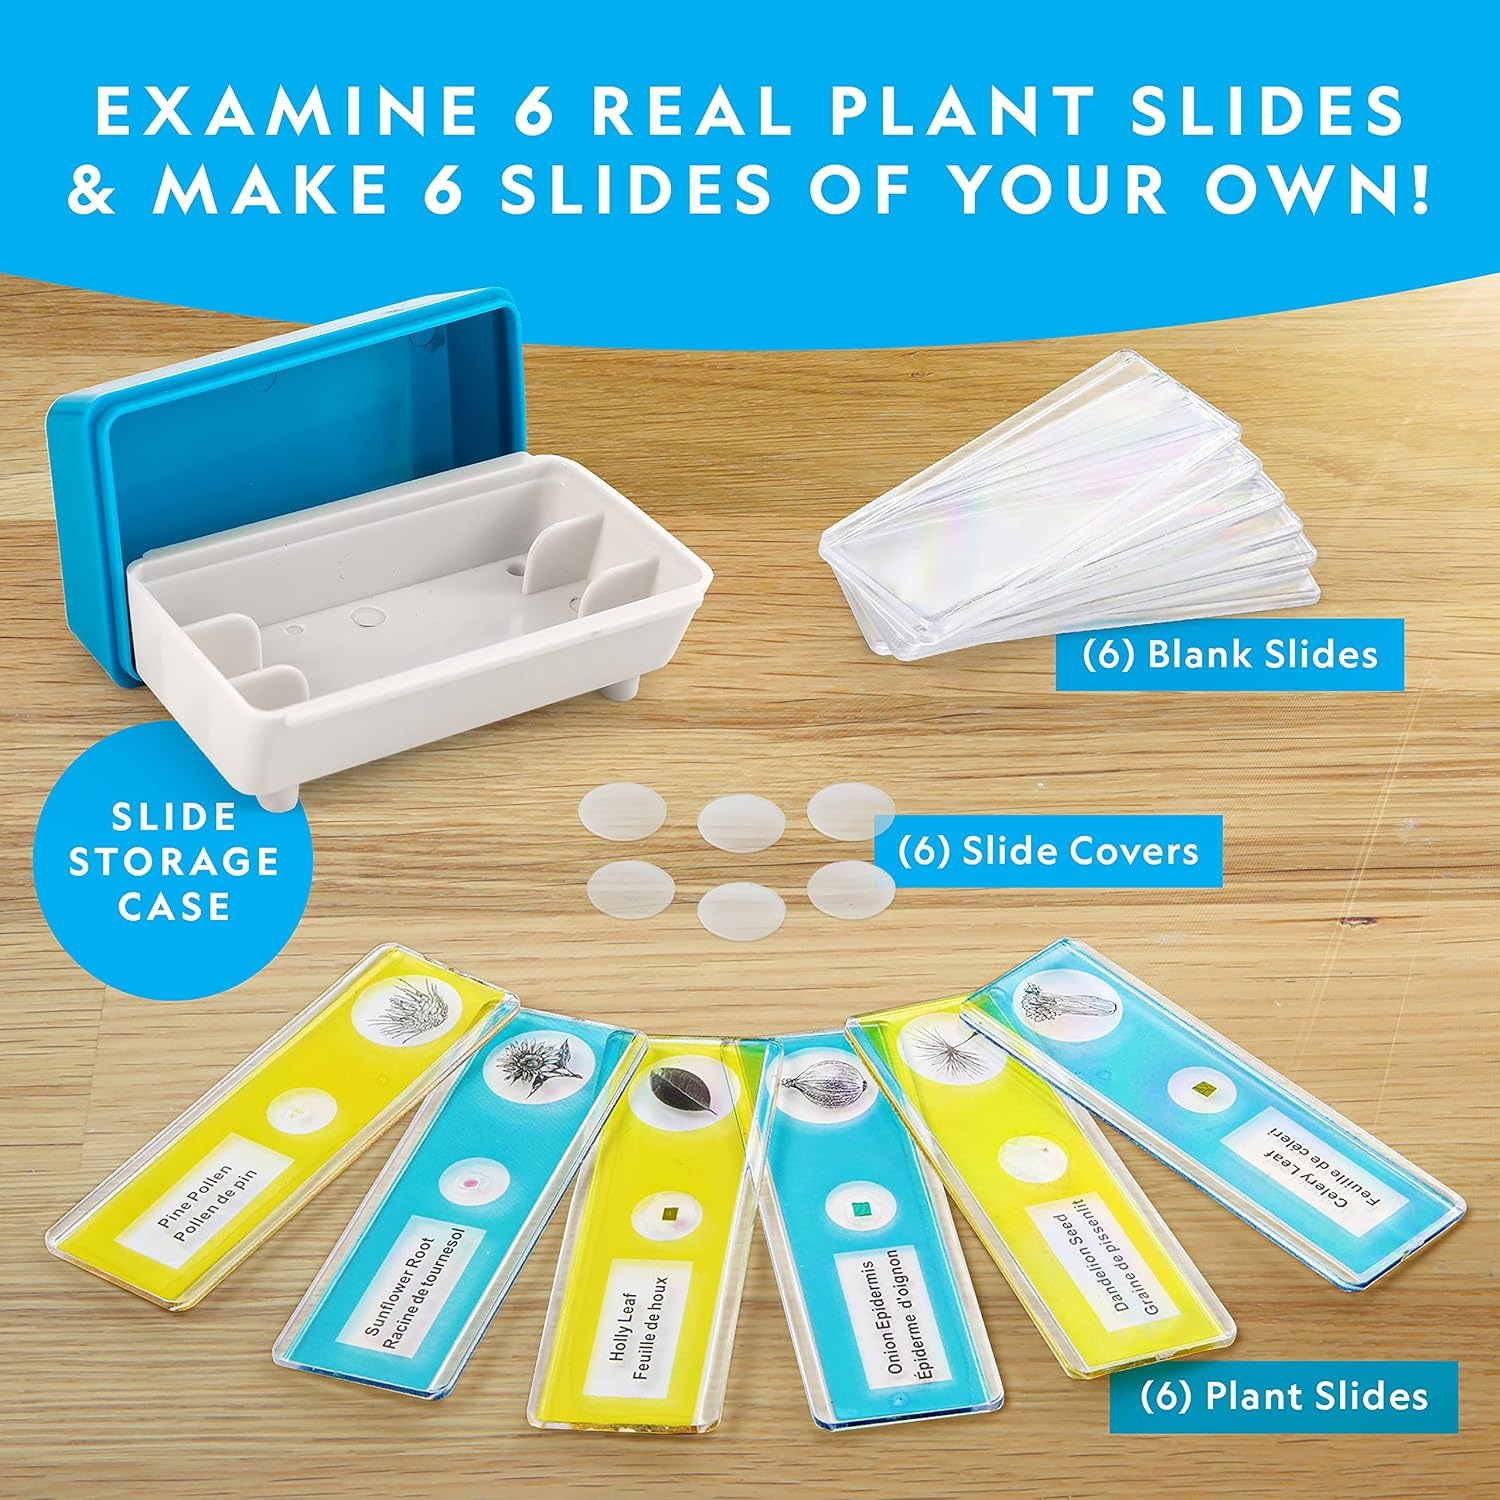
It also suits families who want a screen-free activity that does not get boring after a week. The reason it keeps going is the blank slides. Six of them come in the box, and they transform the microscope from a thing that shows you six plant samples into a thing that shows you anything in the house. Once a child realises they can put their own hair, a crumb, a thread from their jumper, or a drop of milk under the lens, the supply of specimens becomes infinite.
For school work, the magnification range maps well onto primary and lower secondary biology. Cell structures, plant tissue, crystal shapes, all standard curriculum topics, all visible here. That makes it handy for homework and genuinely useful for a science fair project.
What to look for when comparing kits
Magnification range, not just the top number. Boxes love to shout about maximum power. A microscope that only offers 1200x and nothing else is harder to use than one offering 40x, 100x and 400x, because you have no low-power option for finding things. Three steps is a good spread for a starter microscope.
Lighting from both sides. Many cheap models only light from below. That halves what a child can view and rules out the whole category of solid specimens.
Physical controls sized for the user. Large focus knobs matter enormously. Small, stiff knobs mean a child overshoots the focus point constantly and gives up. A soft-touch eyepiece also sounds trivial until a child has pressed a hard plastic ring into their eye socket for twenty minutes.
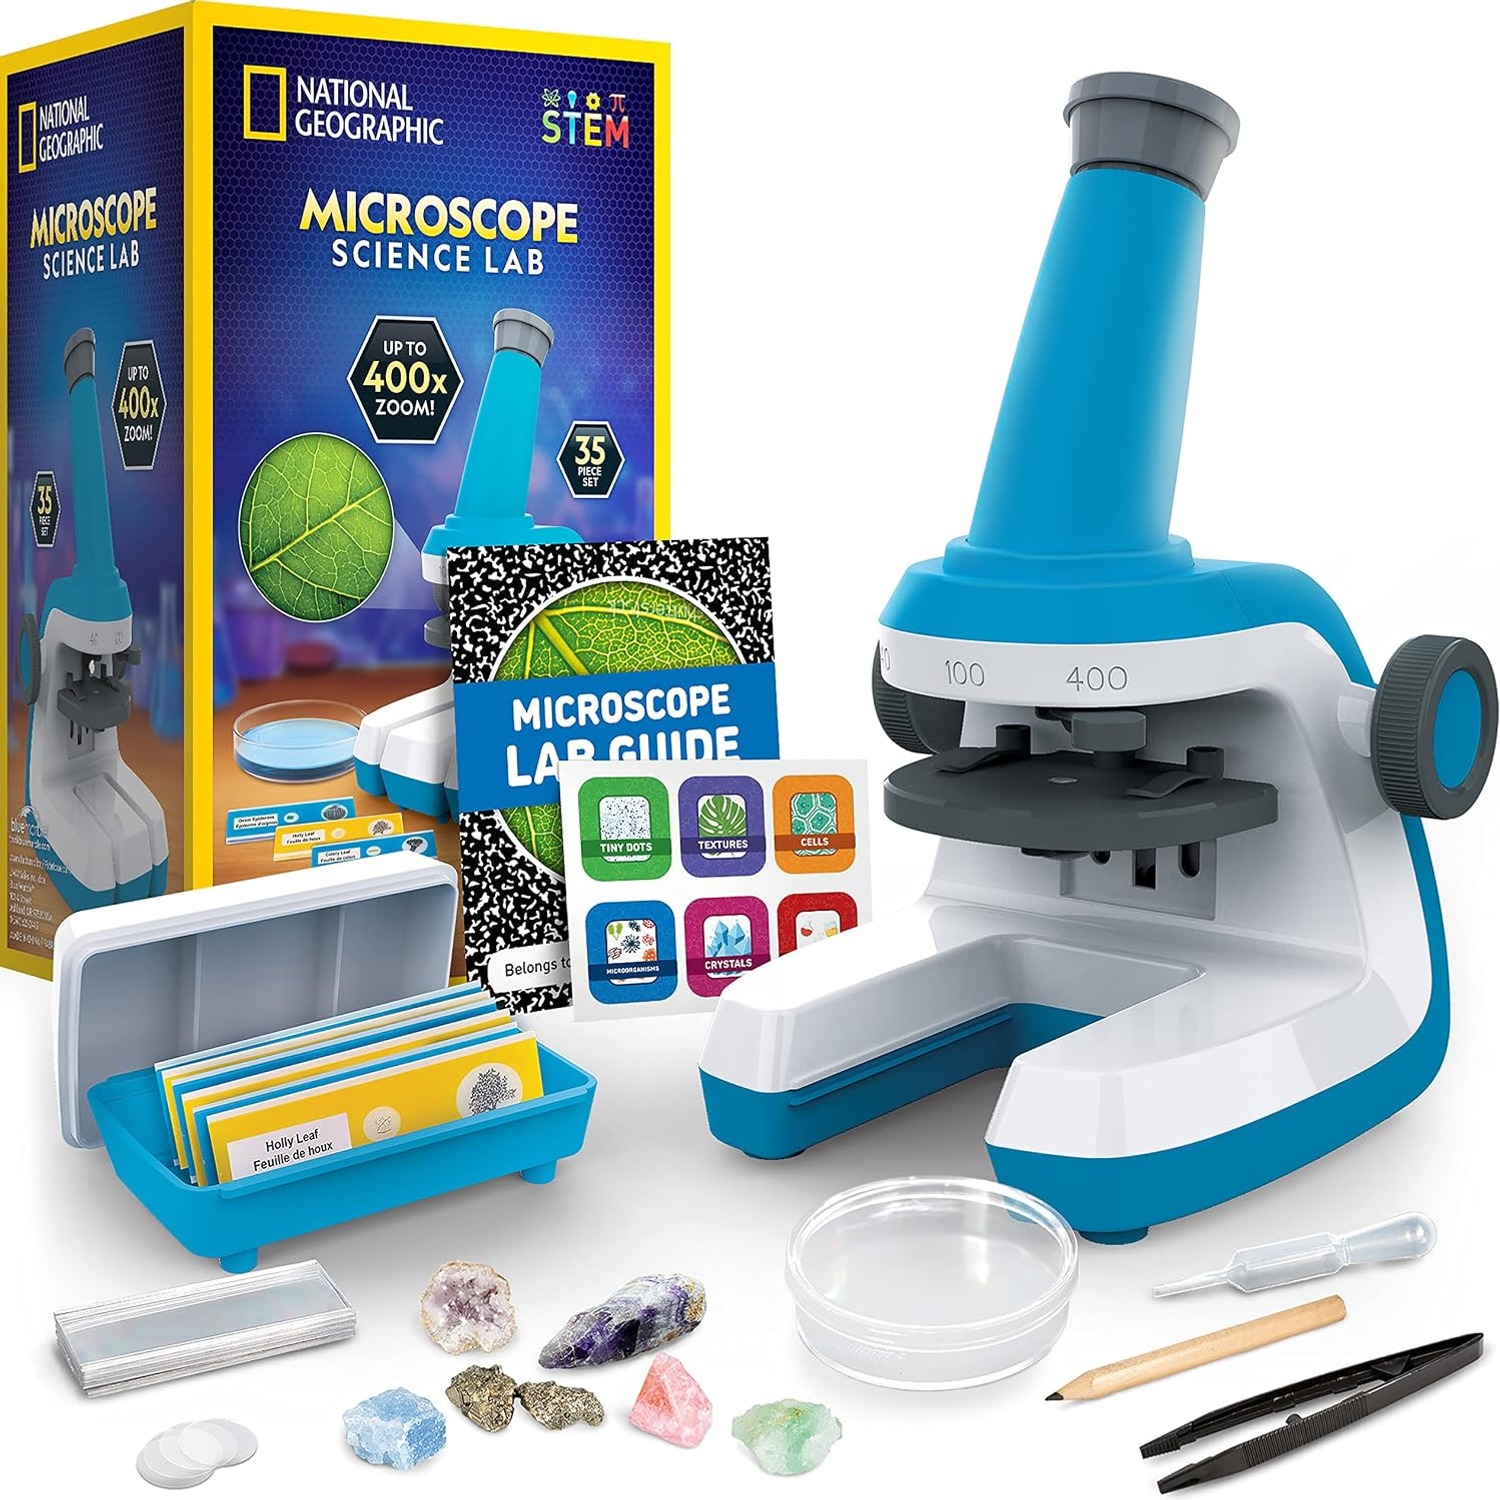
Whether specimens are included. This is the single biggest predictor of whether a microscope gets used. A kit with prepared slides, blank slides and physical specimens means day one is a success. This one arrives with 6 prepared plant slides, 6 rocks and minerals, and 6 blanks.
Tools. A pipette for liquids, tweezers for small items, a dish to hold samples before mounting. Without them you are using fingers and a teaspoon, and fingerprints on slides ruin the image.
Guidance. An activity guide is worth more than most people assume. It answers the "what should I look at" question that otherwise falls to a parent who may not know either.
Getting good results
A few habits make an enormous difference.
Work in a dim room. The microscope has its own lights, and competing room light washes out the image. Drawing the curtains genuinely improves what you see.
Keep specimens thin. This is the rule beginners break most often. Light has to get through the sample, so a whole leaf will not work but a peeled sliver of onion skin will. A single drop of liquid under a cover works better than a puddle.
Handle slides by the edges. Fingerprints sit right in the light path and show up as smears. A quick wipe with a dry cloth before viewing solves most image complaints.
Focus low, then climb. Find it at 40x, sharpen it, then move to 100x and refine. By the time you reach 400x the specimen is already centred and most of the work is done.
Write things down. The lab guide encourages this with its activities and merit badge stickers, and it is good practice. A child who sketches what they see is looking far more carefully than one who glances and moves on.
Looking after it
Treat the lenses as the delicate part and everything else is fairly sturdy. Clean lenses only with a dry lens cloth or lens tissue. Household cleaners and paper towel can scratch coatings or leave residue that is worse than the original dust.
Wipe the body with a soft dry cloth. Store the microscope upright in a dry spot, covered or boxed, away from direct sun. Dust on the lenses is the main cause of a gradual decline in image quality over a year, and it is completely preventable with a cover.
Slides go back in their case, flat, after each session. Blank slides are glass and will chip if they rattle around in a drawer. If the lights will not be used for a long stretch, take the batteries out so there is no chance of leakage.
A note on expectations
This is a learning instrument. At 400x on a well-prepared slide you can see cell walls and structures clearly, which is a real scientific view and quite a moment the first time a child sees it. What you will not see is the kind of image produced by a research laboratory scope costing several thousand. Those use different optics, different slide preparation, and often different light sources entirely.
Set that expectation early and nobody is disappointed. What this kit does is give a child a genuine, working window into a scale of the world they have never seen, with everything needed to use it on day one.
The short version
If you want a childrens microscope that gets used rather than shelved, look for three things: a sensible magnification range with a low setting to start from, lights both above and below the stage, and specimens plus tools in the box so the first session works. This kit has all three, along with an activity guide that answers the "what now" question.
It weighs 826 g and measures 18.49 x 16.69 x 30.18 cm, so it lives comfortably on a desk. Three objectives give 40x, 100x and 400x. Eighteen specimens and slides come in the box, twelve ready to view and six blank for whatever the child finds next. That last part is the one that matters most, because the specimen a child collects themselves is always the most interesting one they will ever look at.