


The complete guide
Baby Car Camera Buyer's Guide - Choosing a Rear Facing Baby Monitor
The problem with a rear-facing car seat
A rear-facing seat is the safest place for a baby in a car. It is also the most frustrating place for a driver. The seat points at the back window, the headrest blocks the rest, and from the front all you can see is the shell of the capsule. You hear a noise and you have no idea whether it is a happy noise, a dummy on the floor, or something you should pull over for.
Most parents have tried the usual fixes. A convex mirror on the rear headrest, angled so it reflects into the driver's rear-view mirror. It works, in daylight, if nobody bumps it, and if you get the geometry exactly right. At night it shows you nothing. On a bumpy road it drifts out of alignment. And in a lot of cars the two mirrors never quite line up with the driver's eyeline, so you are craning your neck to use the thing that was supposed to stop you craning your neck.
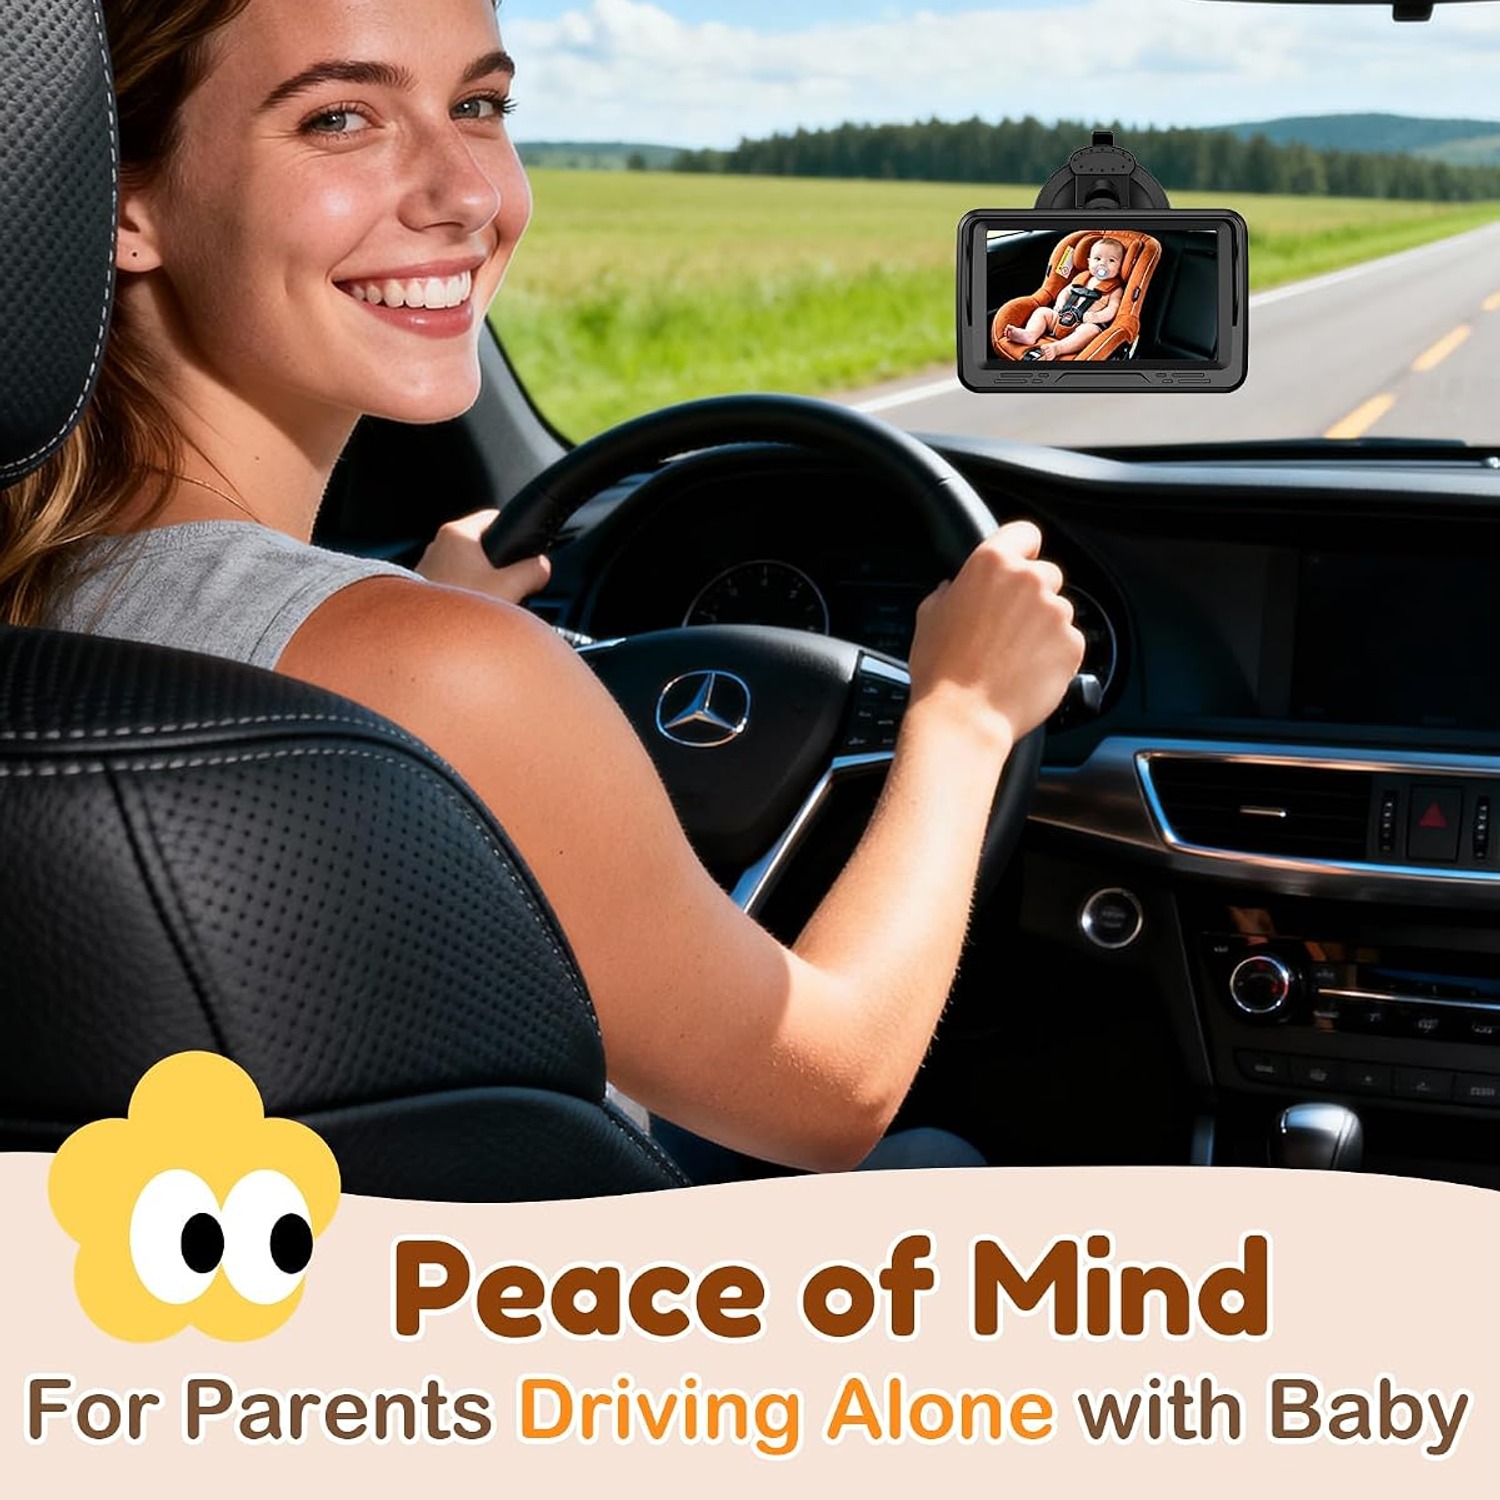
A baby car camera takes a different approach. Instead of bouncing light off two mirrors, it puts a camera where the child is and a screen where you can see it. You glance at the screen the way you glance at the speedometer. That is the whole idea.
How this kit works
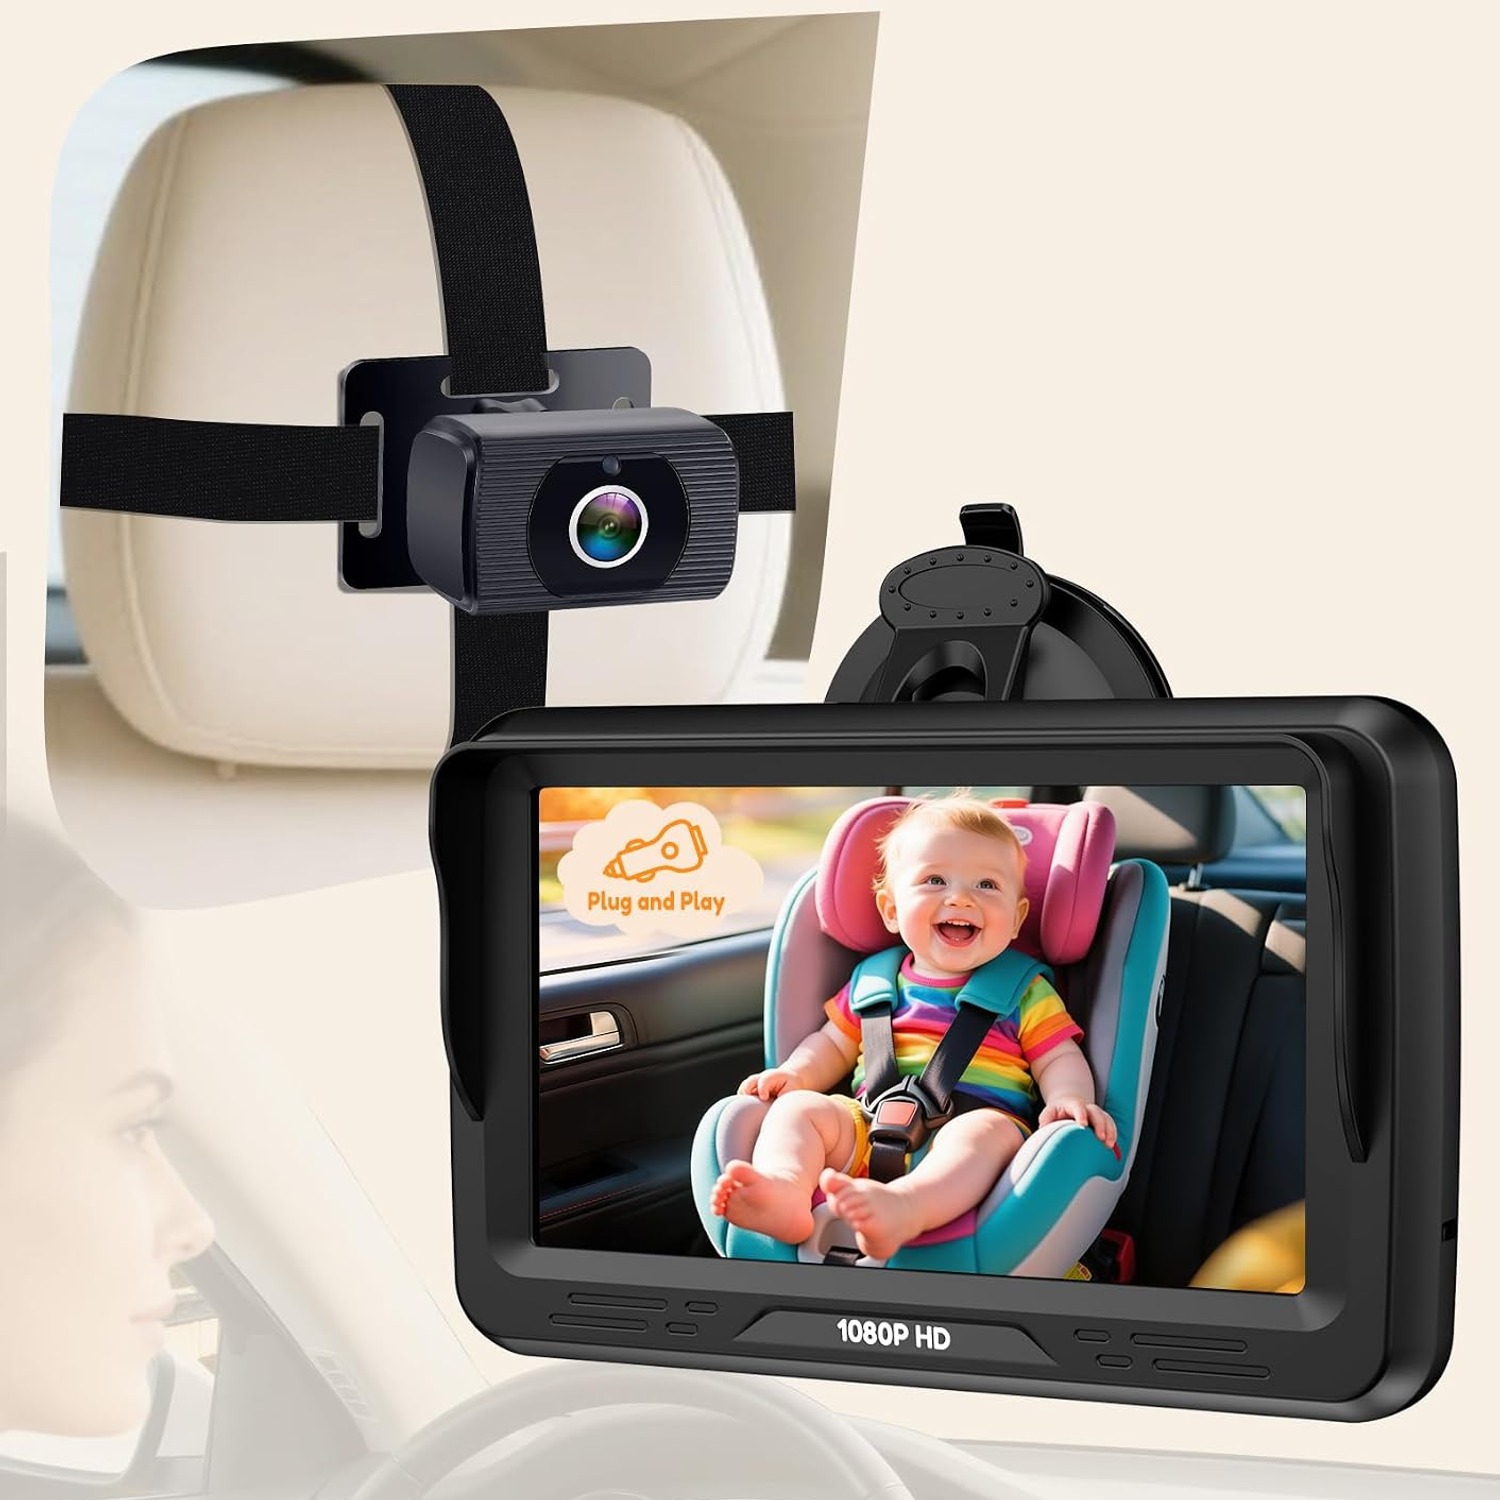
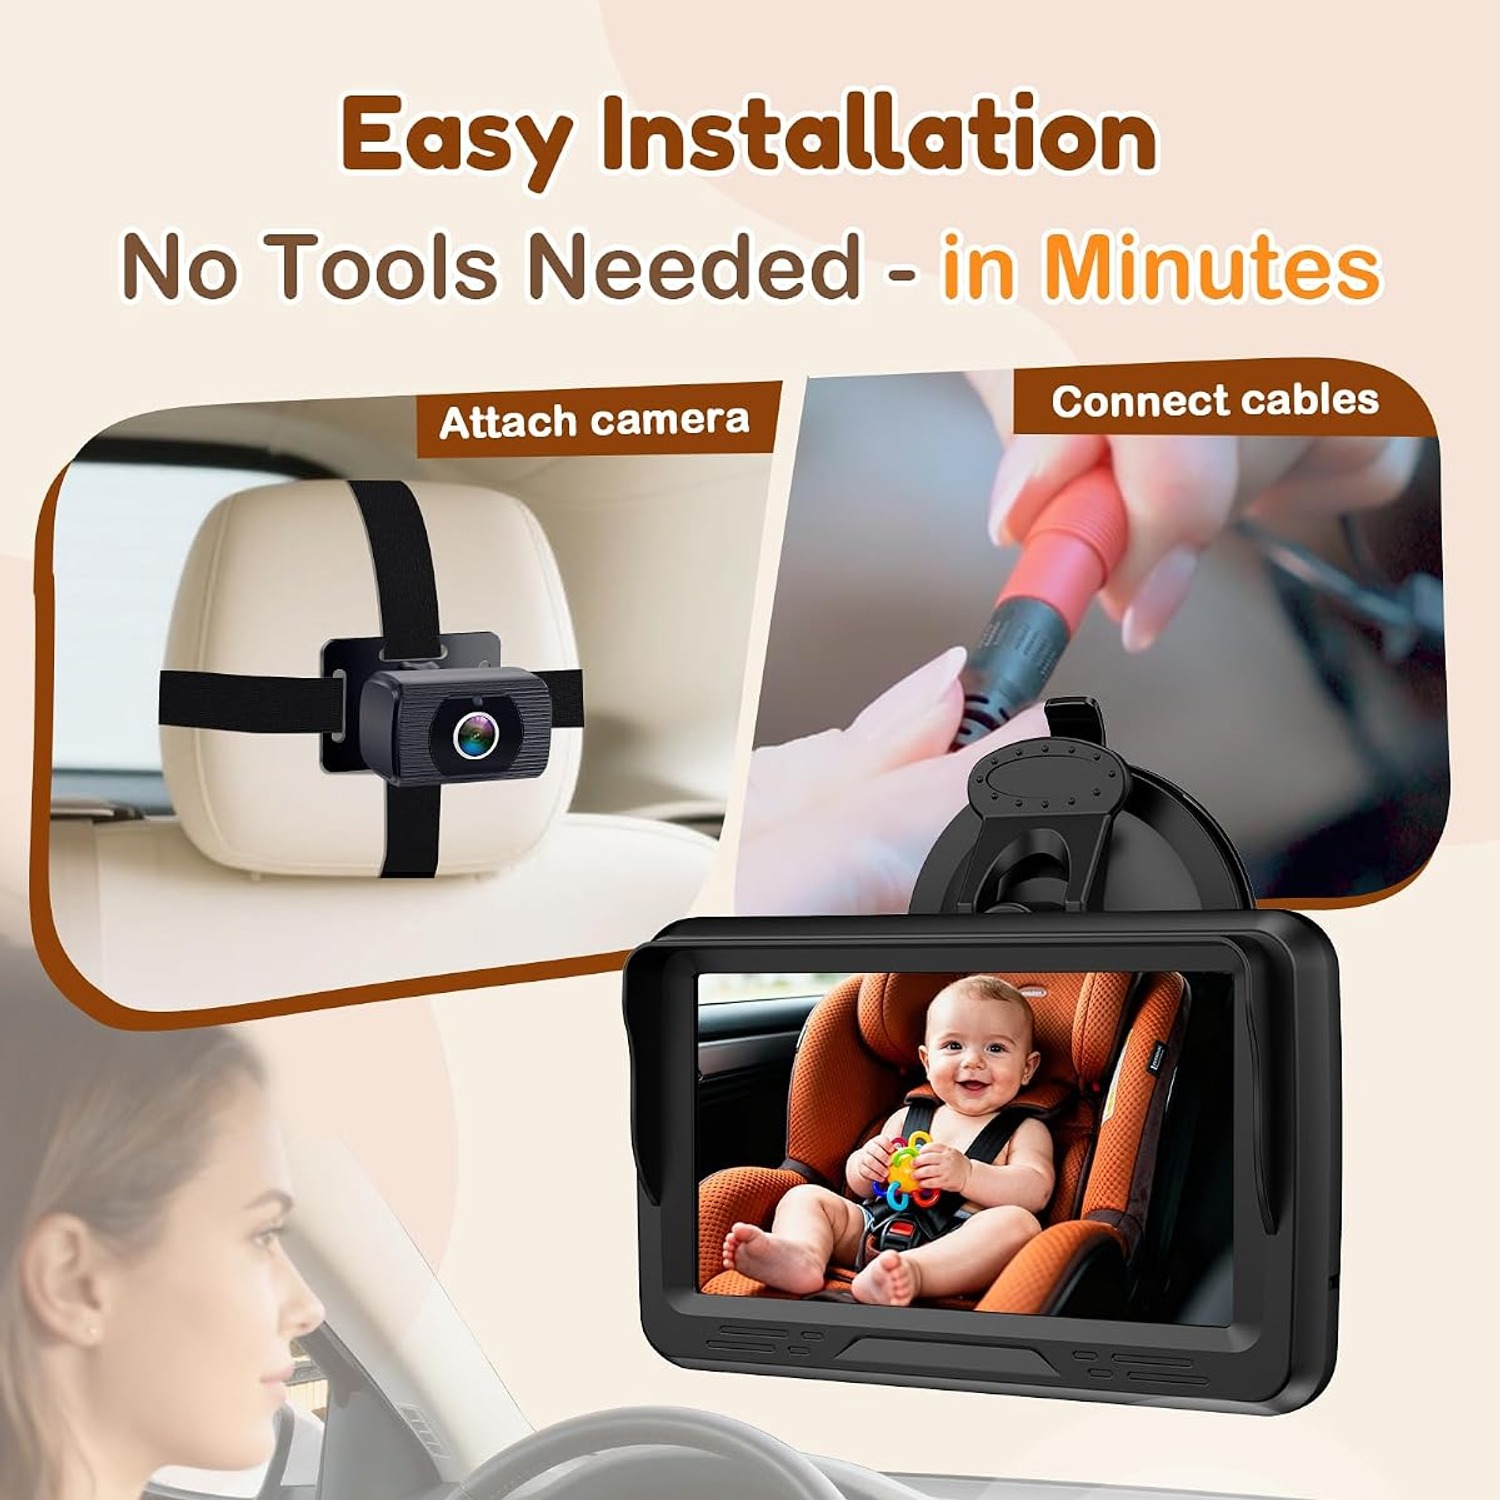
The setup is deliberately simple. There is a camera and there is a display, and a cable runs between them. The camera straps to a rear headrest with two adjustable straps and points at the child. The 4.3 inch display mounts on the windscreen or another smooth surface with a suction cup, and the car charger plugs into the 12V socket to power it all. No app. No Wi-Fi. No pairing dance every time you start the car.
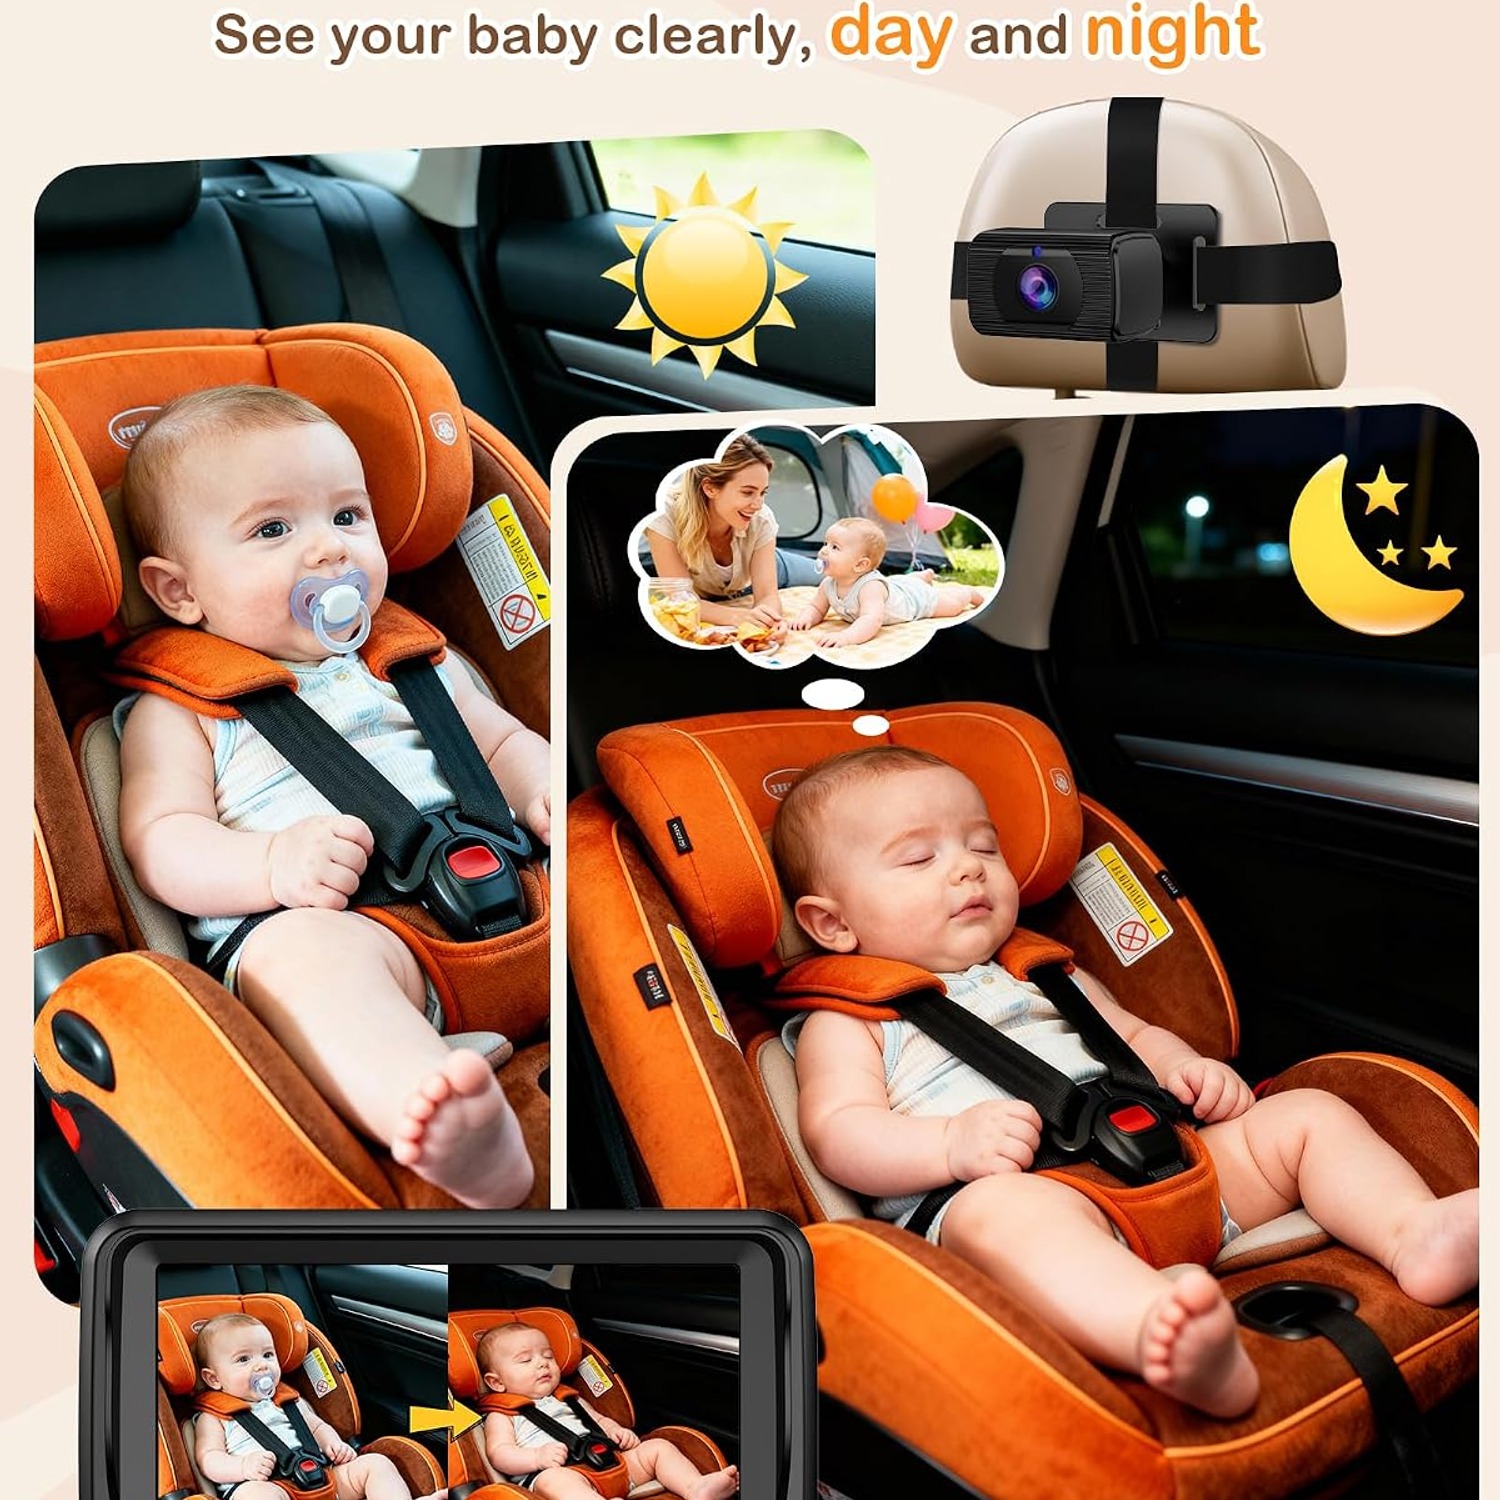
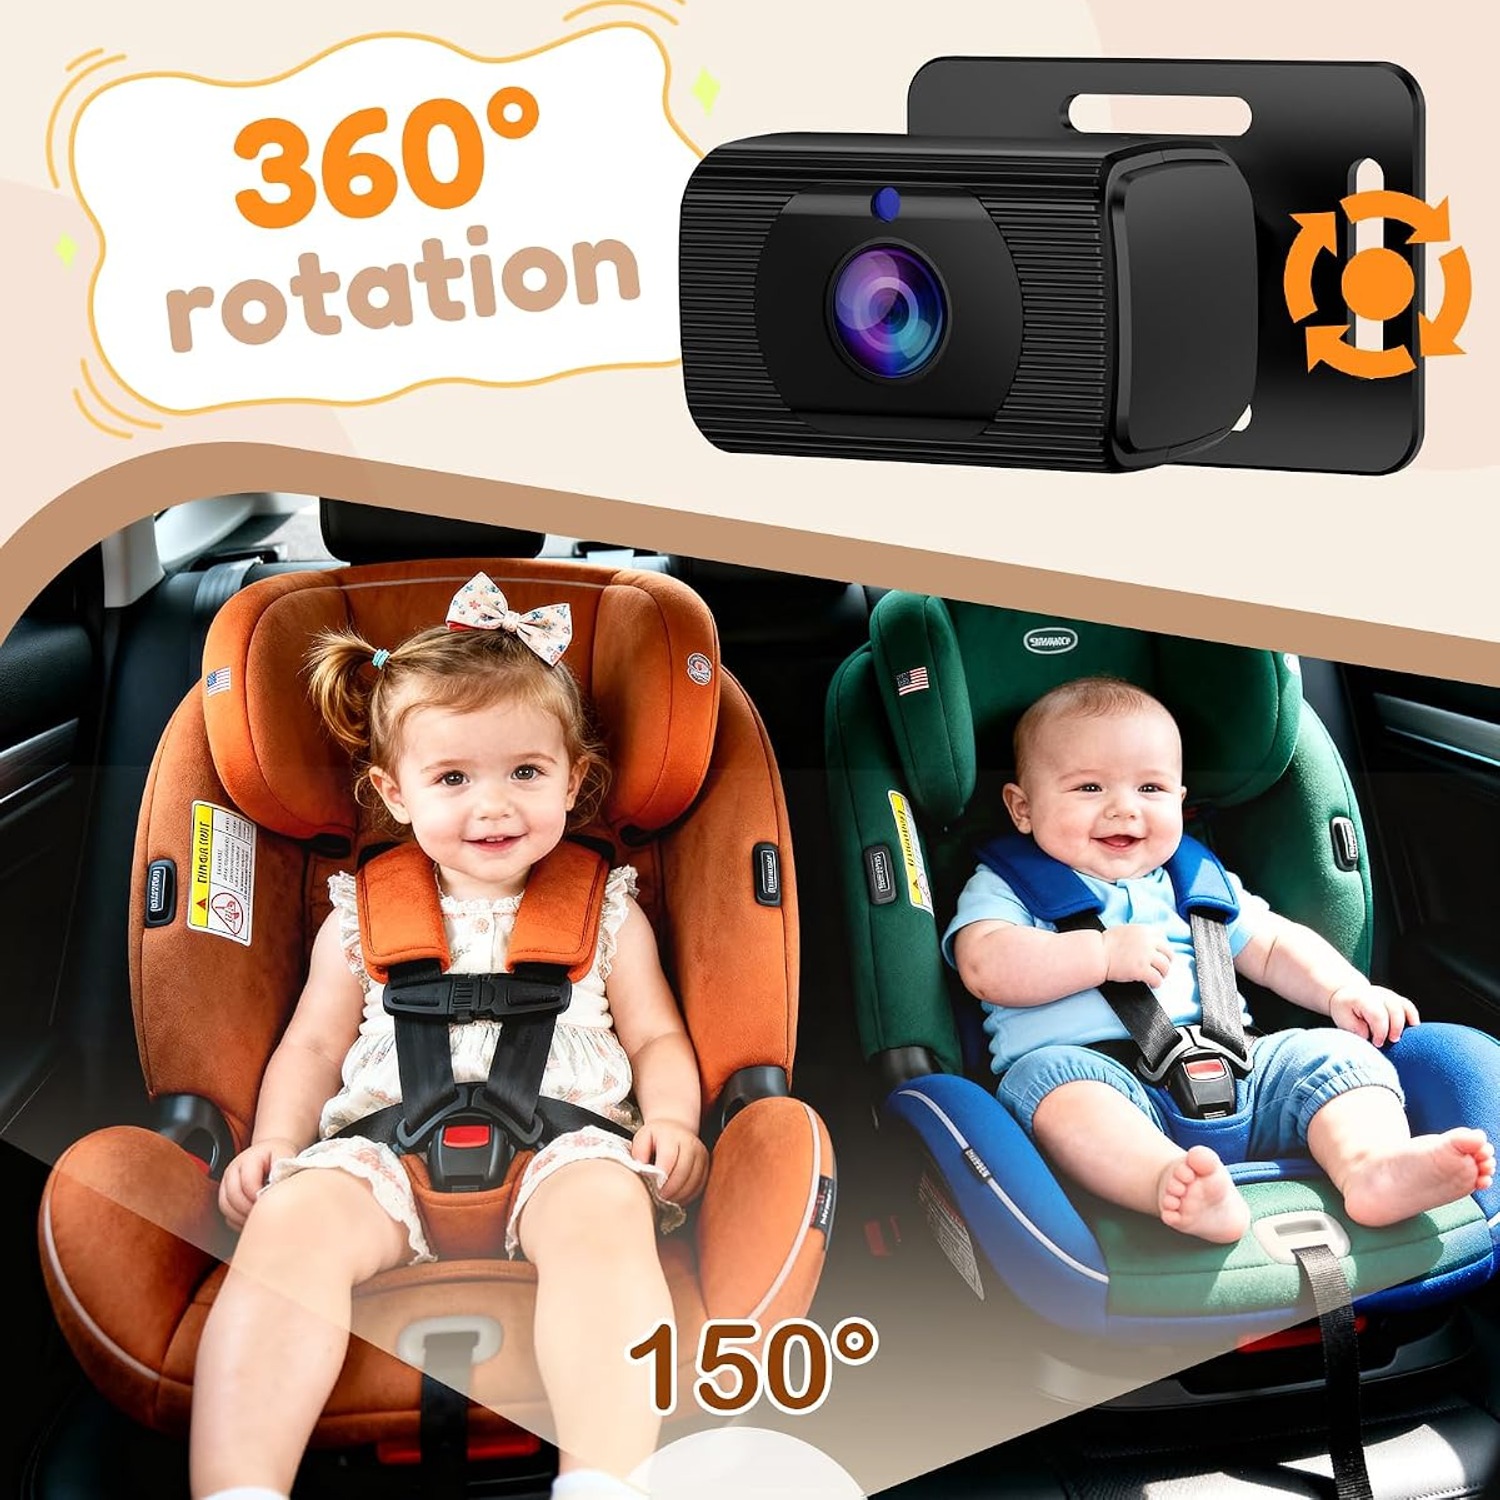
Picture quality is 1080p, recorded in H.264, with a 150 degree viewing angle. That wide lens is doing more work than you might expect. In a narrow cabin with the camera close to the seat, a tight lens gives you a close-up of the capsule shell and little else. A 150 degree field of view pulls back far enough to show you the child's face, their hands, and most of the seat beside them in the same frame.
At night the camera switches to infrared automatically. You are not flicking on the dome light to see whether a baby is asleep, which defeats the purpose of checking quietly in the first place. The listing describes this as automatic night vision with night colour.
The display has adjustable brightness and contrast. That sounds like a minor spec until you drive west at five in the afternoon and the sun hits your windscreen. Being able to pull the brightness up in glare and down on a dark highway is the difference between a screen you use and a screen you ignore.
Who it suits
The most obvious fit is a family with a baby in a rear-facing capsule, doing more than short trips around town. If your longest drive is ten minutes to daycare, a mirror is probably enough. If you do weekend drives to see family, long holiday runs, or a commute with a child in the back, the ability to check without turning around earns its place fast.
It also suits parents with two children in the back. The wide lens means one camera can cover a baby and an older sibling, which is useful when the older one is the reason the baby is upset. A headrest mount baby camera gives you the evidence without a word being said.
Drivers who travel at night or early in the morning get particular value from the infrared mode. So do parents who swap between cars. At 450 g with a packed size of 22.5 x 17 x 5 cm, the kit moves between a family car and a grandparent's car without trouble, as long as the second car has a headrest and a 12V socket.
It is less suited to people who want recording and playback.
How to choose a rear seat camera
A few things actually matter when you compare options, and a few things look impressive on a box but do not change your experience.
Screen size is worth thinking about honestly. A bigger screen is easier to read, but it also takes up more windscreen. A 4.3 inch display is a reasonable middle ground for most cars. It is readable in a glance and small enough that it does not sit in the middle of your view of the road.
Lens width matters more than resolution for this job. You are not pixel-peeping, you are checking whether a child looks settled. A wide angle back seat camera at 1080p will tell you more than a narrow one at a higher number, because the framing is what decides whether you can see the face at all.
Wired versus wireless is the other real decision. Wireless kits are tidier to install, but they can drop signal, they need charging or pairing, and they add a point of failure in a device you want to just work. A wired baby car monitor means one cable to route and then nothing to think about. The trade-off is that cable, so plan where it runs before you commit to a mounting spot.
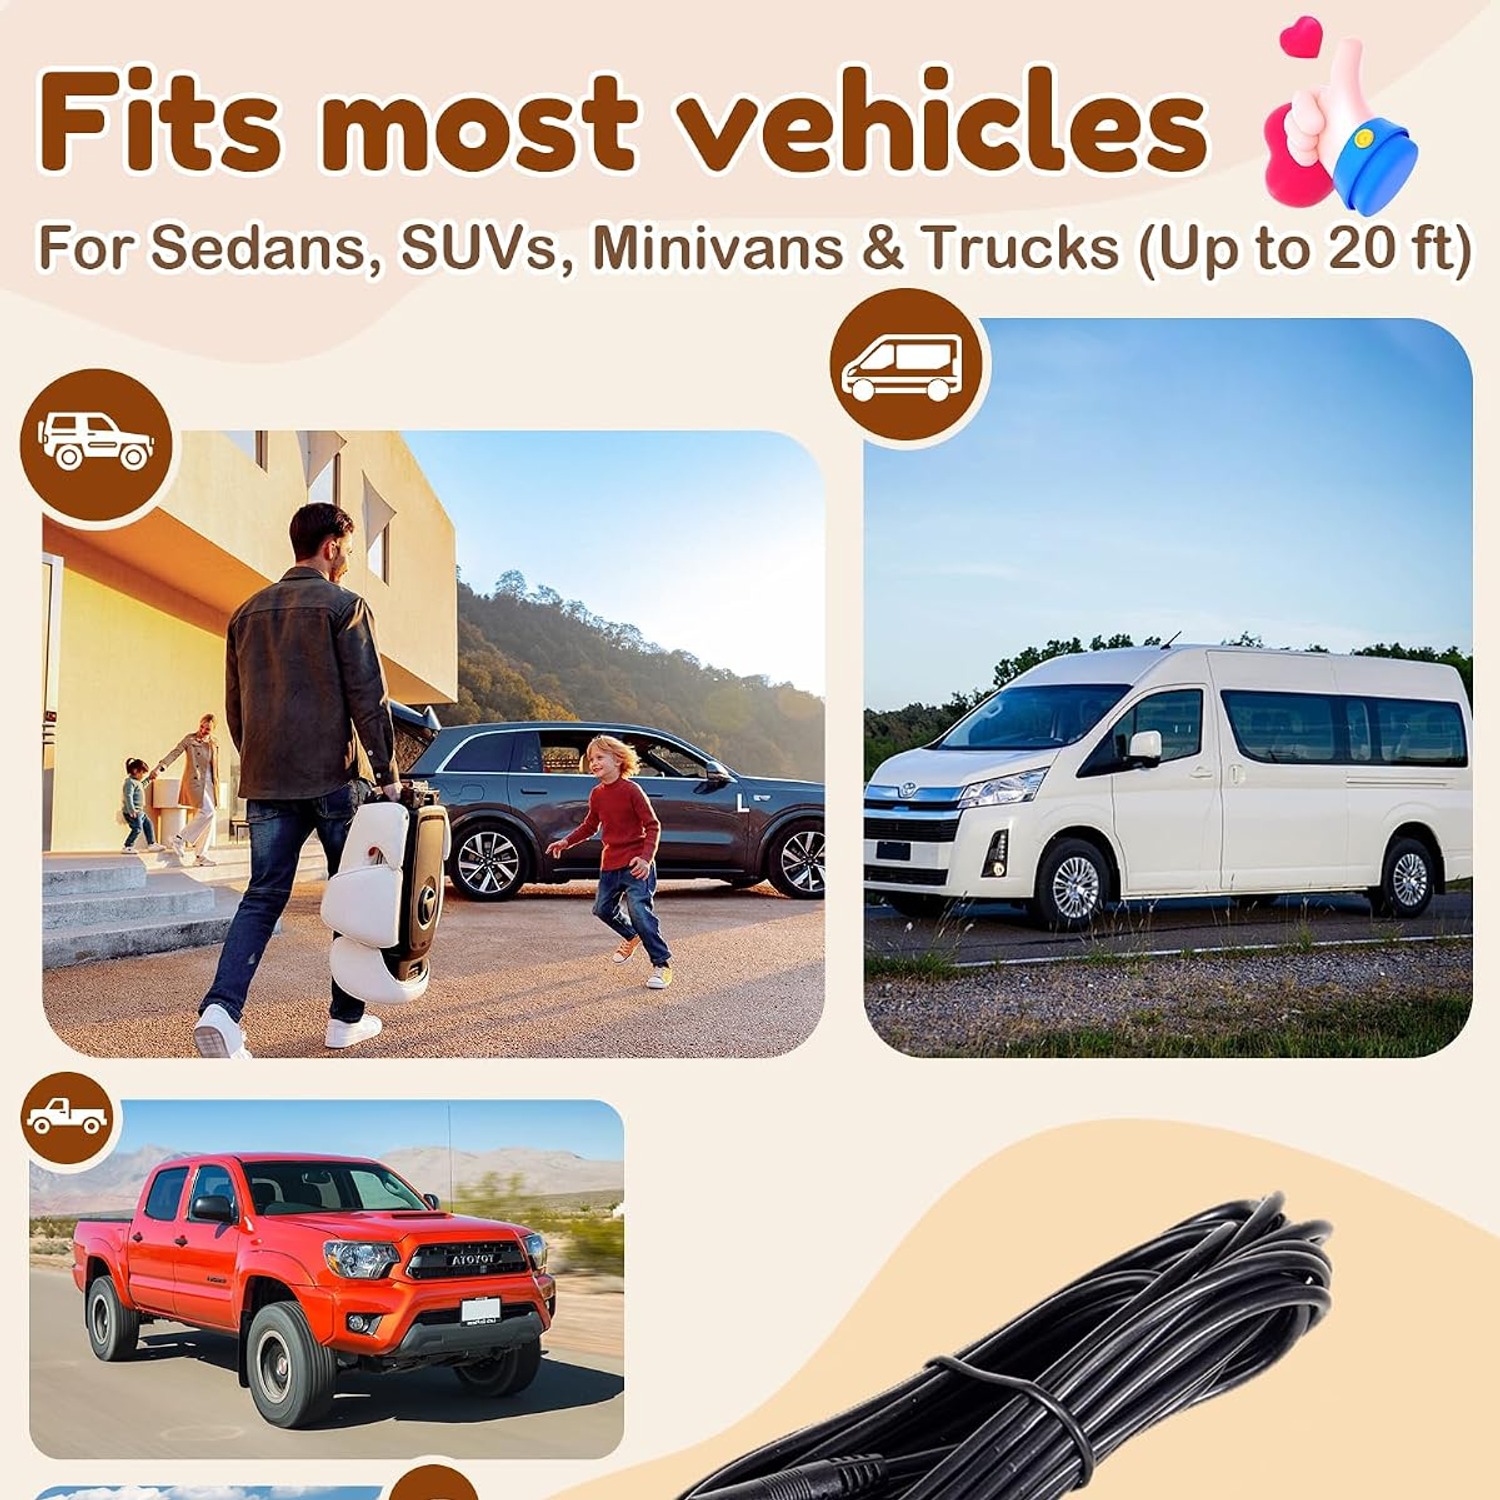
Finally, check the power source matches your car. This kit is corded electric at 12 volts DC through the accessory socket. If your only socket is already occupied by a phone charger, work out a splitter before the camera arrives, not on the morning of a long drive.
Fitting it properly
Spend ten minutes on the install and you will not touch it again for months. Do it in a hurry and you will spend every trip adjusting it.
Start with the camera. Strap it to the headrest of the seat behind the child, or to the child's own seat headrest if the geometry suits, and aim it at the face rather than the chest. Sit in the driver's seat and look at the display before you tighten everything down. It is much easier to adjust while the straps are loose.
Then the display. Clean the glass or surface first, because a suction cup on a dusty windscreen will let go on a hot day. Place it low and off to the side where it does not block your road view and is not in front of an airbag. Road rules about screens inside vehicles vary by country and state, so check what applies where you drive before you settle on a position.
Last, the cable. Run it along a door seal or under the seat edge rather than across the cabin floor where feet and bags will catch it. Leave a little slack near the headrest so seat adjustment does not pull on the connector.
Looking after it
There is not much to it. Unplug the display before cleaning, then wipe the screen and the camera housing with a soft cloth, dry or barely damp. Keep solvents, alcohol and abrasive cleaners well away from the lens, because a scratched or hazed lens will cost you picture quality permanently.
Check the straps every few weeks. Fabric straps relax over time and a camera that has slipped two centimetres will be pointing at a seat back rather than a face. The same goes for the suction mount, especially after a hot spell.
The camera carries an IP69K rating and a plastic enclosure, so a spilled bottle or a humid cabin is not a crisis. Still, do not leave the display baking in direct sun in a parked car all day if you can avoid it. Screens and heat are not friends.
The short version
If you drive with a rear-facing car seat, you are currently guessing about what is happening behind you. A baby car camera with display turns that guess into a glance. This kit gives you 1080p at 150 degrees on a 4.3 inch touch screen, with infrared that kicks in automatically when the light goes, all over a wired connection that does not need an app or a password.
Installation takes minutes with the straps and suction mount supplied, it runs off the 12V socket, and the whole thing weighs 450 g so it moves between vehicles easily. It is backed by a one year warranty. For long drives, night drives, or any trip where you would otherwise be turning around at traffic lights, it is a straightforward bit of kit that does one useful job well.