



The complete guide
How To Choose And Use An Air Brad Nailer
The problem with hammering trim
Anyone who has fitted architrave with a hammer knows the feeling. You line the piece up perfectly, tap the first nail, and the whole length shifts a few millimetres. You tap again and the end splits. Then you reach for the nail punch, miss, and leave a crescent-shaped bruise in the face of the timber that no amount of filler ever quite hides.
The issue is not skill. It is physics. A hammer applies force in repeated blows, and each blow is a chance for the workpiece to move or the nail to bend. Thin trim has very little mass to absorb that, so it moves.
An air brad nailer sidesteps the whole problem. Compressed air drives a thin fastener through the timber in a single stroke, faster than the wood can react. The piece stays where you put it. The hole left behind is small enough that a smear of filler and a light sand makes it disappear under paint.
How a pneumatic nail gun works
The principle is simple. Air from a compressor enters the tool and sits behind a piston. When you fire, a valve releases that air, the piston slams forward, and a steel driver blade on the end of it pushes one nail out of the nose and into the timber. A spring-loaded magazine pushes the next nail into position, and the cycle repeats.
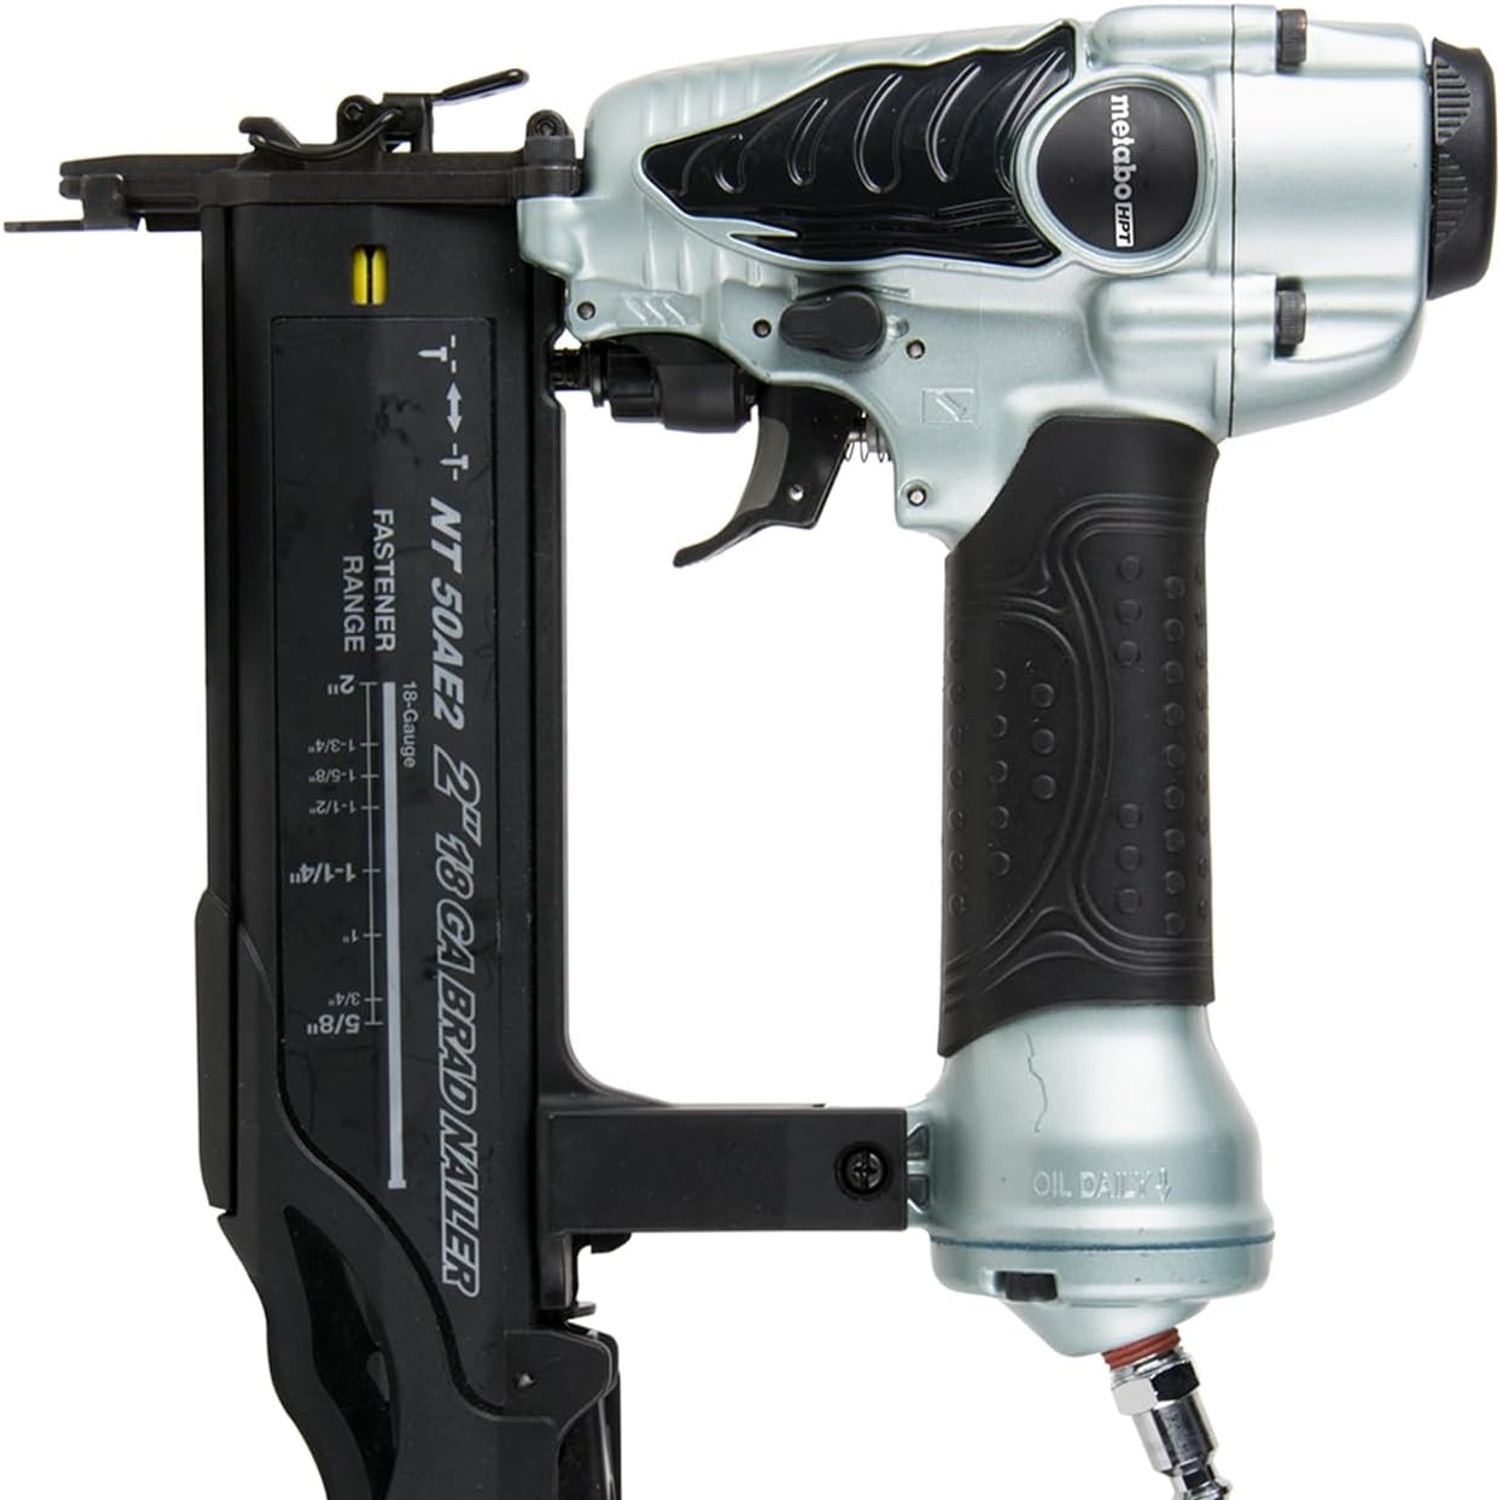
This particular tool takes 18 gauge brad nails from 16 mm (5/8 in.) up to 50 mm (2 in.). That range is deliberately chosen for finish work. At the short end you are pinning thin beading or holding glued parts while they set. At the long end you are fixing skirting, door casing and larger moulding into the framing behind.
Eighteen gauge is a useful middle ground. Thinner 23 gauge pins leave almost no hole but hold very little. Heavier 15 and 16 gauge finish nails hold more but punch a hole you will notice. An 18 gauge brad sits between them, which is why it is the default choice across so much trim carpentry.
The three controls that matter
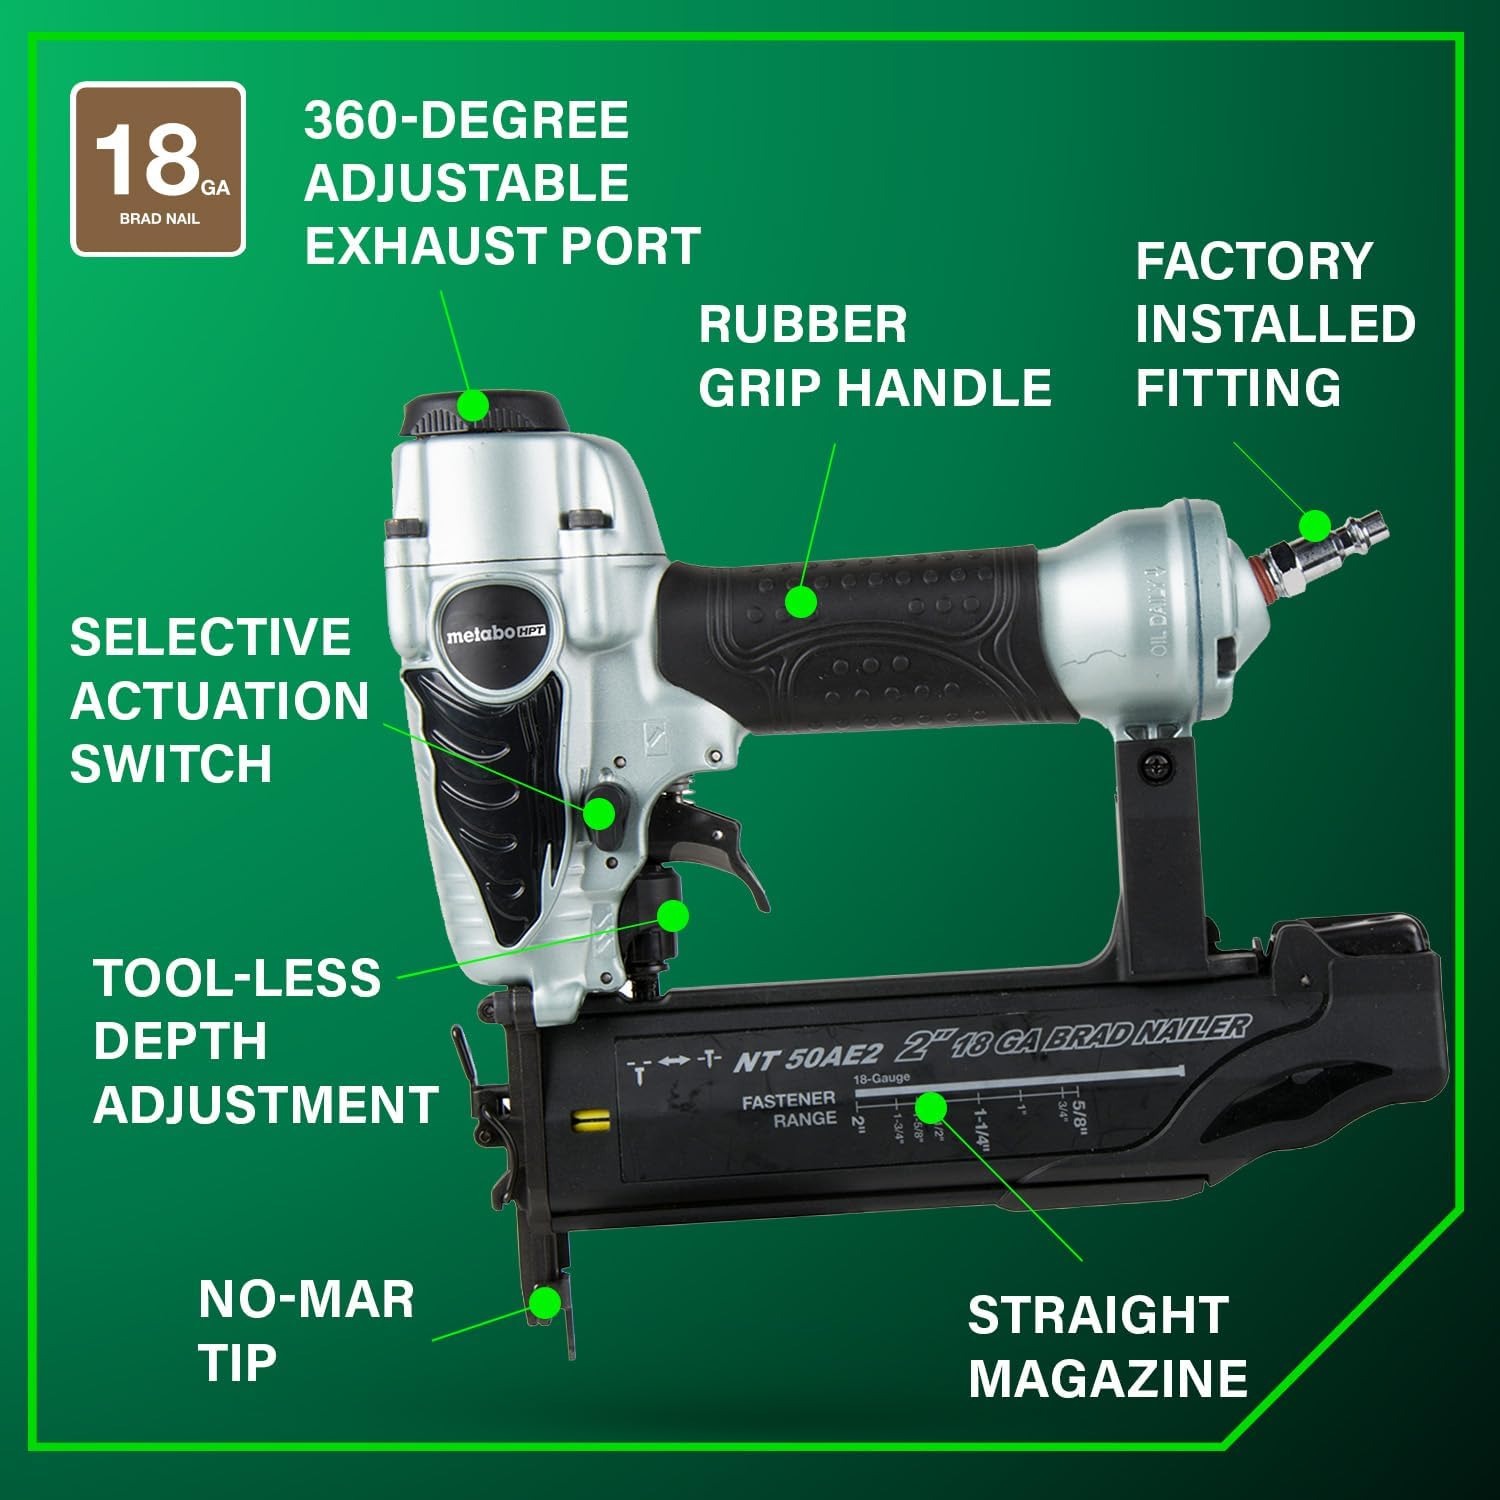
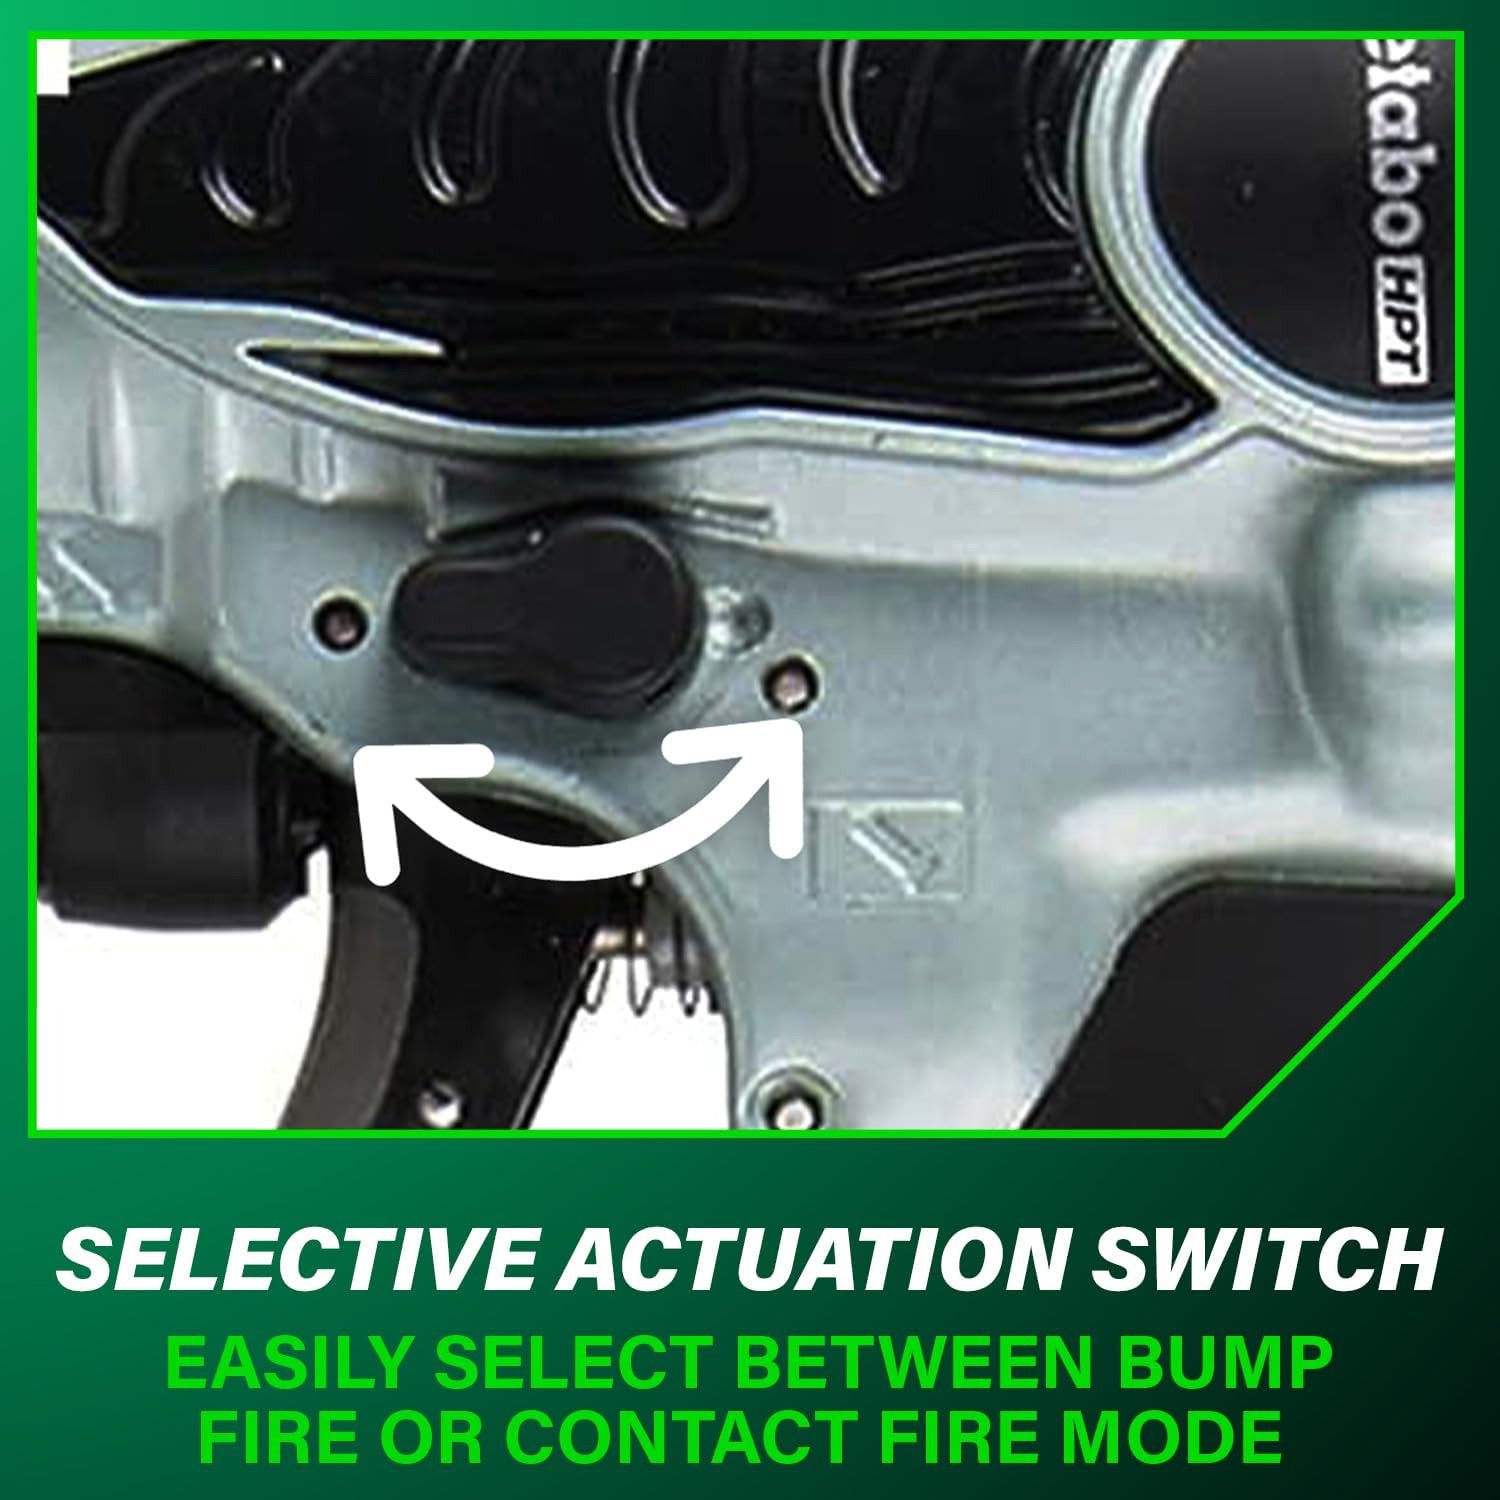
The actuation switch. This tool has a selective actuation switch that moves the trigger between two modes. In sequential fire you press the nose against the work first, then pull the trigger, and you get exactly one nail. In bump fire you hold the trigger down and the tool fires every time the nose is pressed. Bump fire is much faster across a long run of skirting. Sequential fire is what you use on a mitre joint, a short return or anywhere a nail in the wrong spot would be visible forever. Disconnect the air before you change the setting.
The depth of drive dial. Timber density is not consistent. A knot in pine behaves like oak, and the same compressor setting that seats a nail flush in softwood will leave it proud in a hardwood architrave. The dial lets you adjust the depth in seconds without walking back to the compressor regulator. Most people set it so heads sit a fraction below the surface, ready for filler.
The no-mar tip. The nose of a nailer presses hard into the work when you fire. Without a soft cover, that leaves a ring or a dent, which is a real problem on pre-finished trim or painted cabinet doors. The no-mar tip takes that contact instead. Keep it clean of sawdust, as grit trapped under it will scratch.
There is also a reload indicator on the magazine that shows when nails are running low. It is a small feature that saves a specific annoyance: firing into finished timber and realising afterwards that nothing came out.
Who this suits
Trim carpenters and anyone fitting out a room will get the most from it. Skirting, architrave, beading, door stops, window casing and crown moulding are all brad nailer jobs.
Furniture builders use it differently. Brads are not structural, but they hold glued parts in alignment while the glue cures, which removes a lot of clamping. Drawer boxes, face frames, cabinet backs and panel work all benefit. People looking for the best brad nailer for cabinets usually land on 18 gauge for exactly this reason.
Hobbyists making picture frames, boxes and small shelving will find it quicker and tidier than pinning by hand.
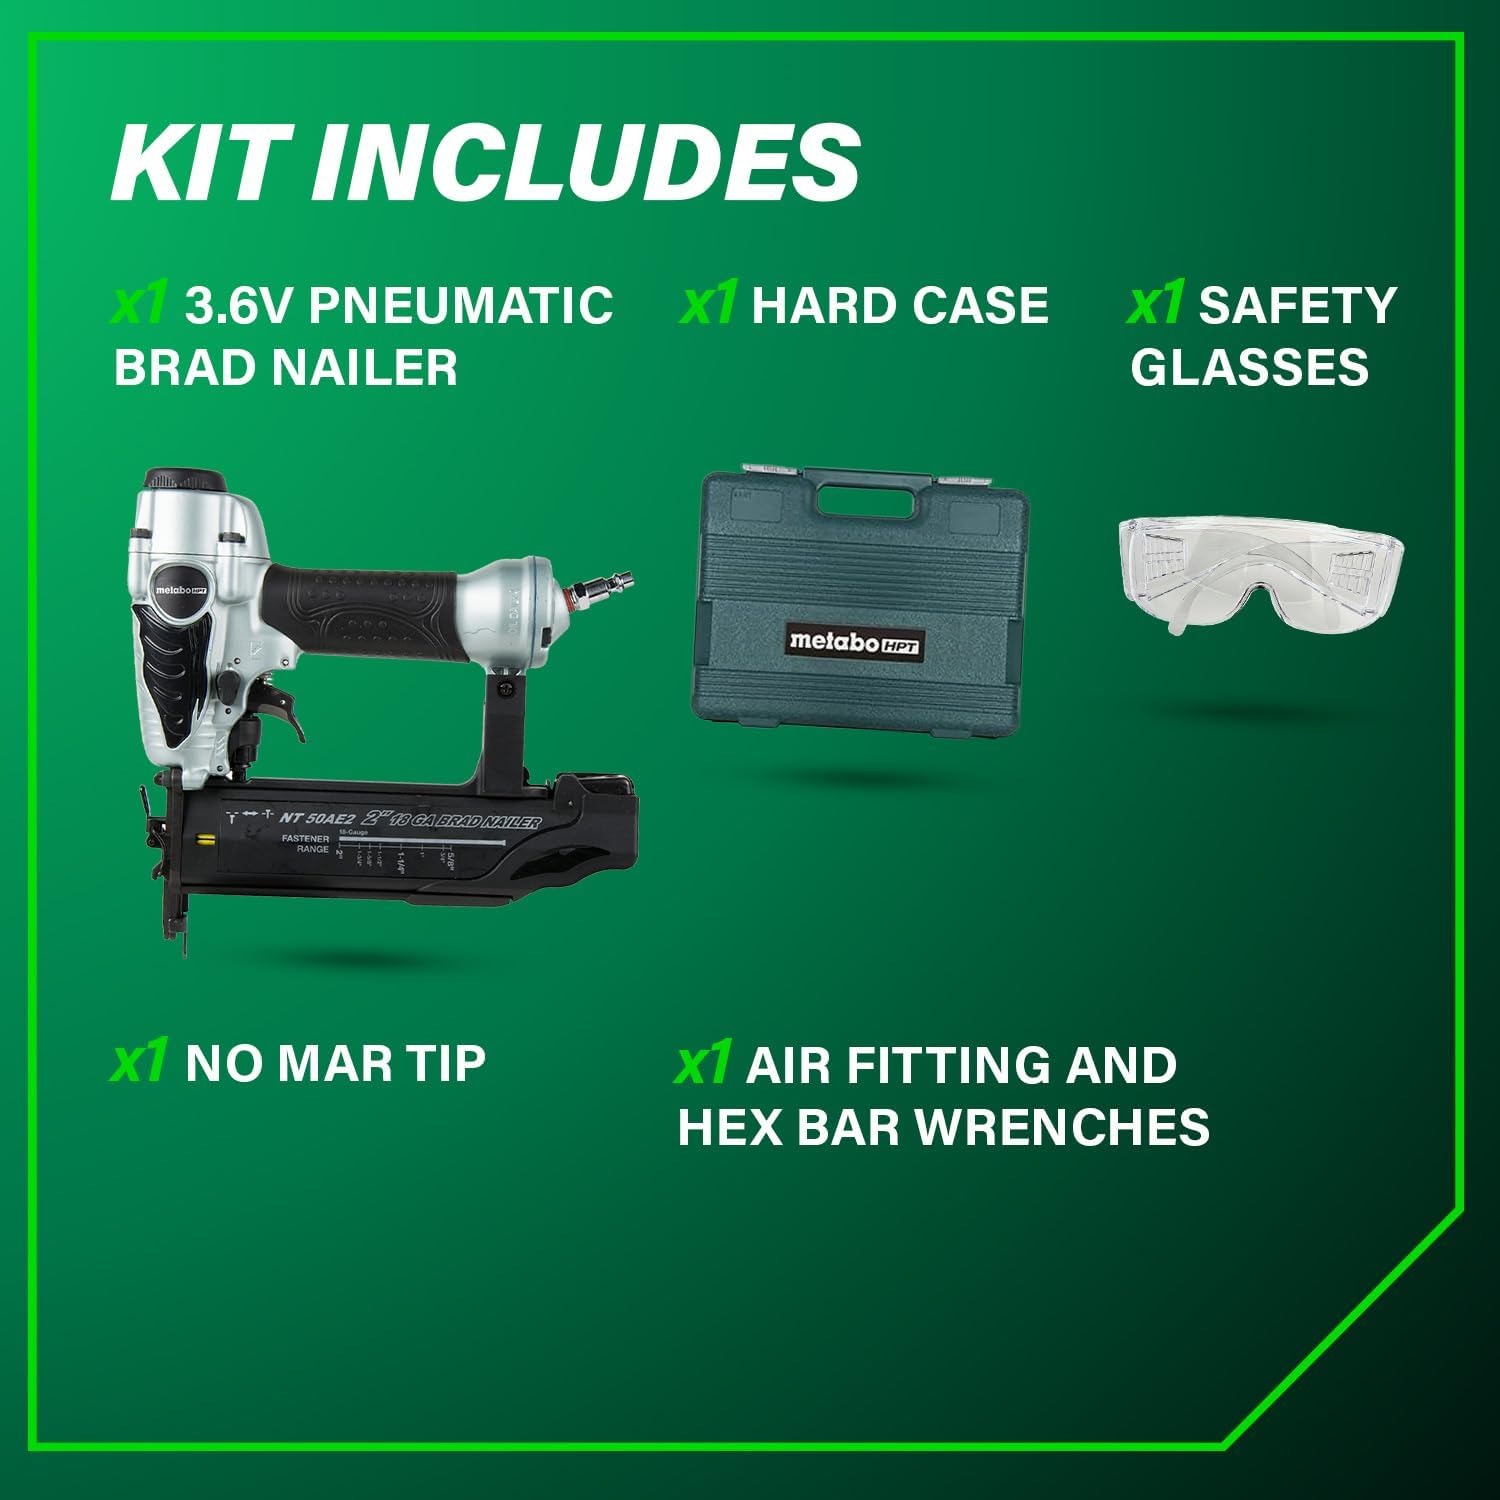
The one thing to be clear about is that it is air powered. You need a compressor and a hose. If you do not own one, factor that into the cost before you buy. If you already have a compressor sitting in the garage for tyres, you are most of the way there.
Weight and why it counts
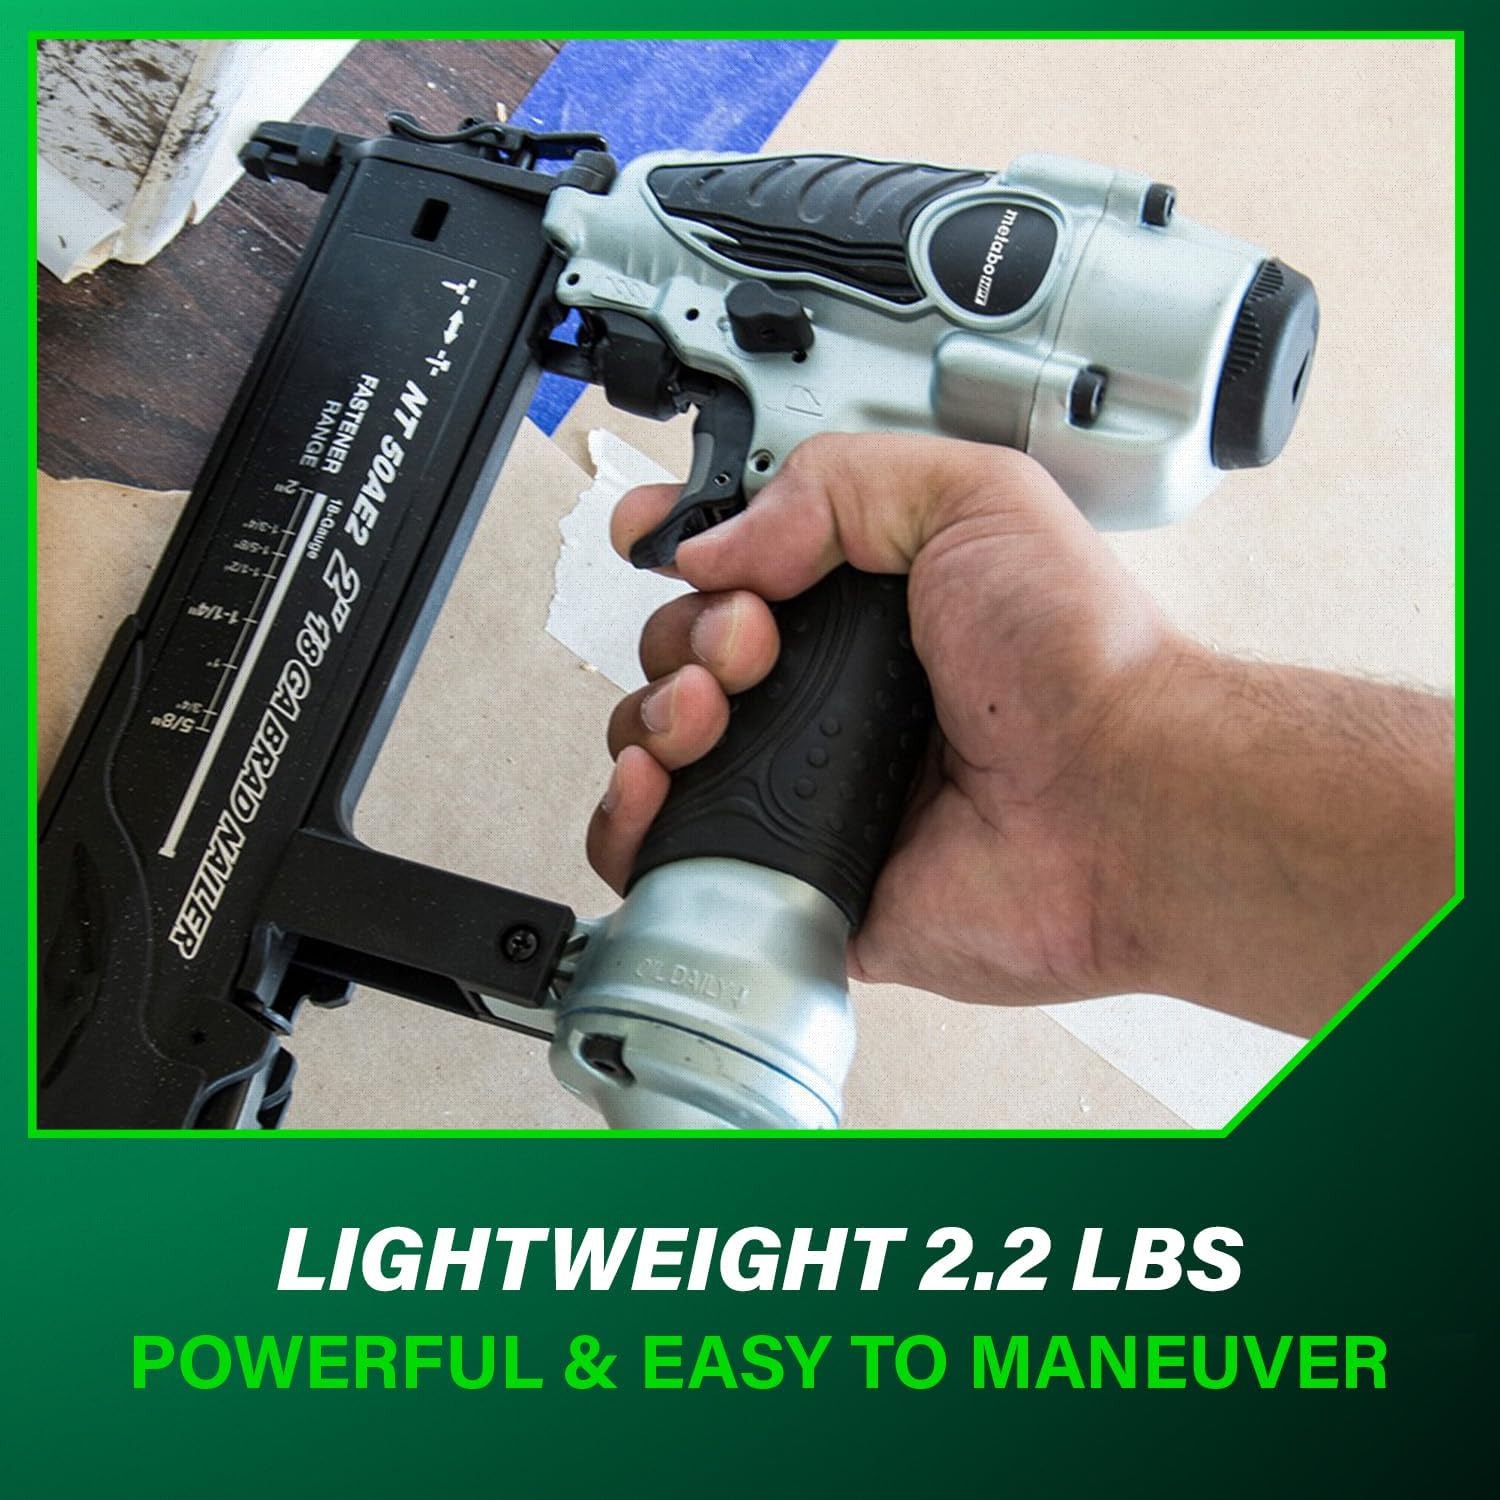
This tool weighs 998 g. Lightweight is listed as a special feature, and it earns that.
Trim work puts you in awkward positions. You are up a ladder at the ceiling line holding crown moulding in place with one hand. You are crouched at floor level working along a wall. You are reaching into the back of a cabinet carcass at an angle no one designed for. In all of those, a heavy tool fights you, and after two hours your aim drifts.
A light body keeps your placement accurate late in the job, which is usually when the visible pieces go on.
Choosing nail lengths
This is the question people ask most often. The general rule is that the nail should pass through the piece you are fixing and go roughly twice that depth into the material behind.
So a 12 mm thick piece of beading going onto a solid frame wants something around 32 mm. Skirting sitting over plasterboard with a stud behind it needs enough length to clear the board thickness and still bite the timber. Thin decorative moulding glued and pinned onto a panel might only need 16 mm or 20 mm.
Buy a selection. A box each of 20 mm, 32 mm and 50 mm covers most situations, and running short mid-job is far more frustrating than having a spare box on the shelf.
Always check what is behind the surface before you fire. Pipes and cables sit in walls, and a 50 mm brad will find them.
Looking after it
Pneumatic tools are mechanically simple and last a long time when treated properly, which is probably why a five year warranty is listed.
Three habits cover most of it. First, oil it. Unless your air line has an inline lubricator, put a few drops of air tool oil into the inlet before each session. Second, drain your compressor tank. Water collects in there and travels down the hose, and water inside a nailer means rust on the piston. Third, disconnect the air hose before you load nails, clear a jam, change the actuation mode or do anything else to the tool. That last one is a safety rule as much as a maintenance one.
Wipe the body down after use, brush sawdust off the nose and the no-mar tip, and store it dry.
The short version
An air brad nailer makes trim work faster and cleaner than hammering, and it does it without splitting ends or bruising faces. This one takes 18 gauge brads from 16 mm to 50 mm, weighs 998 g, and gives you a depth dial, two firing modes, a no-mar nose tip and a low-nail indicator.
You will need a compressor and a hose. You will need eye protection. Practise your depth setting on an offcut before you touch the good stuff.
Do those things, and the difference in your finished trim is immediate.